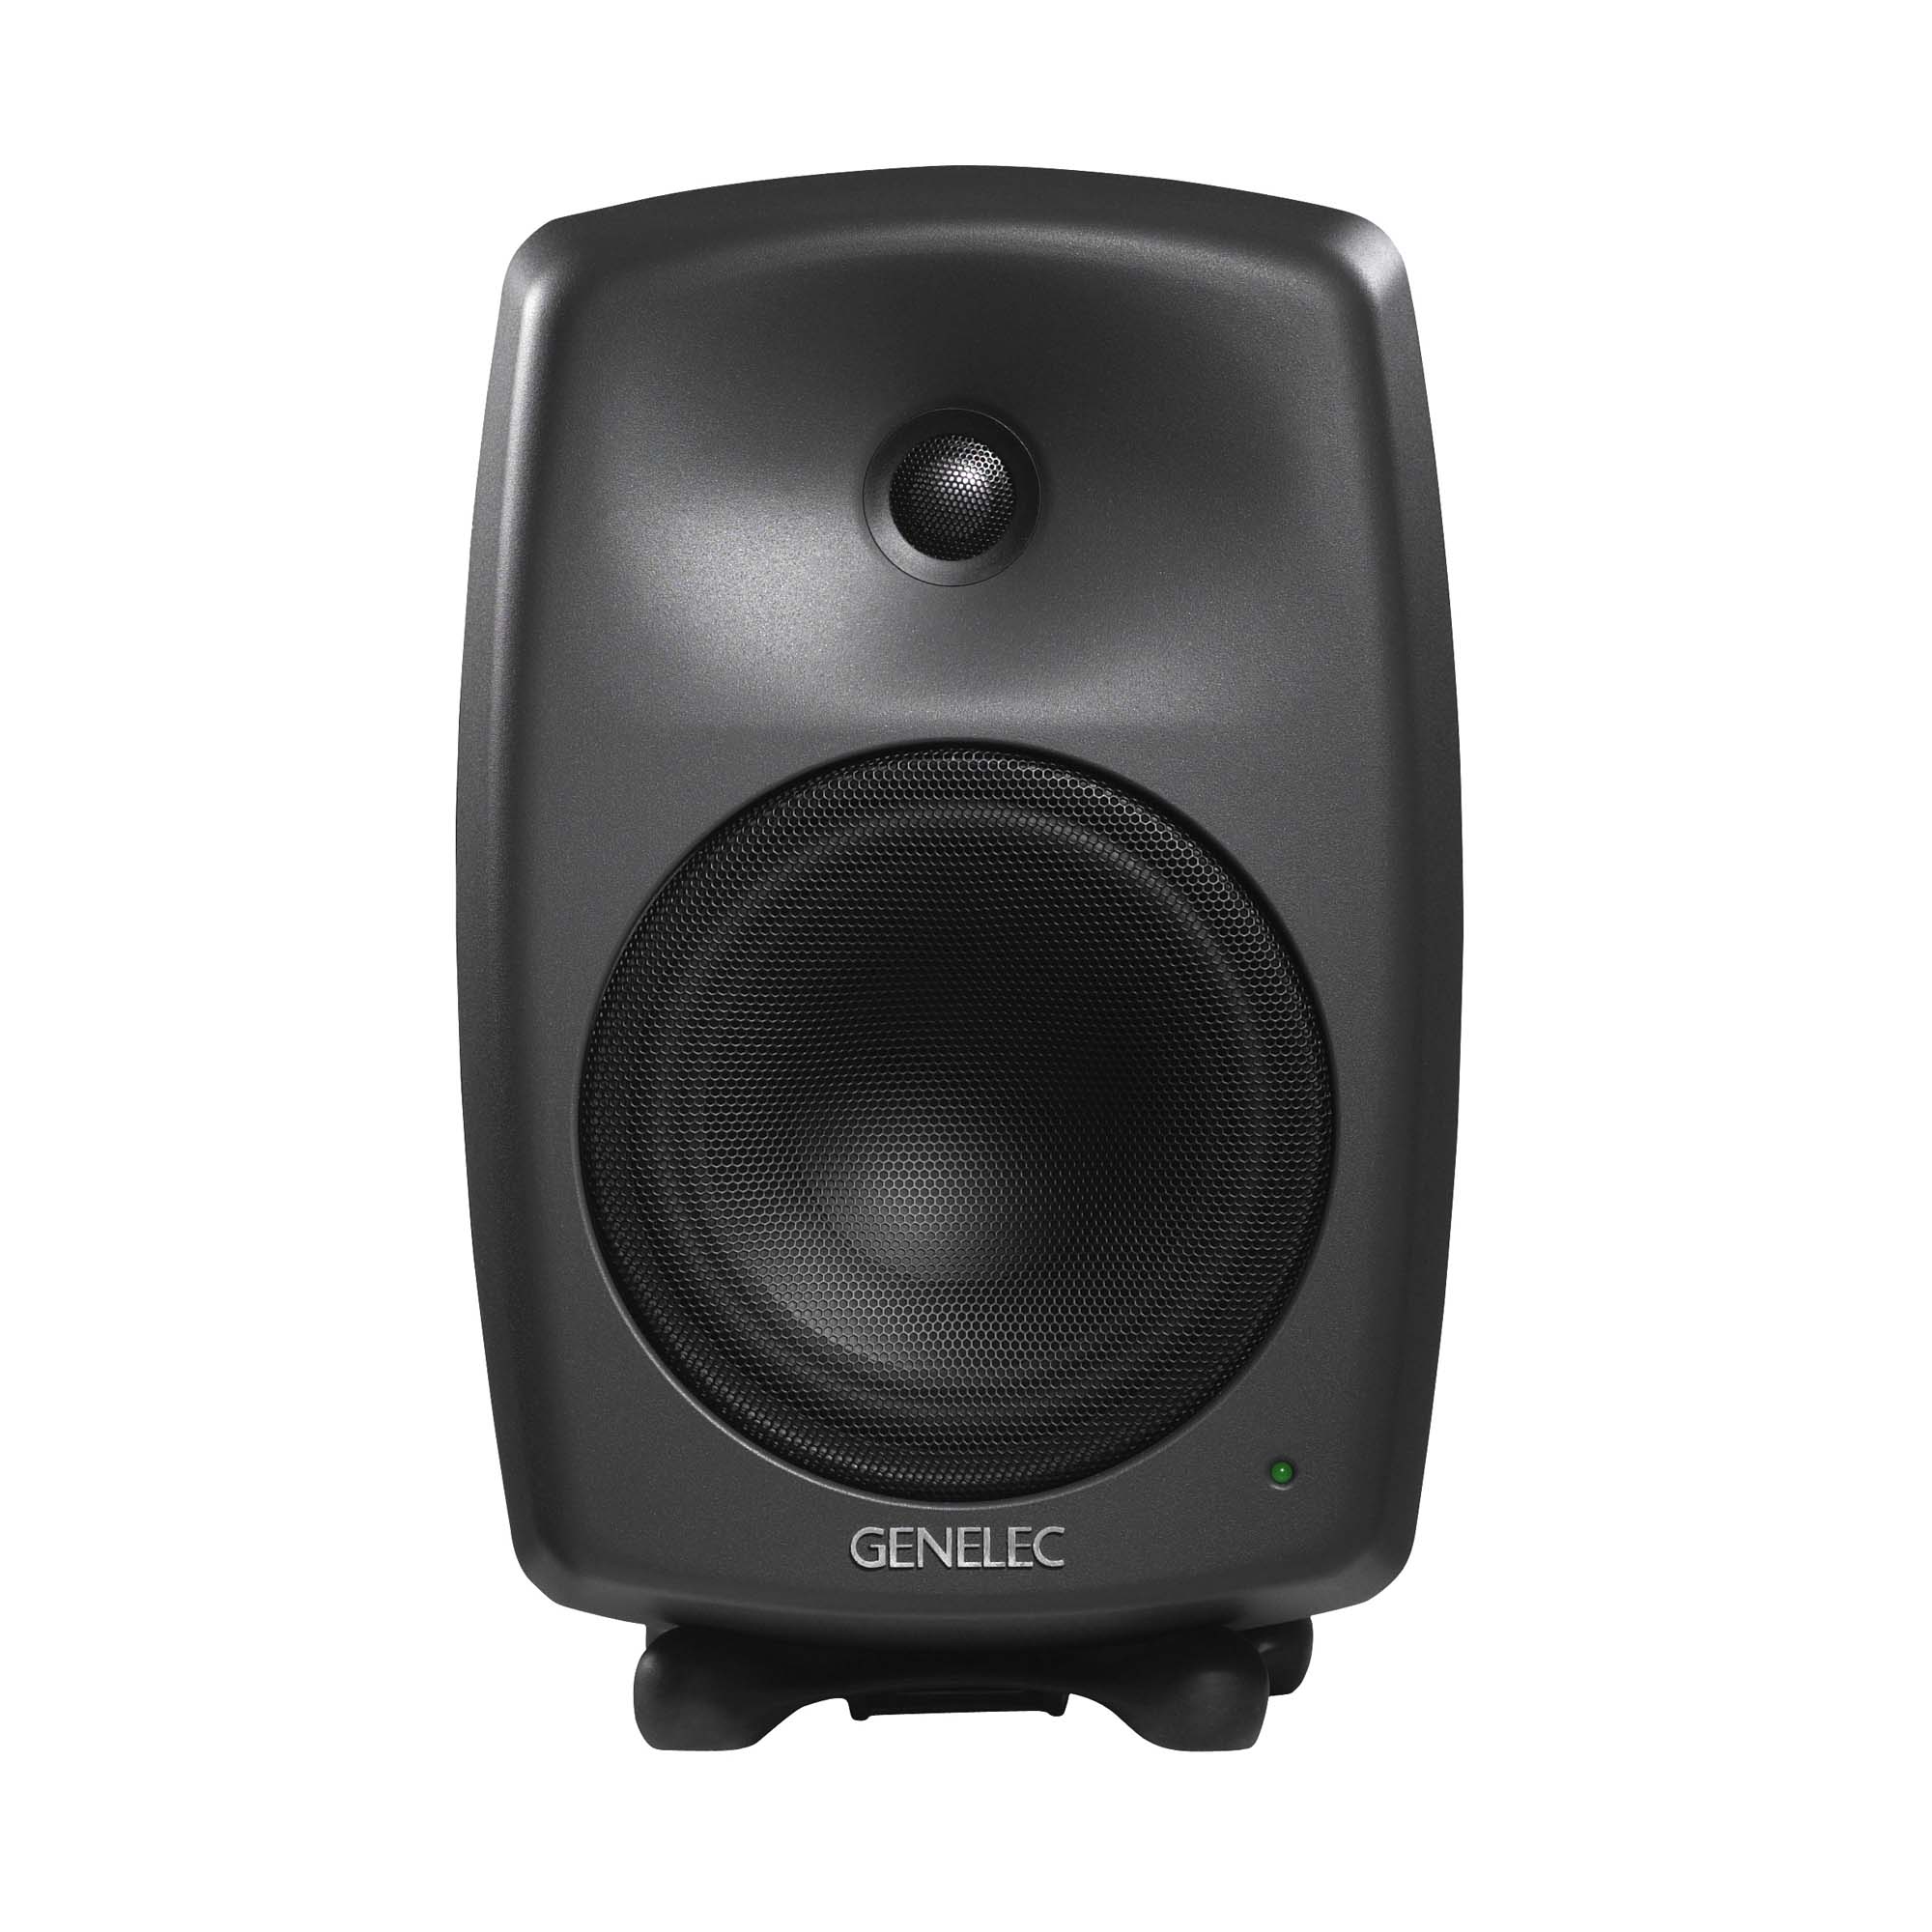
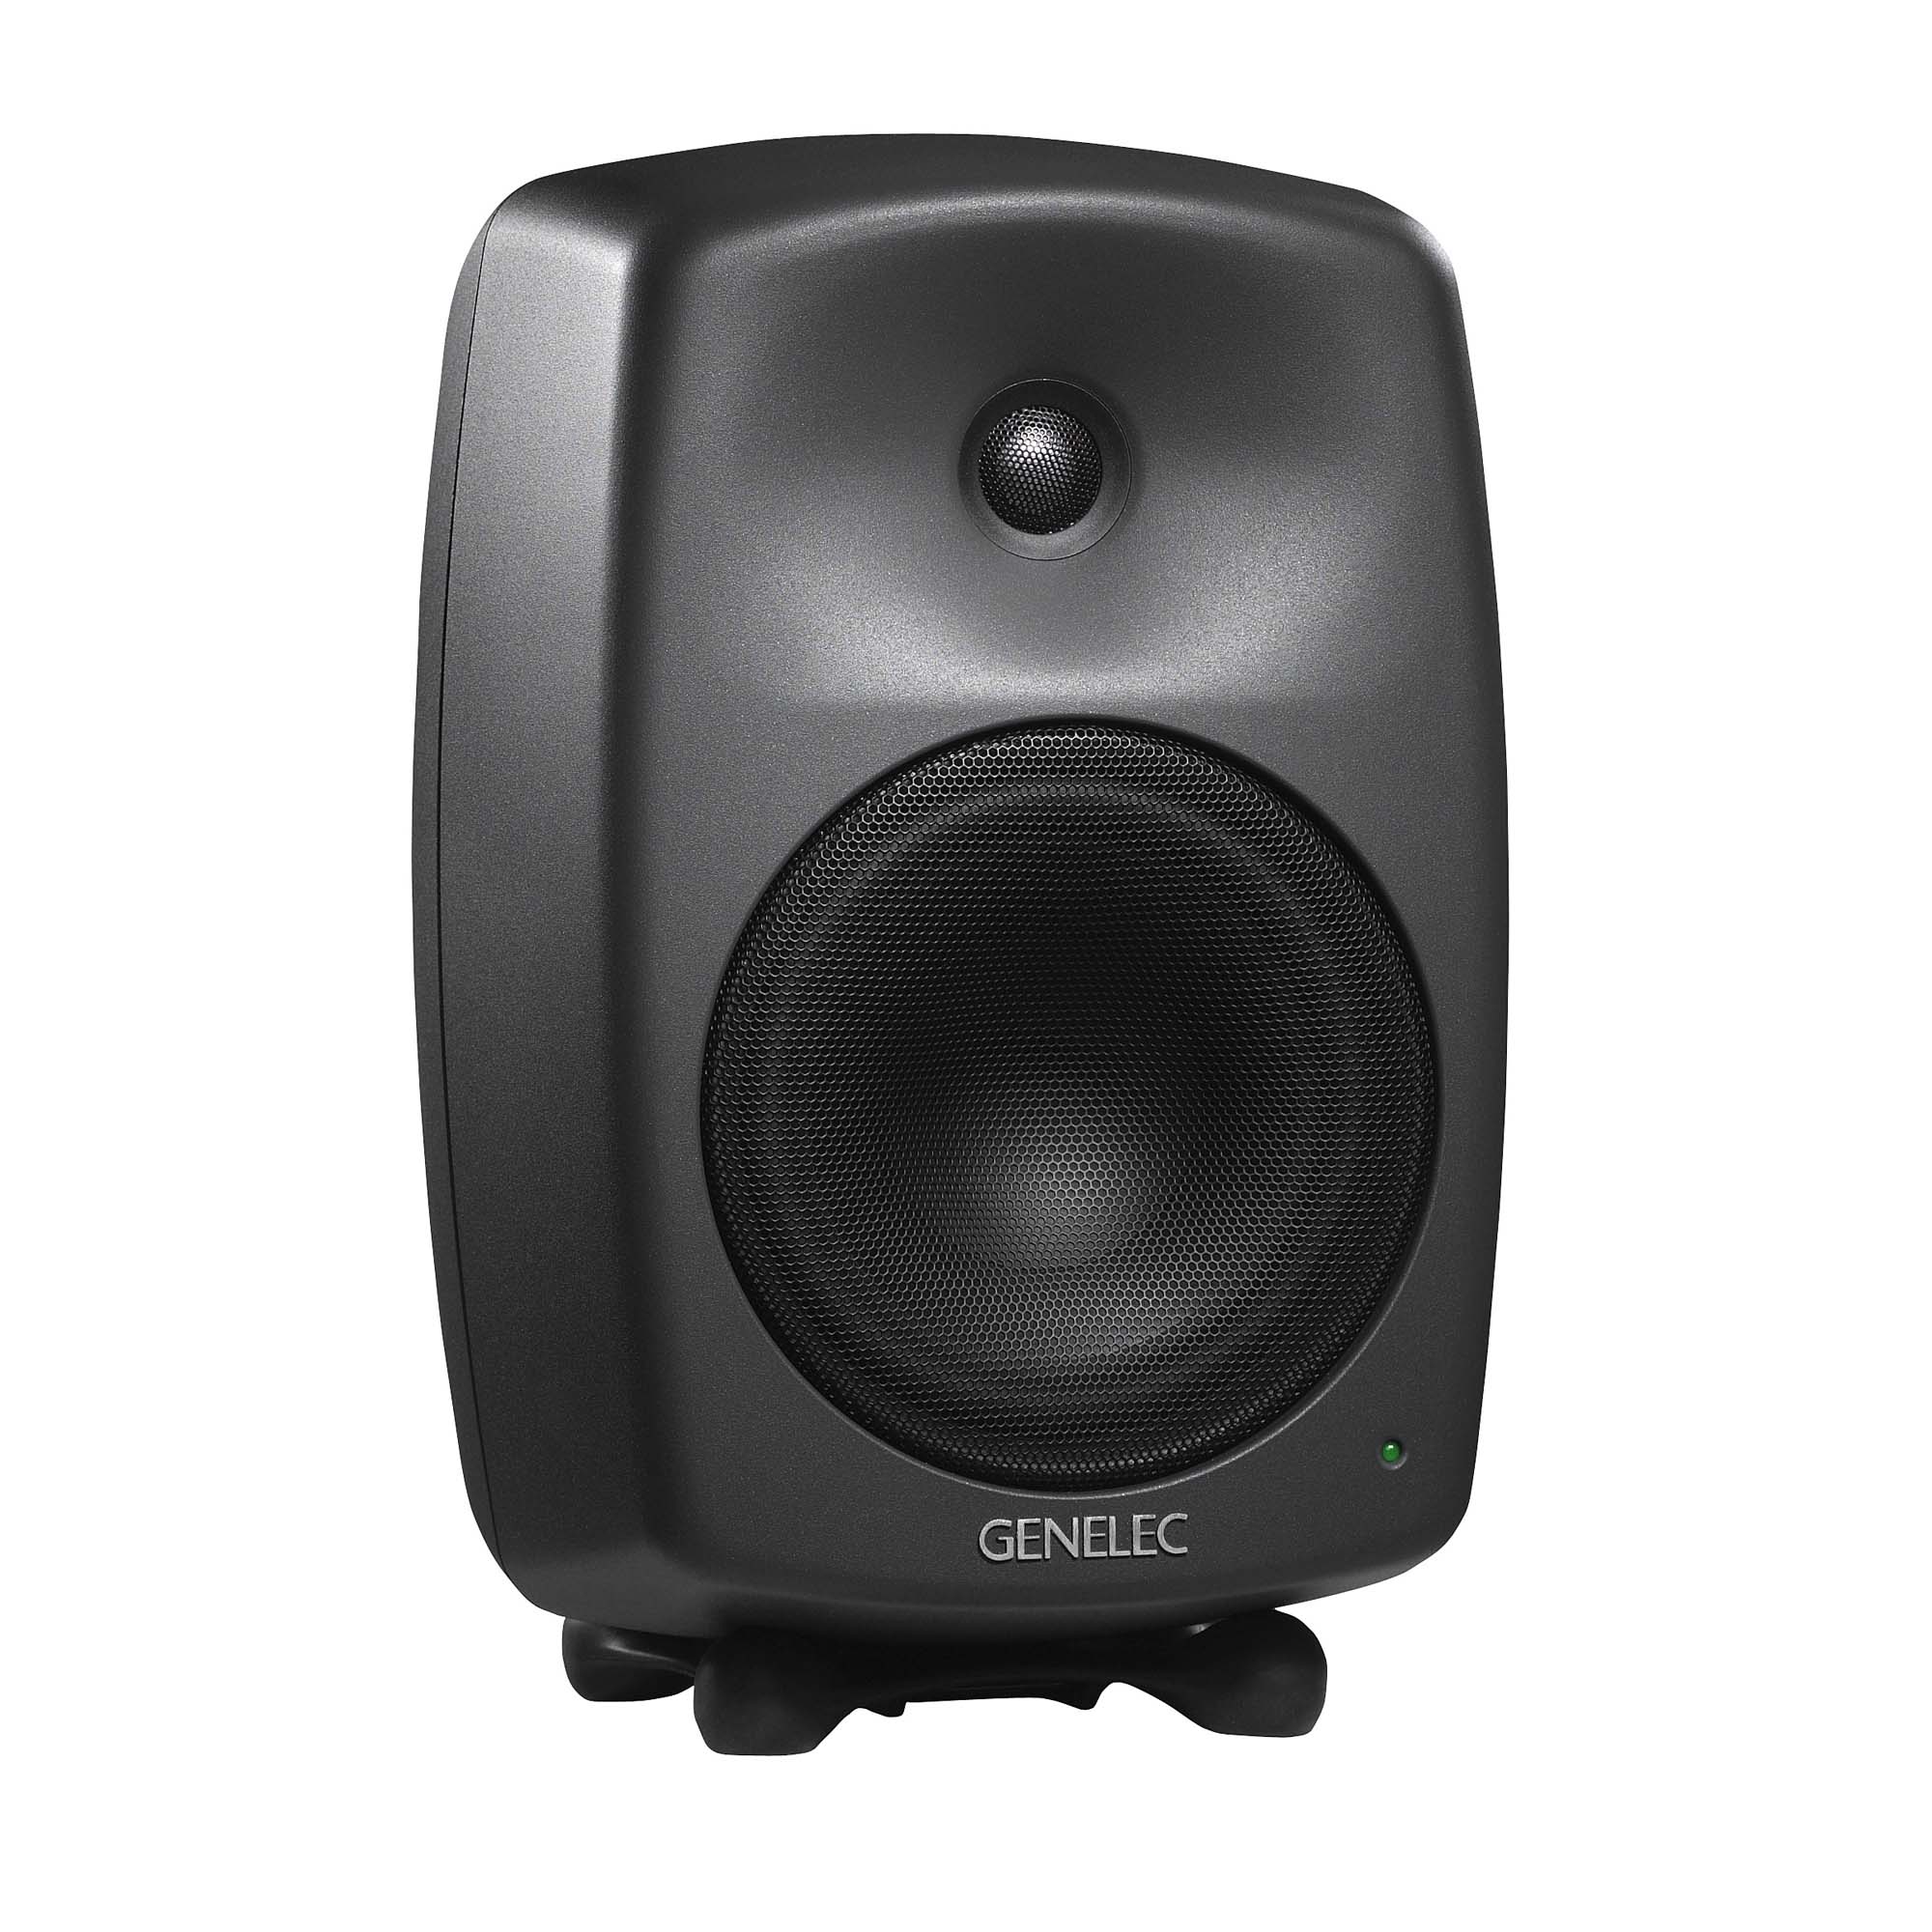
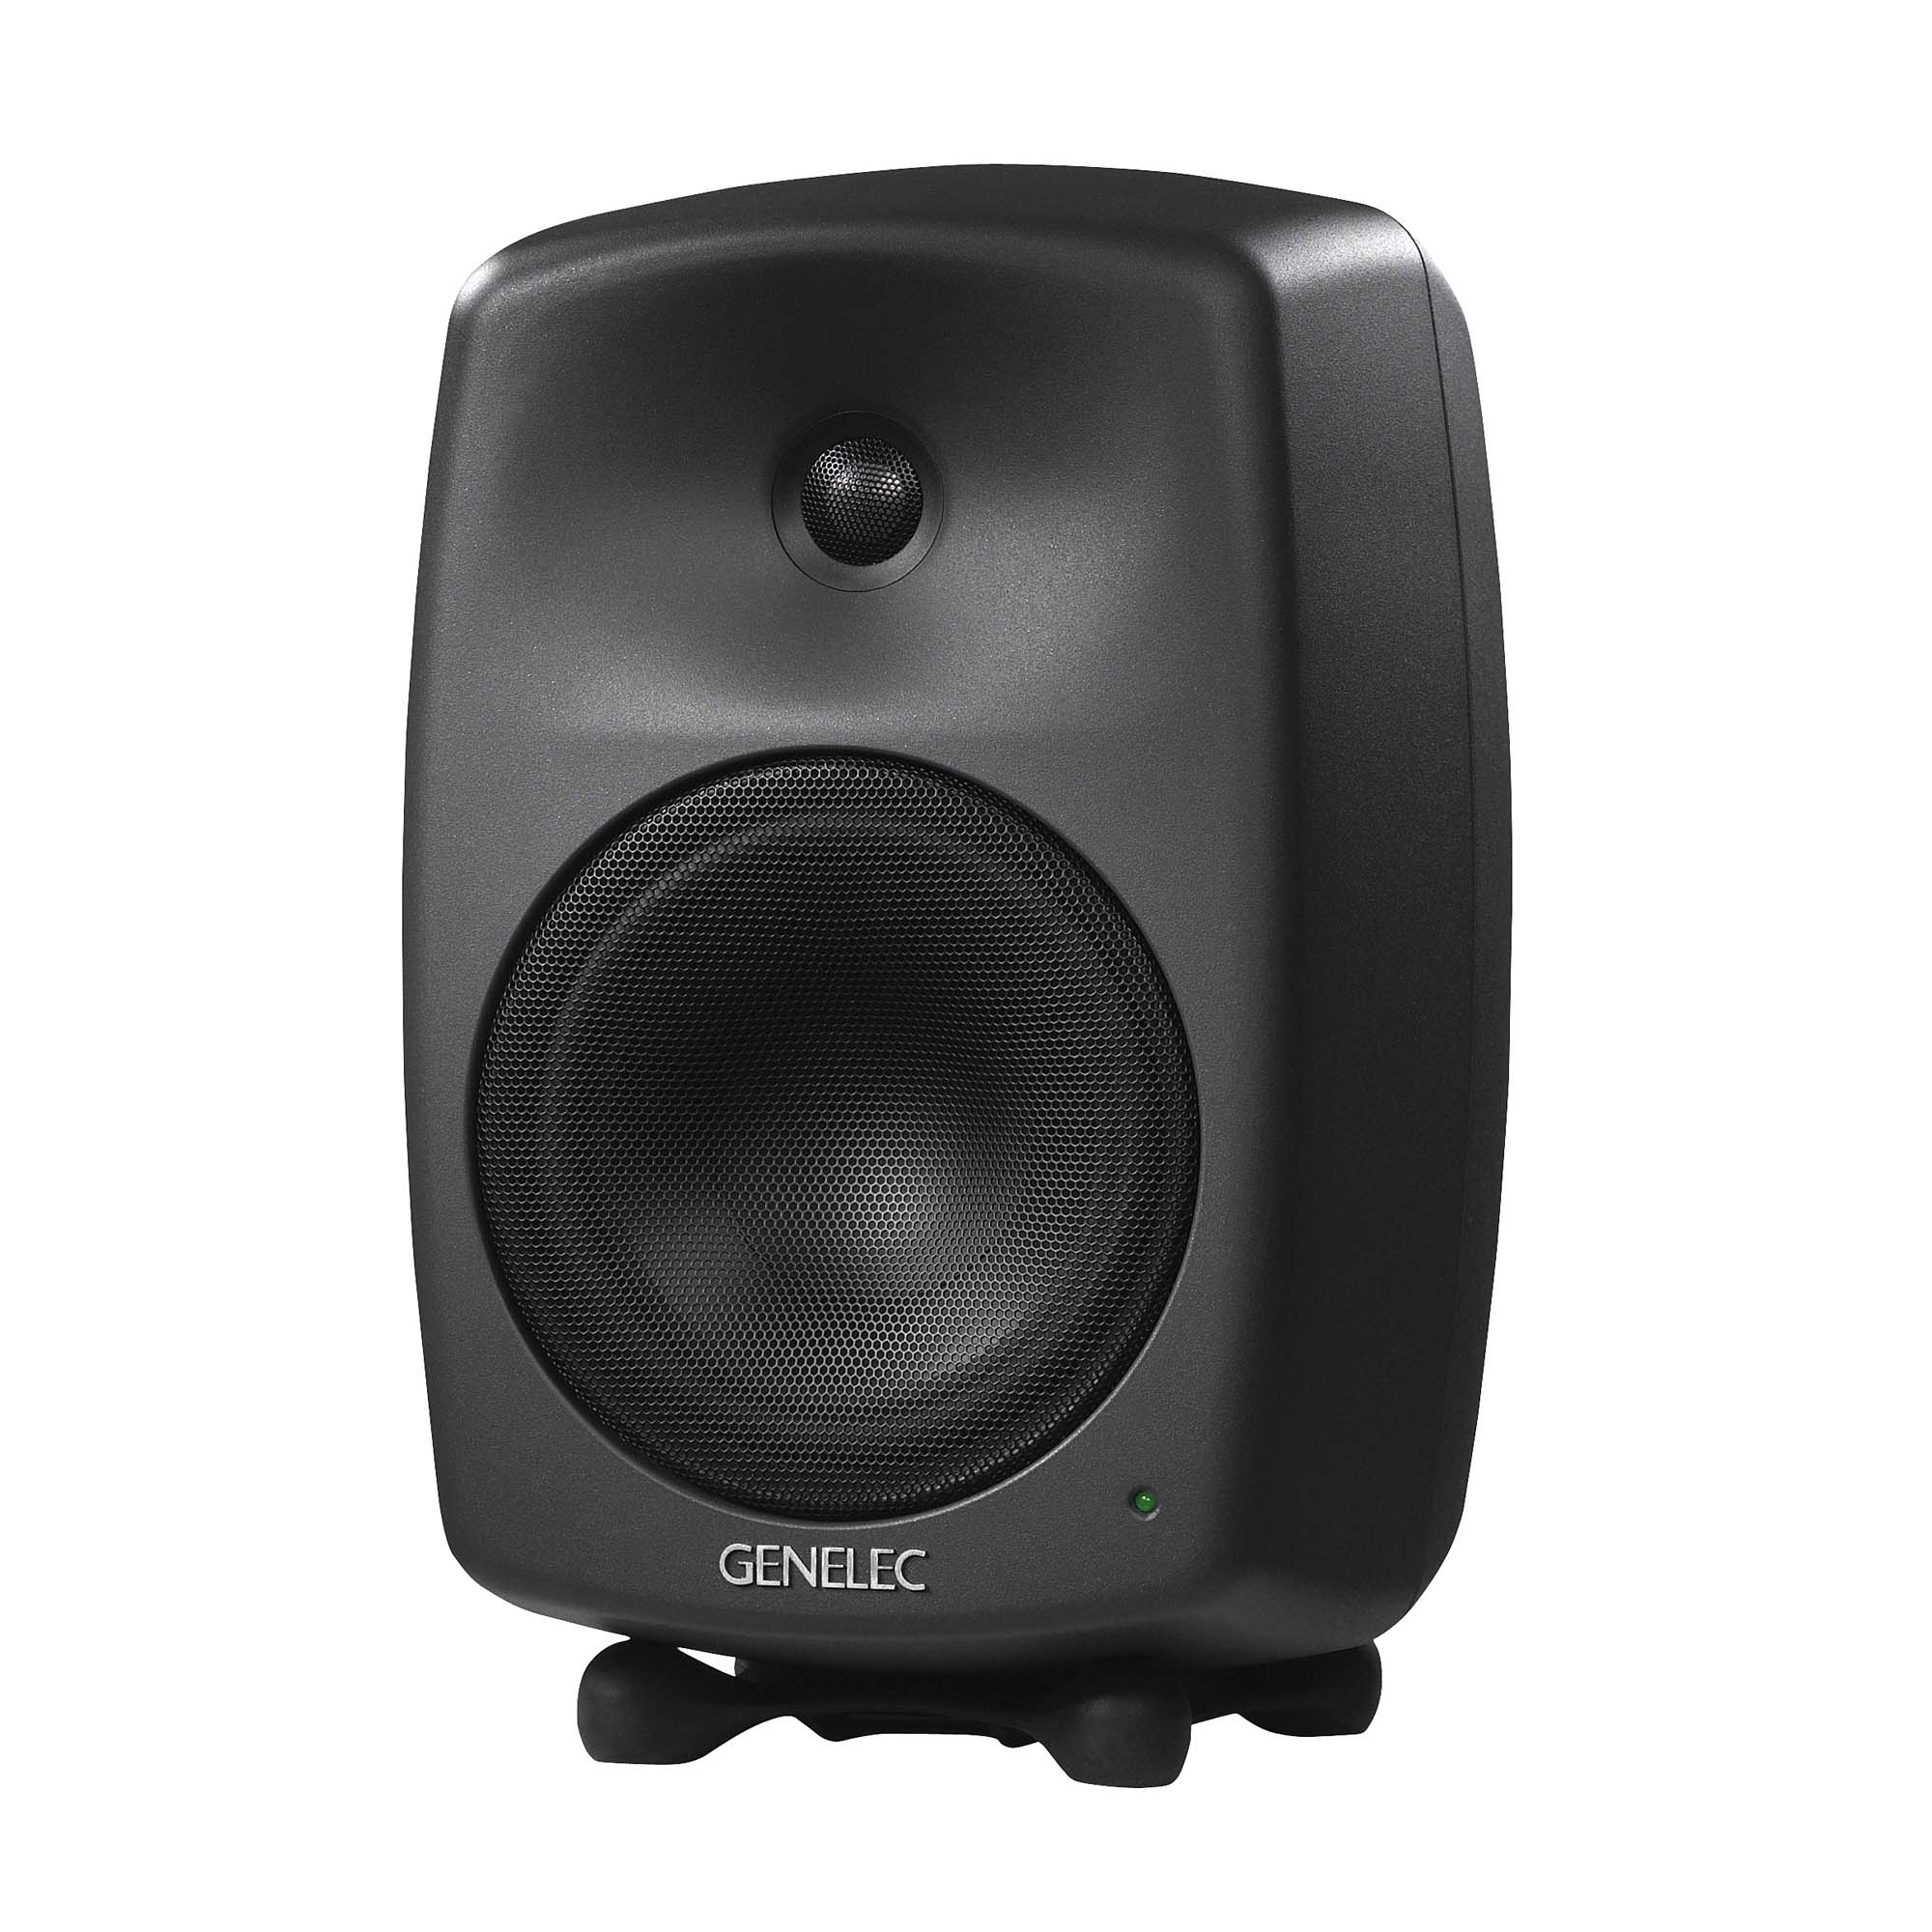
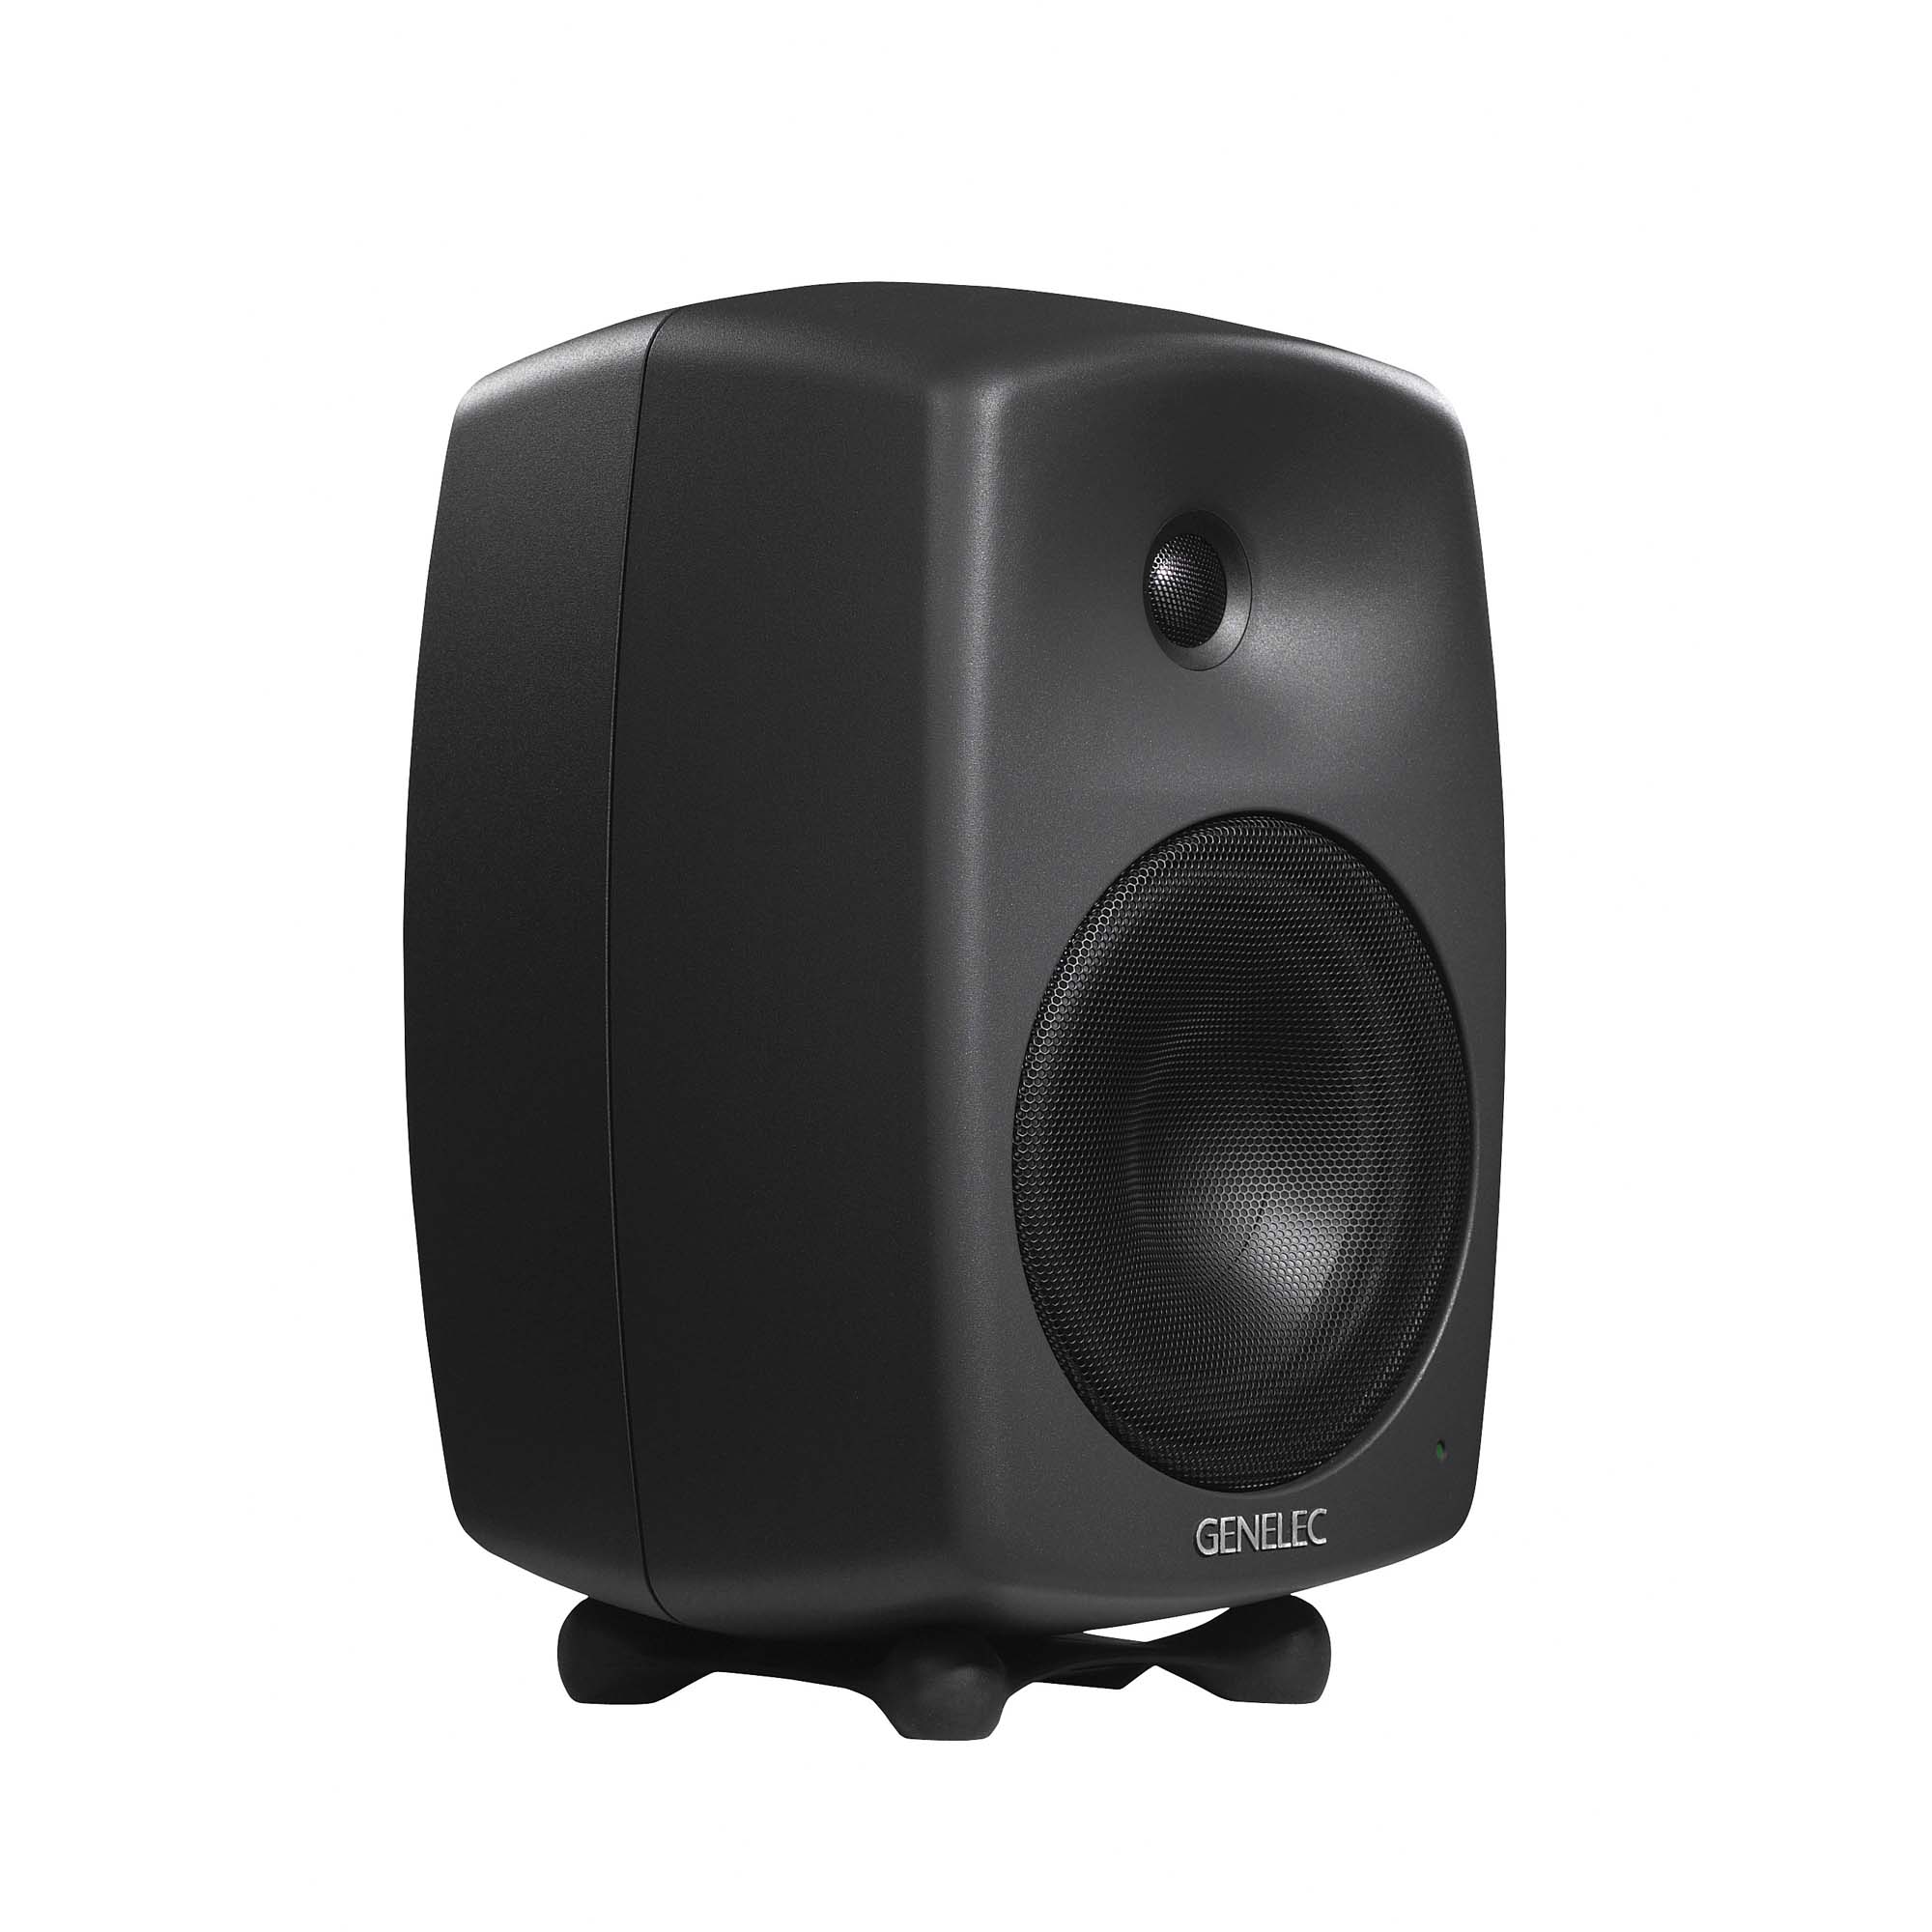
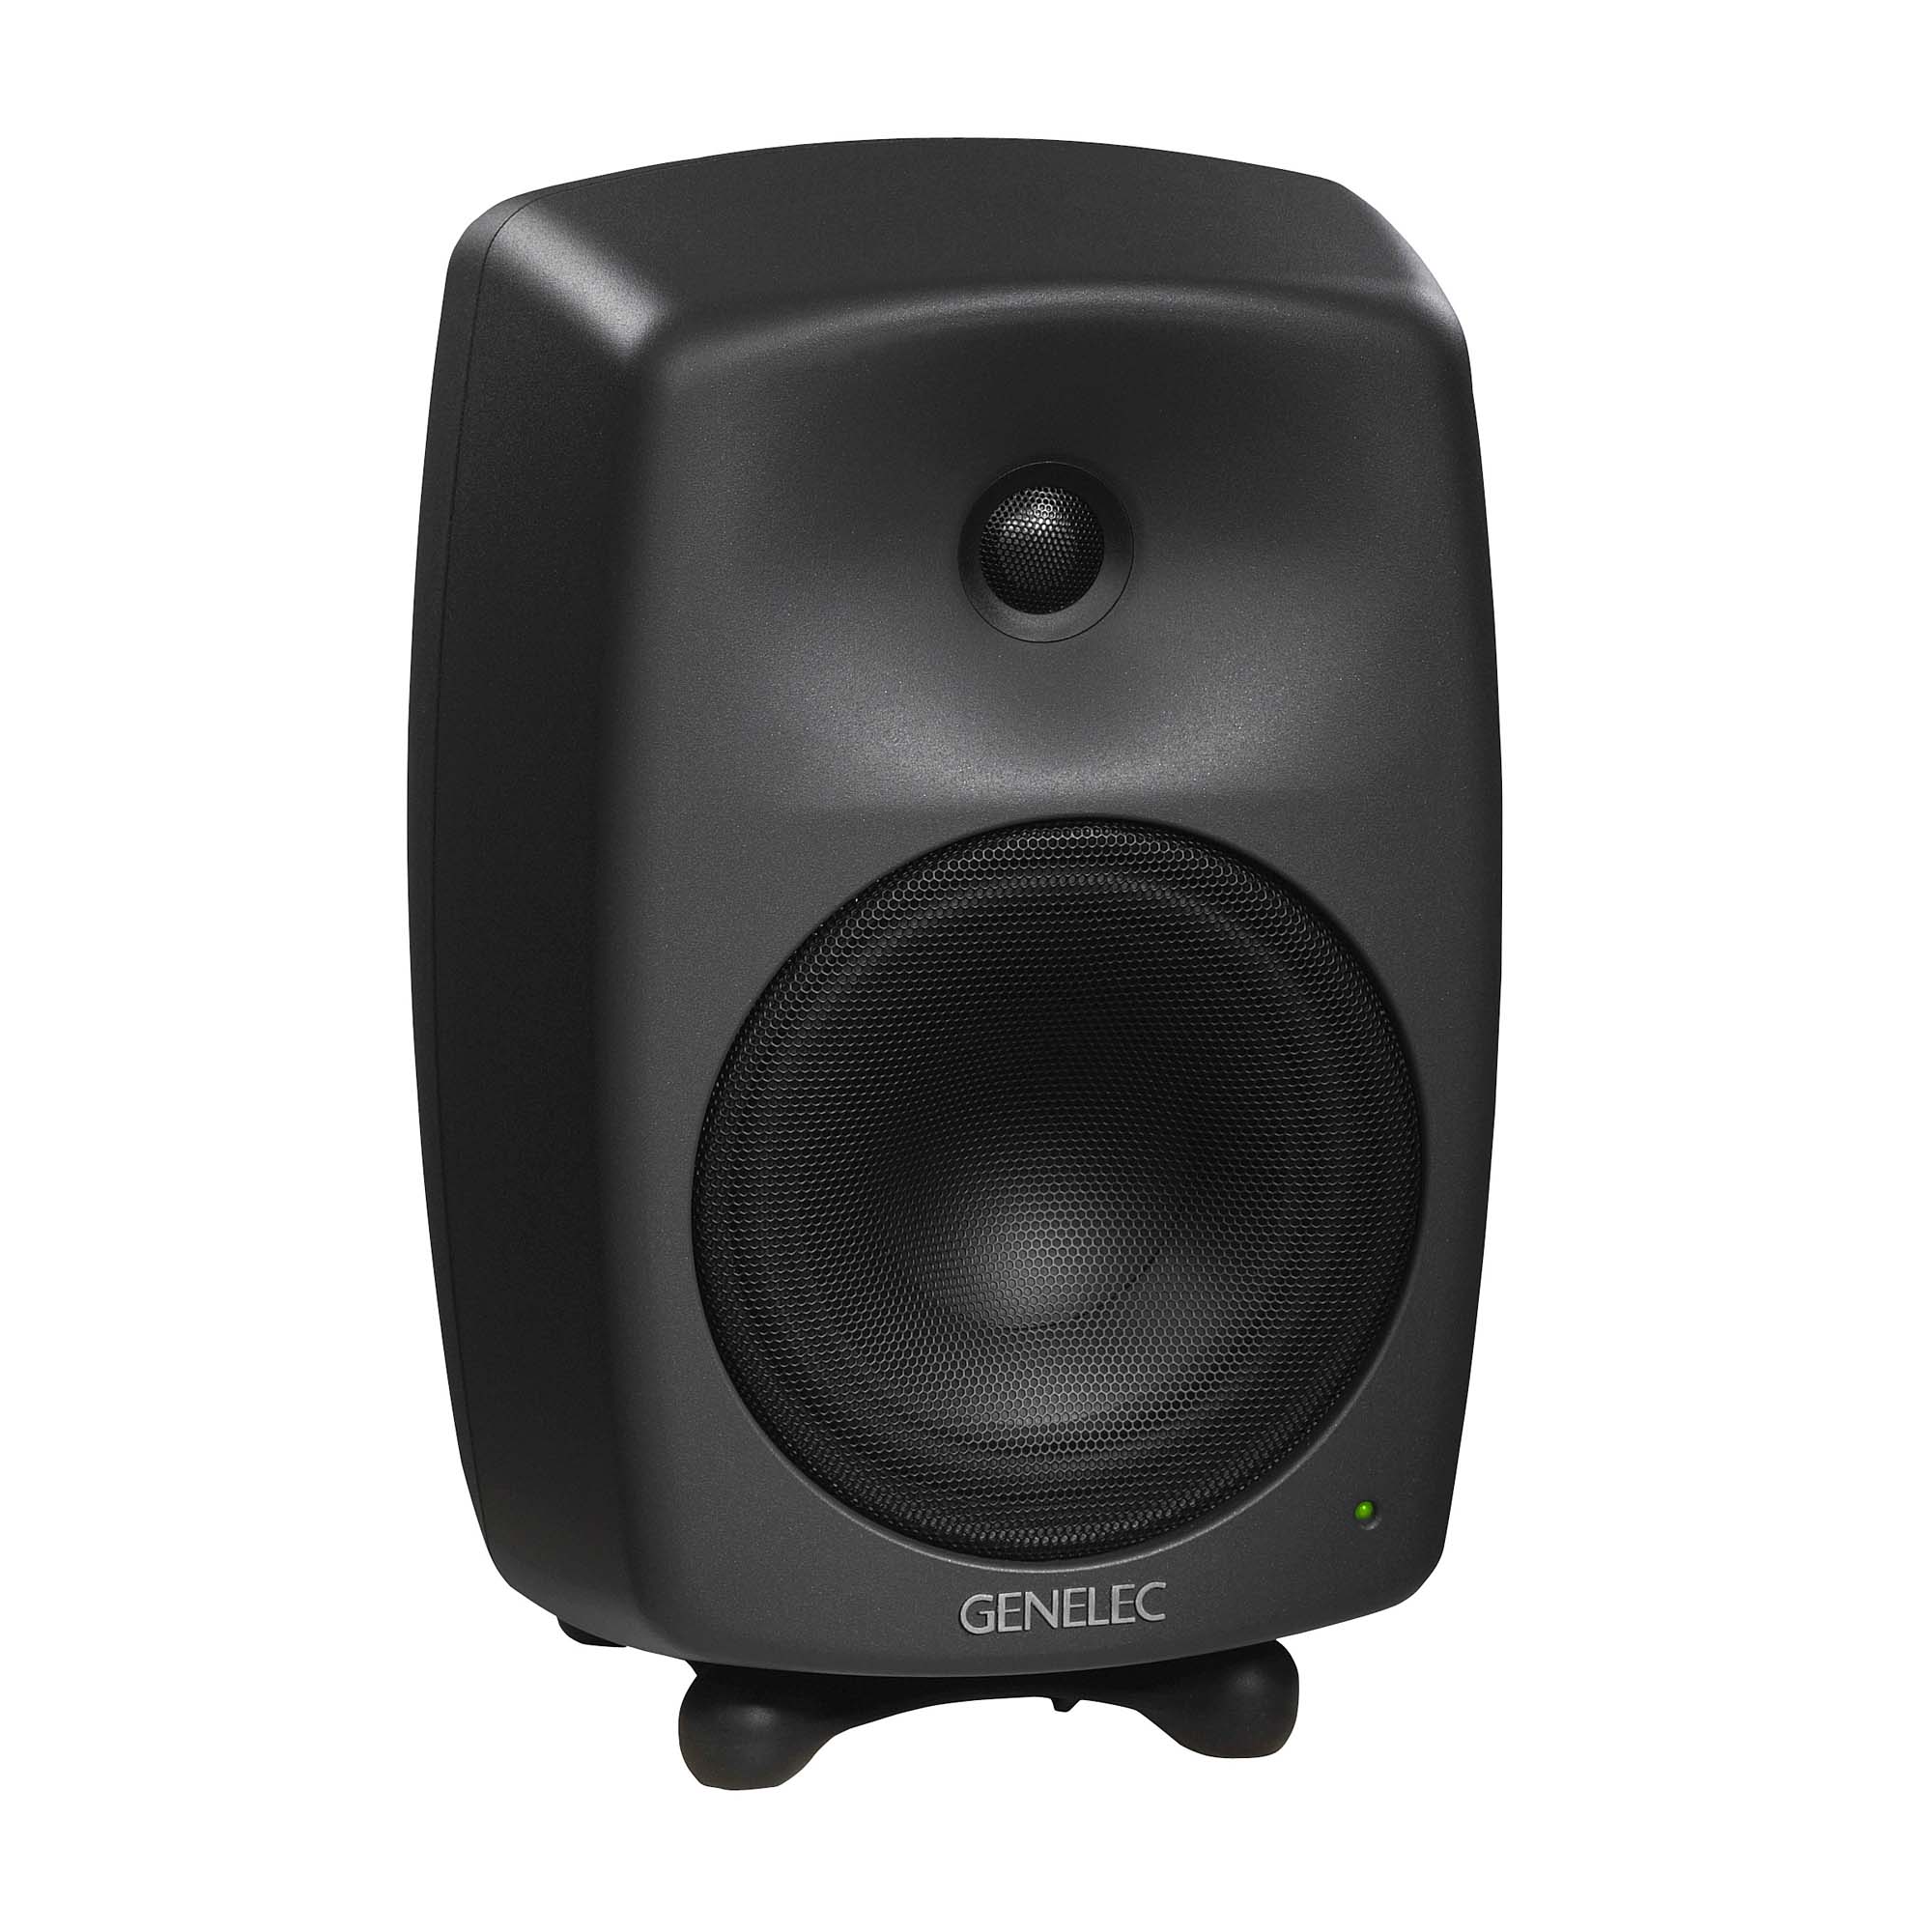
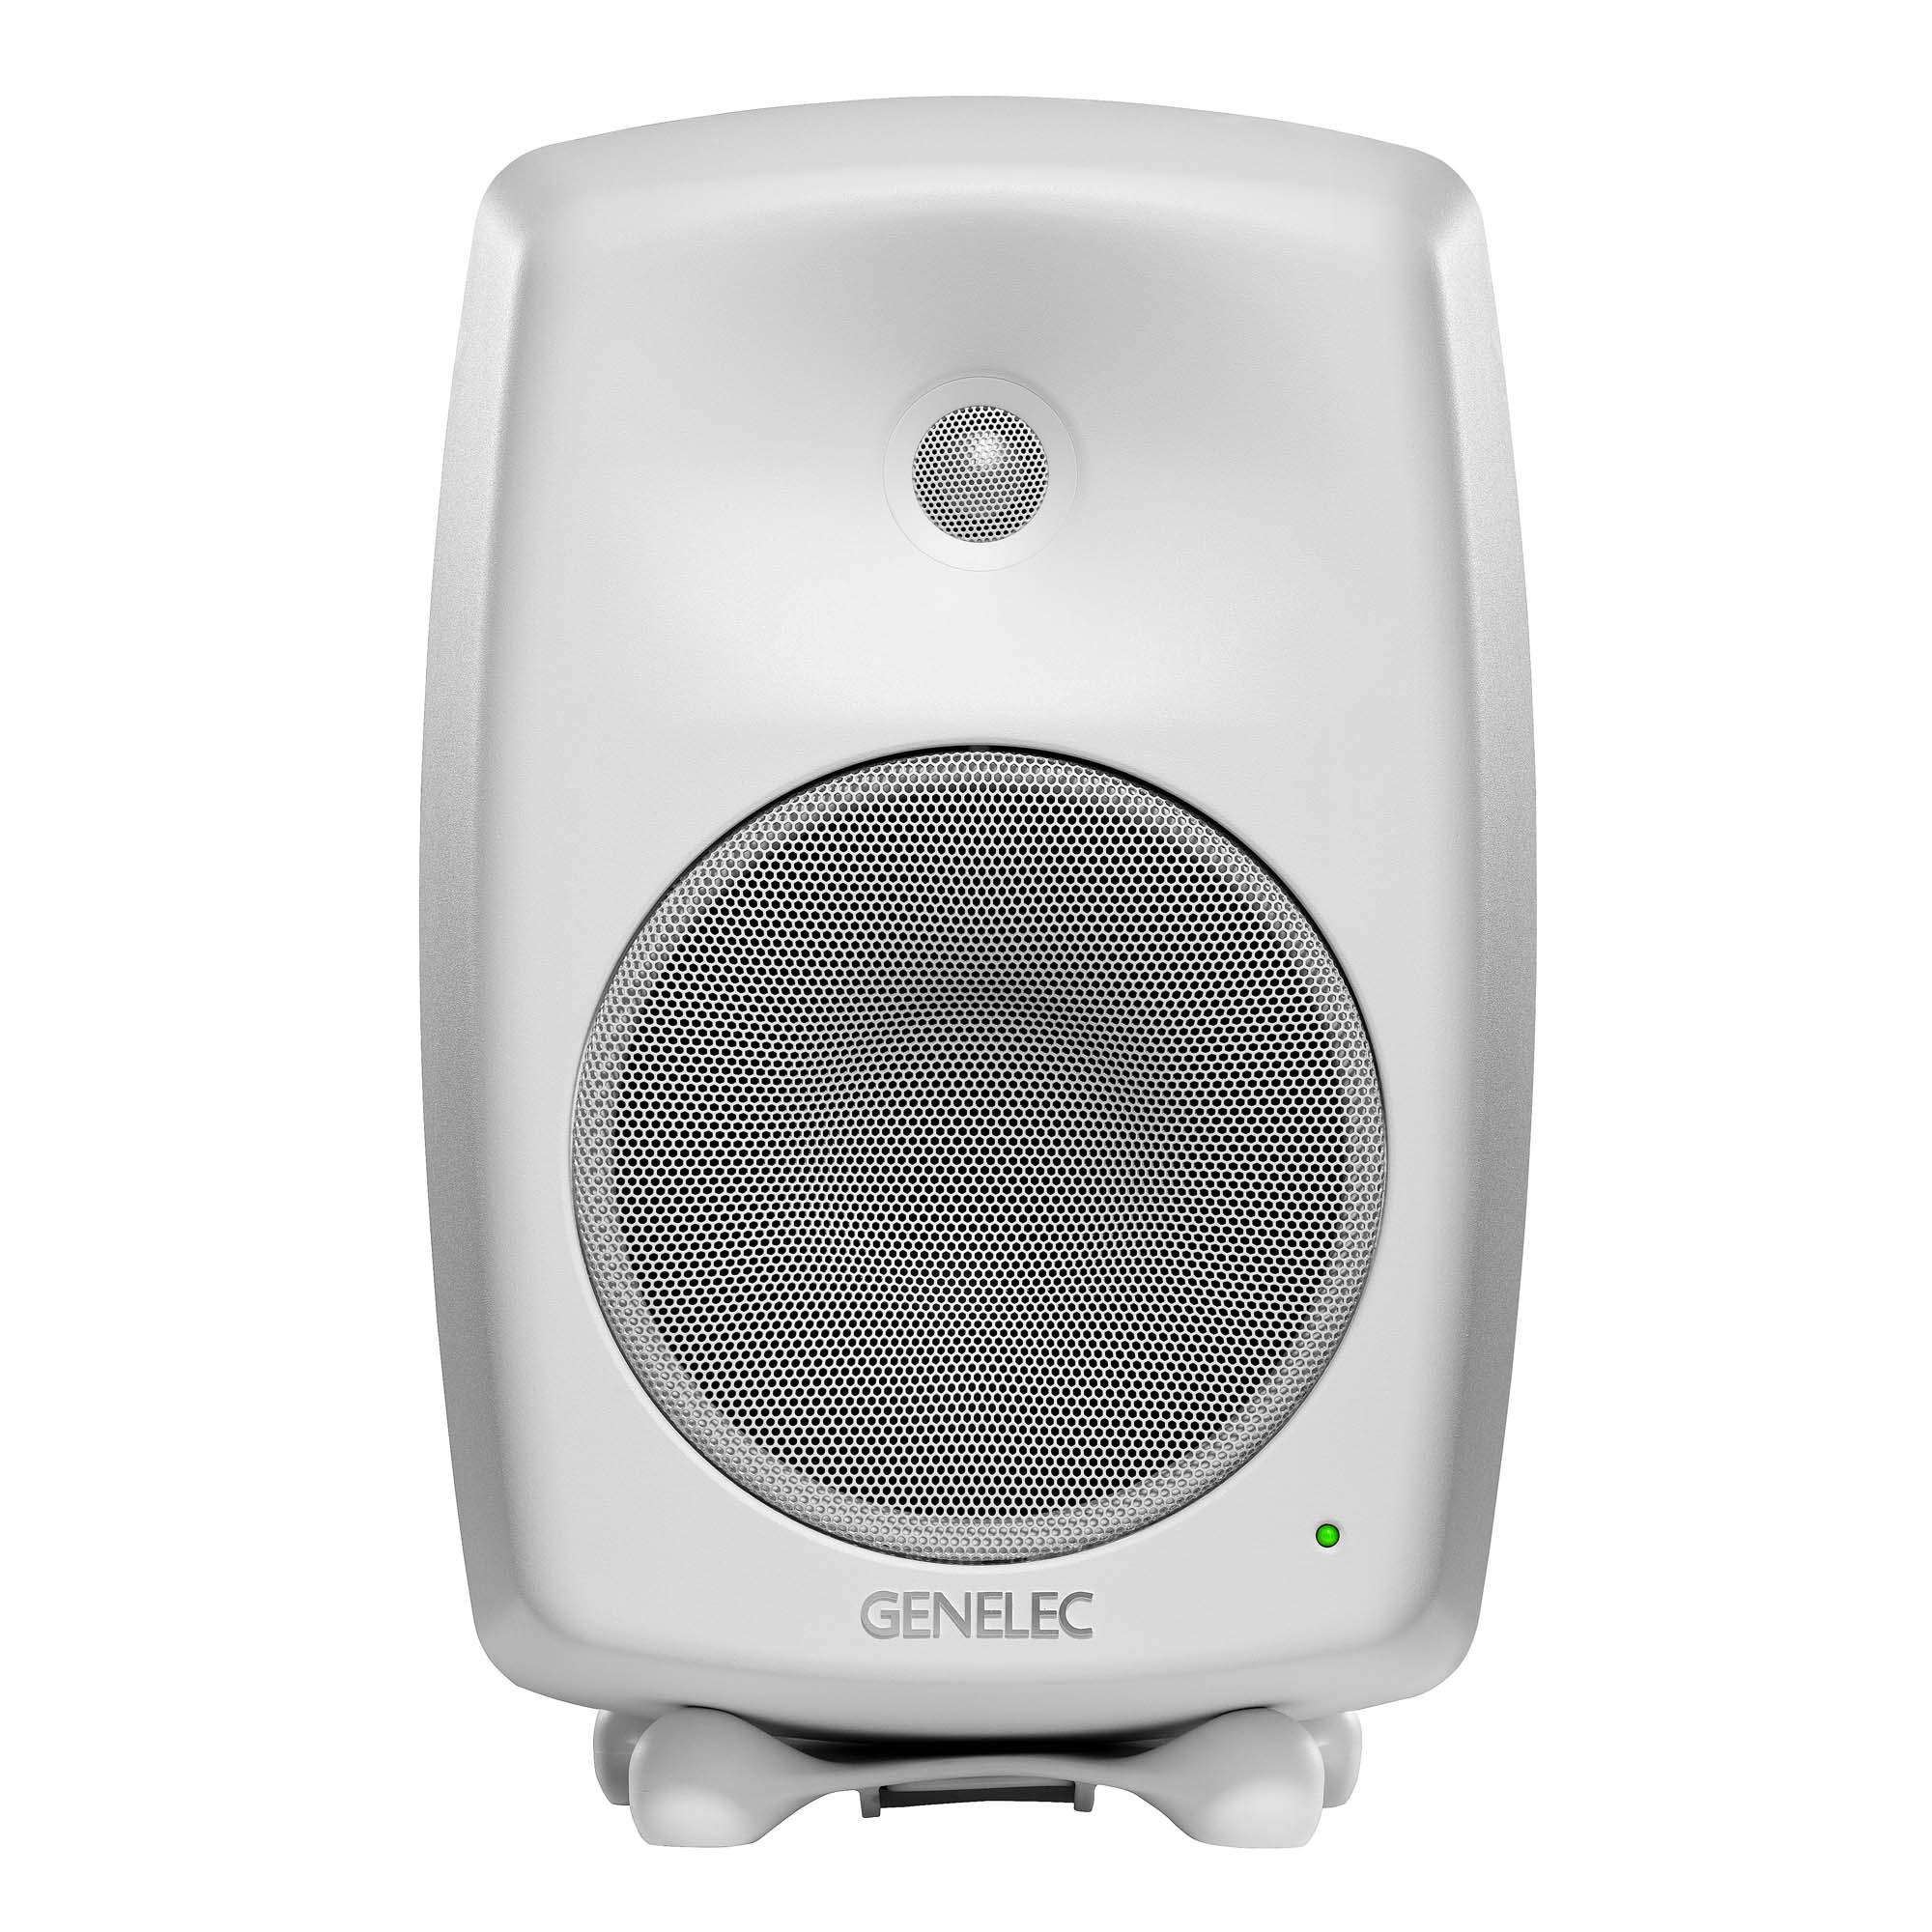
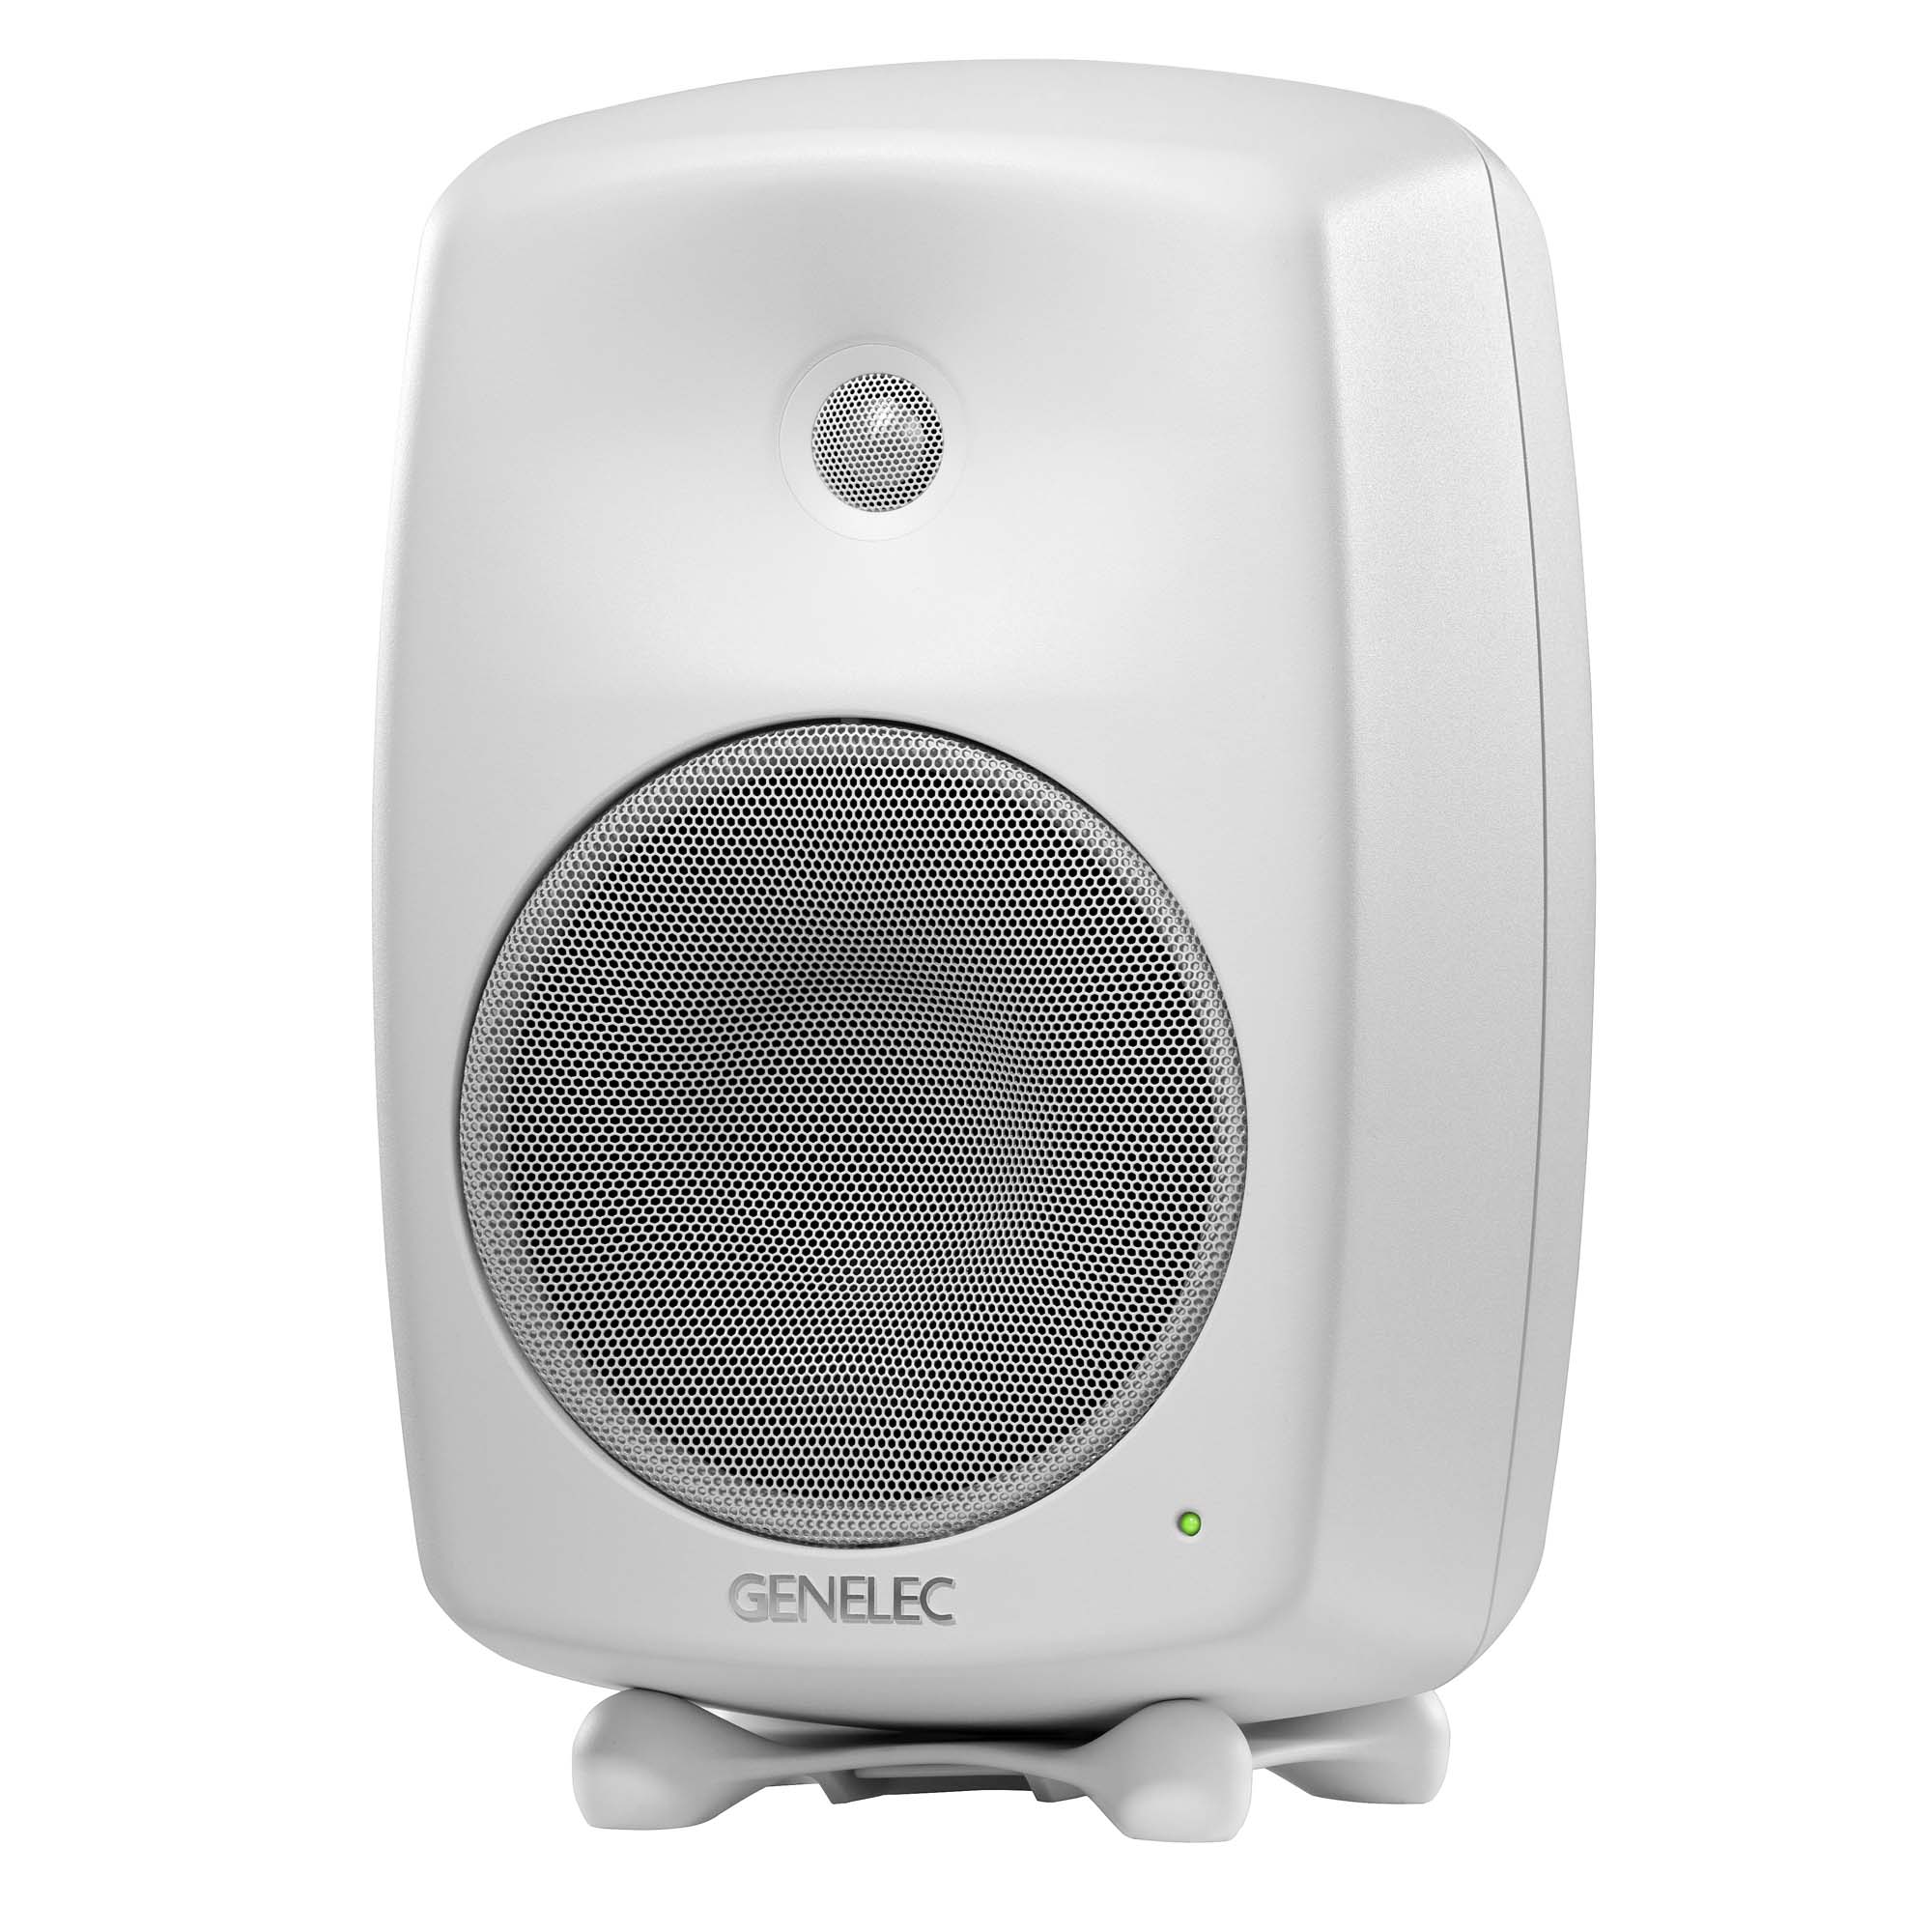
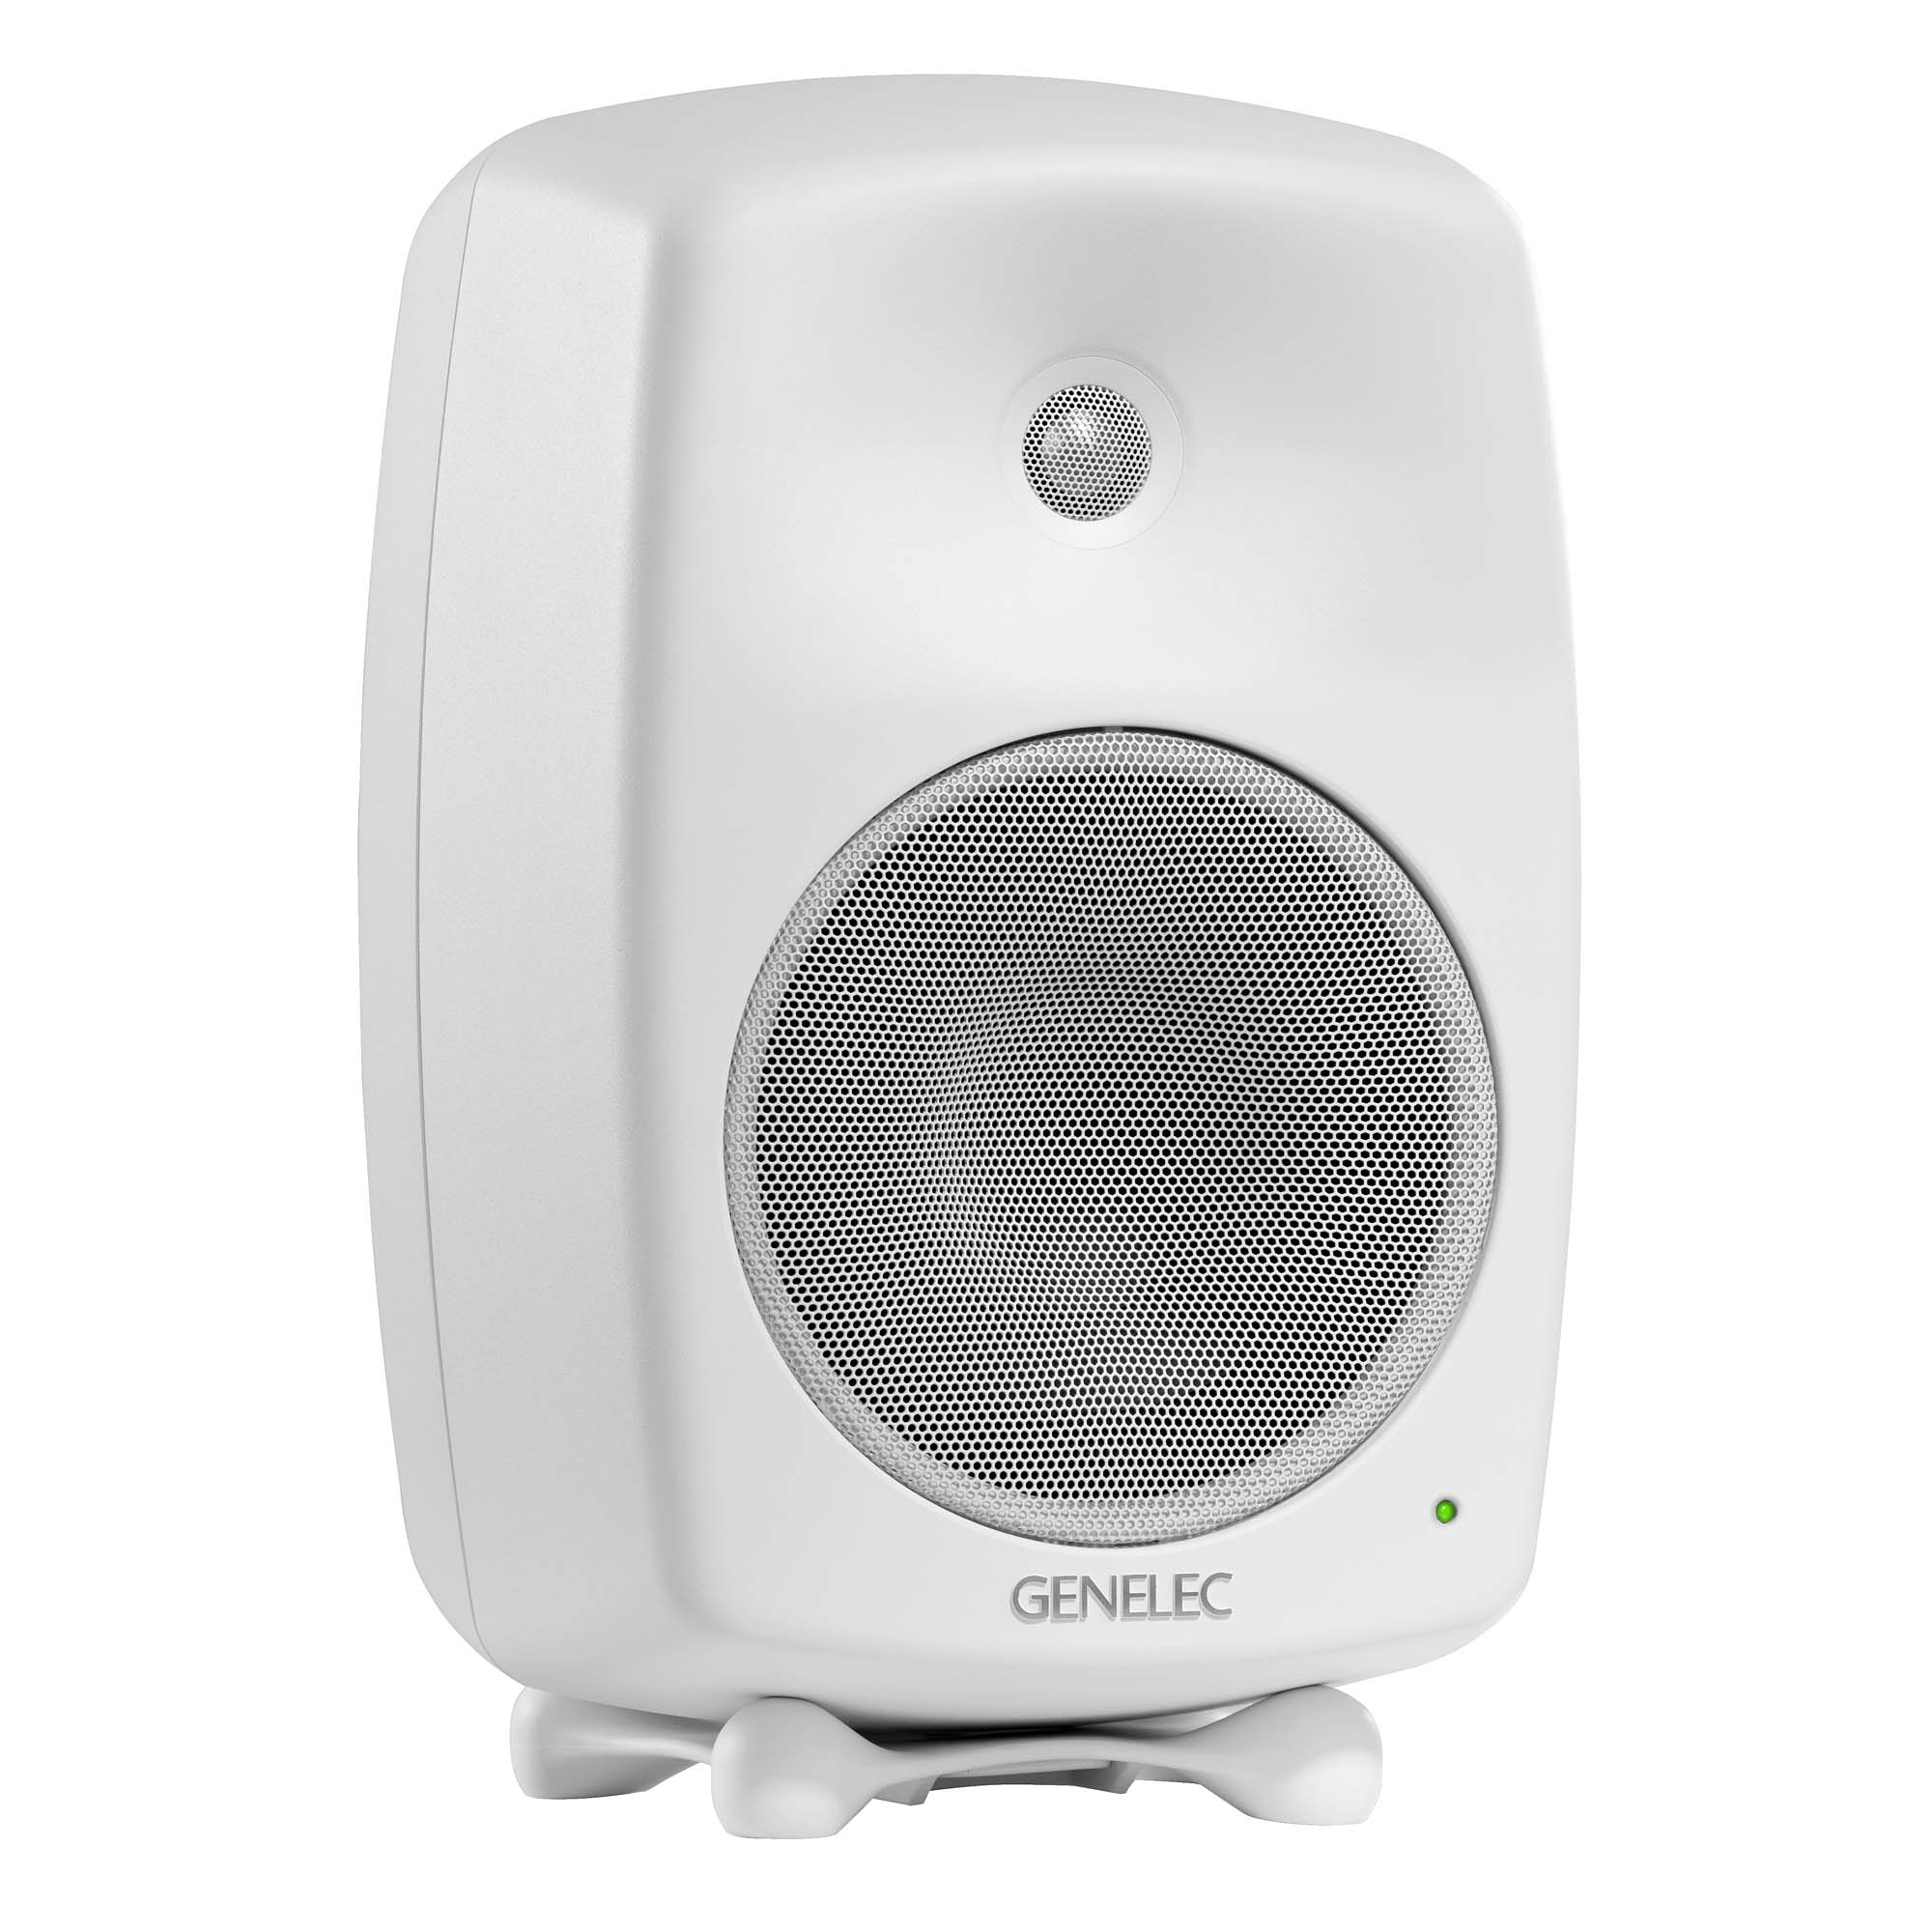
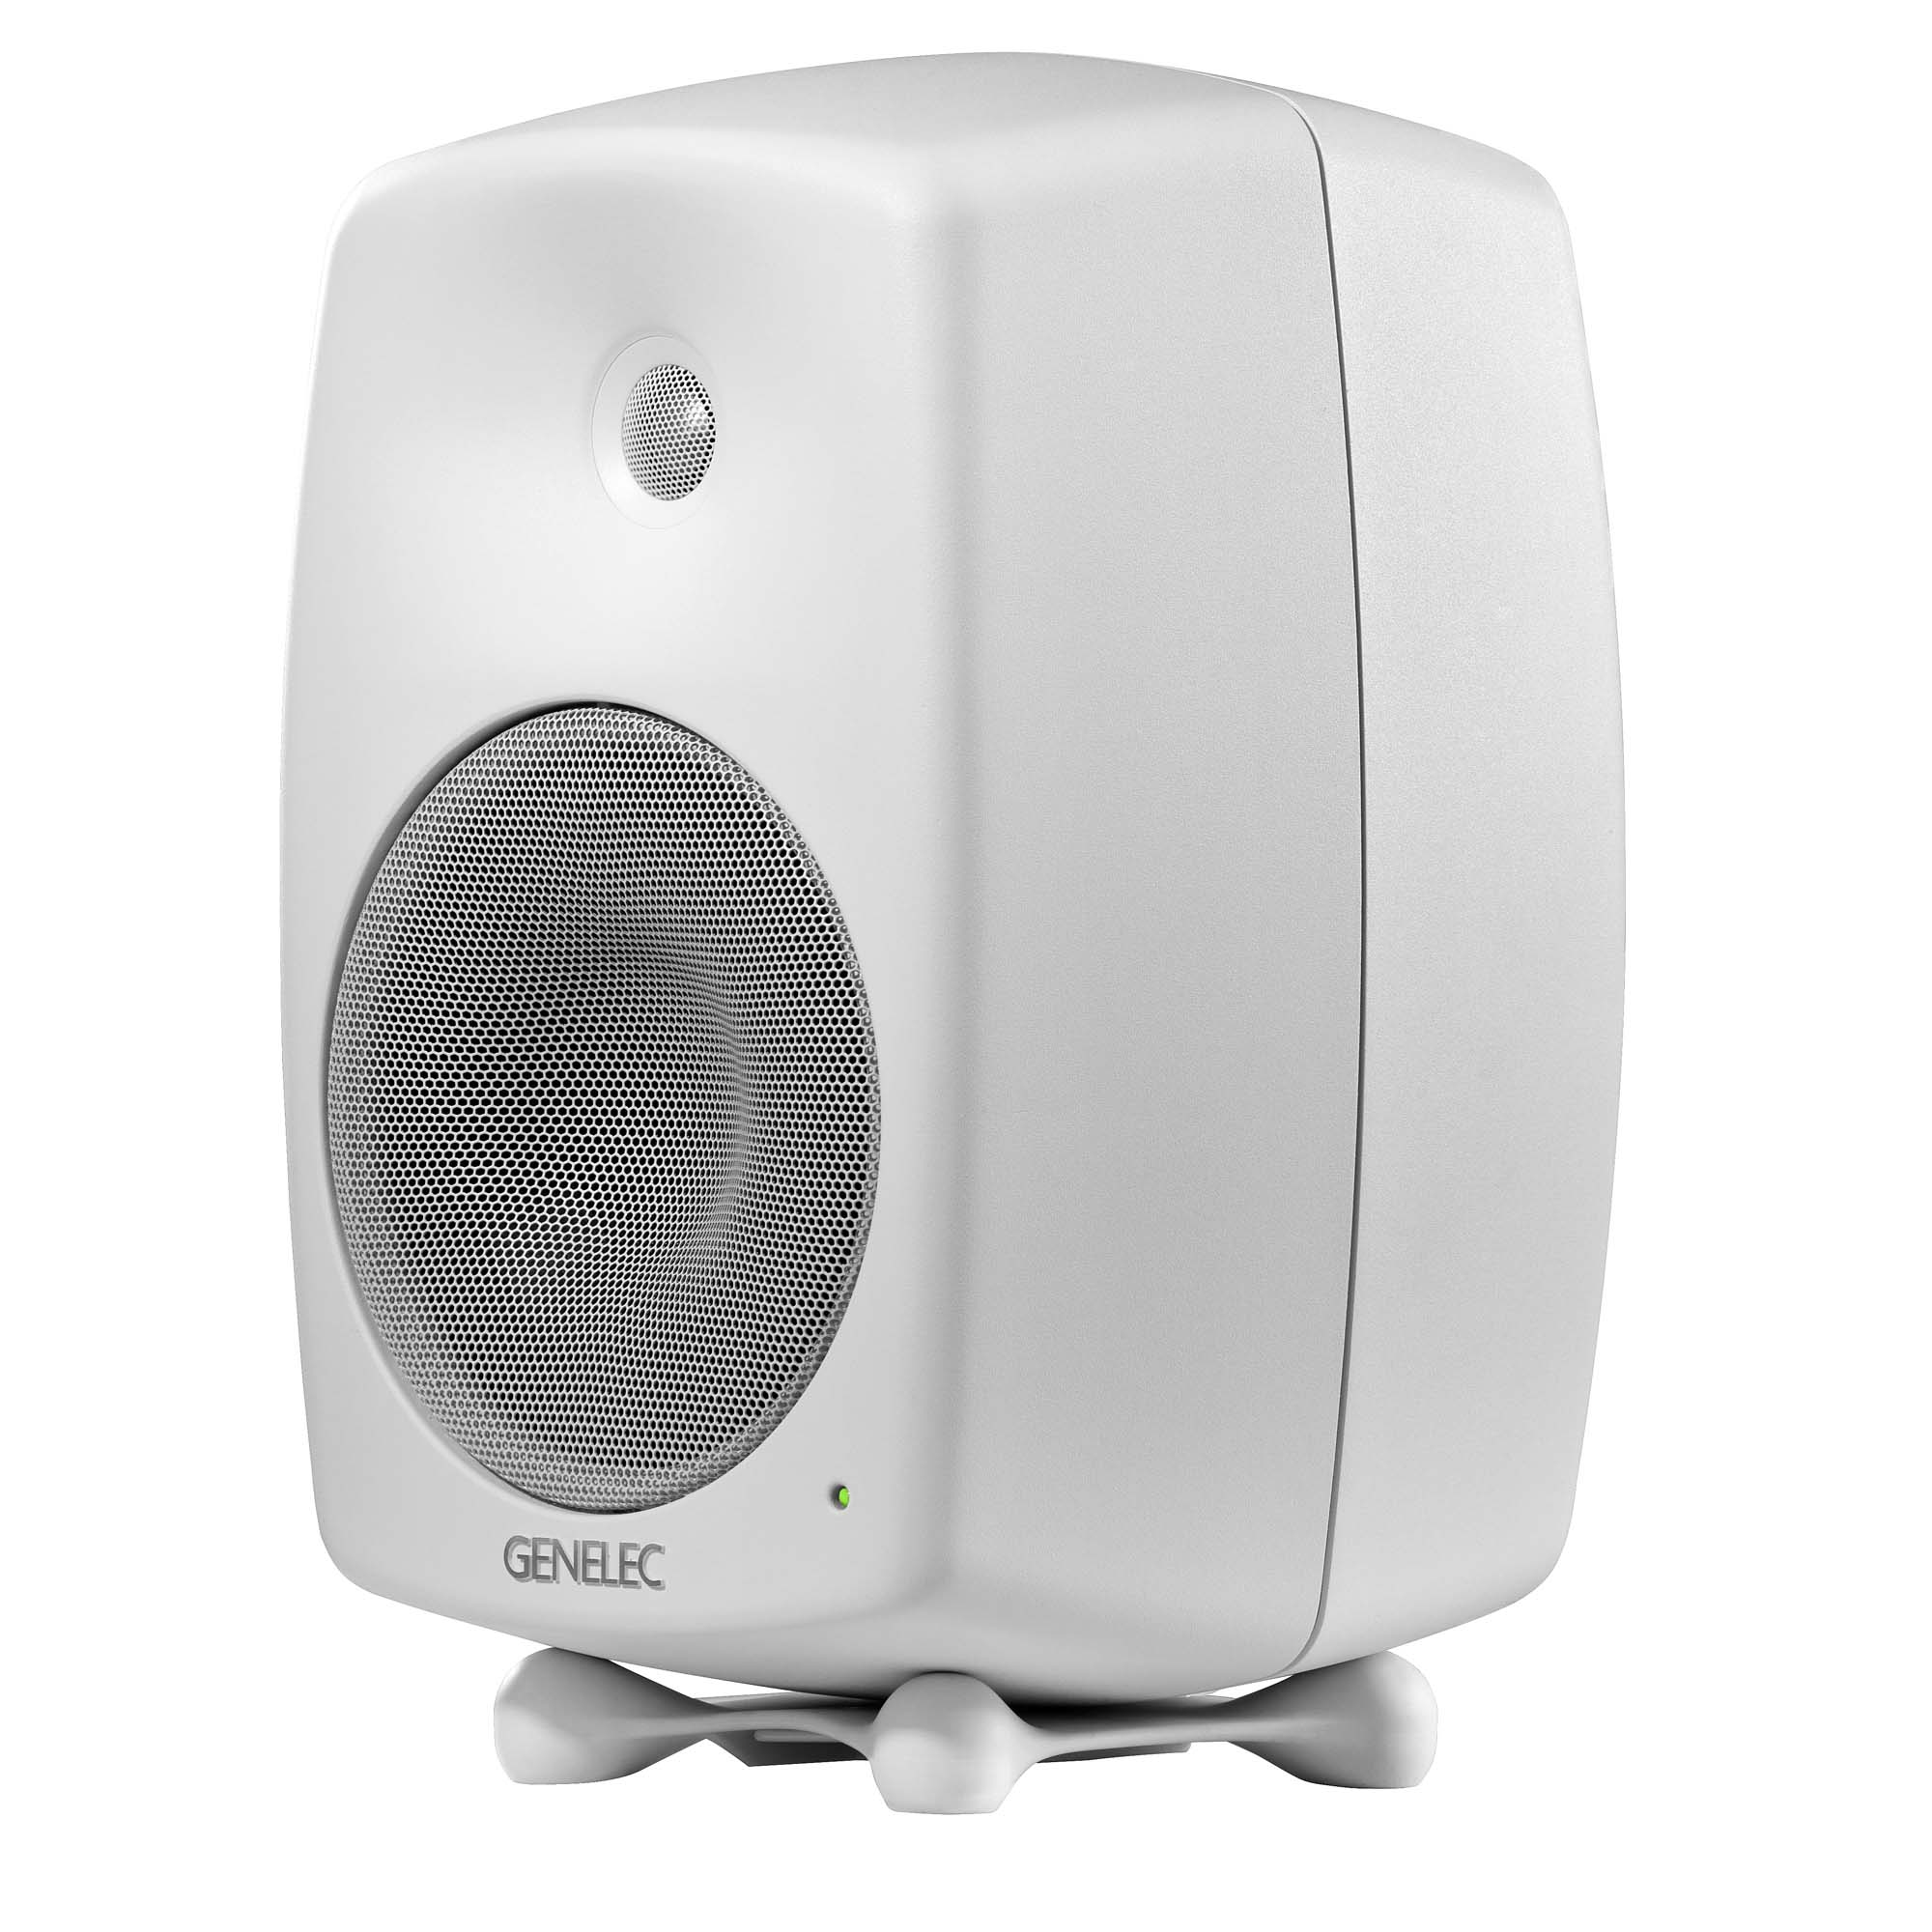
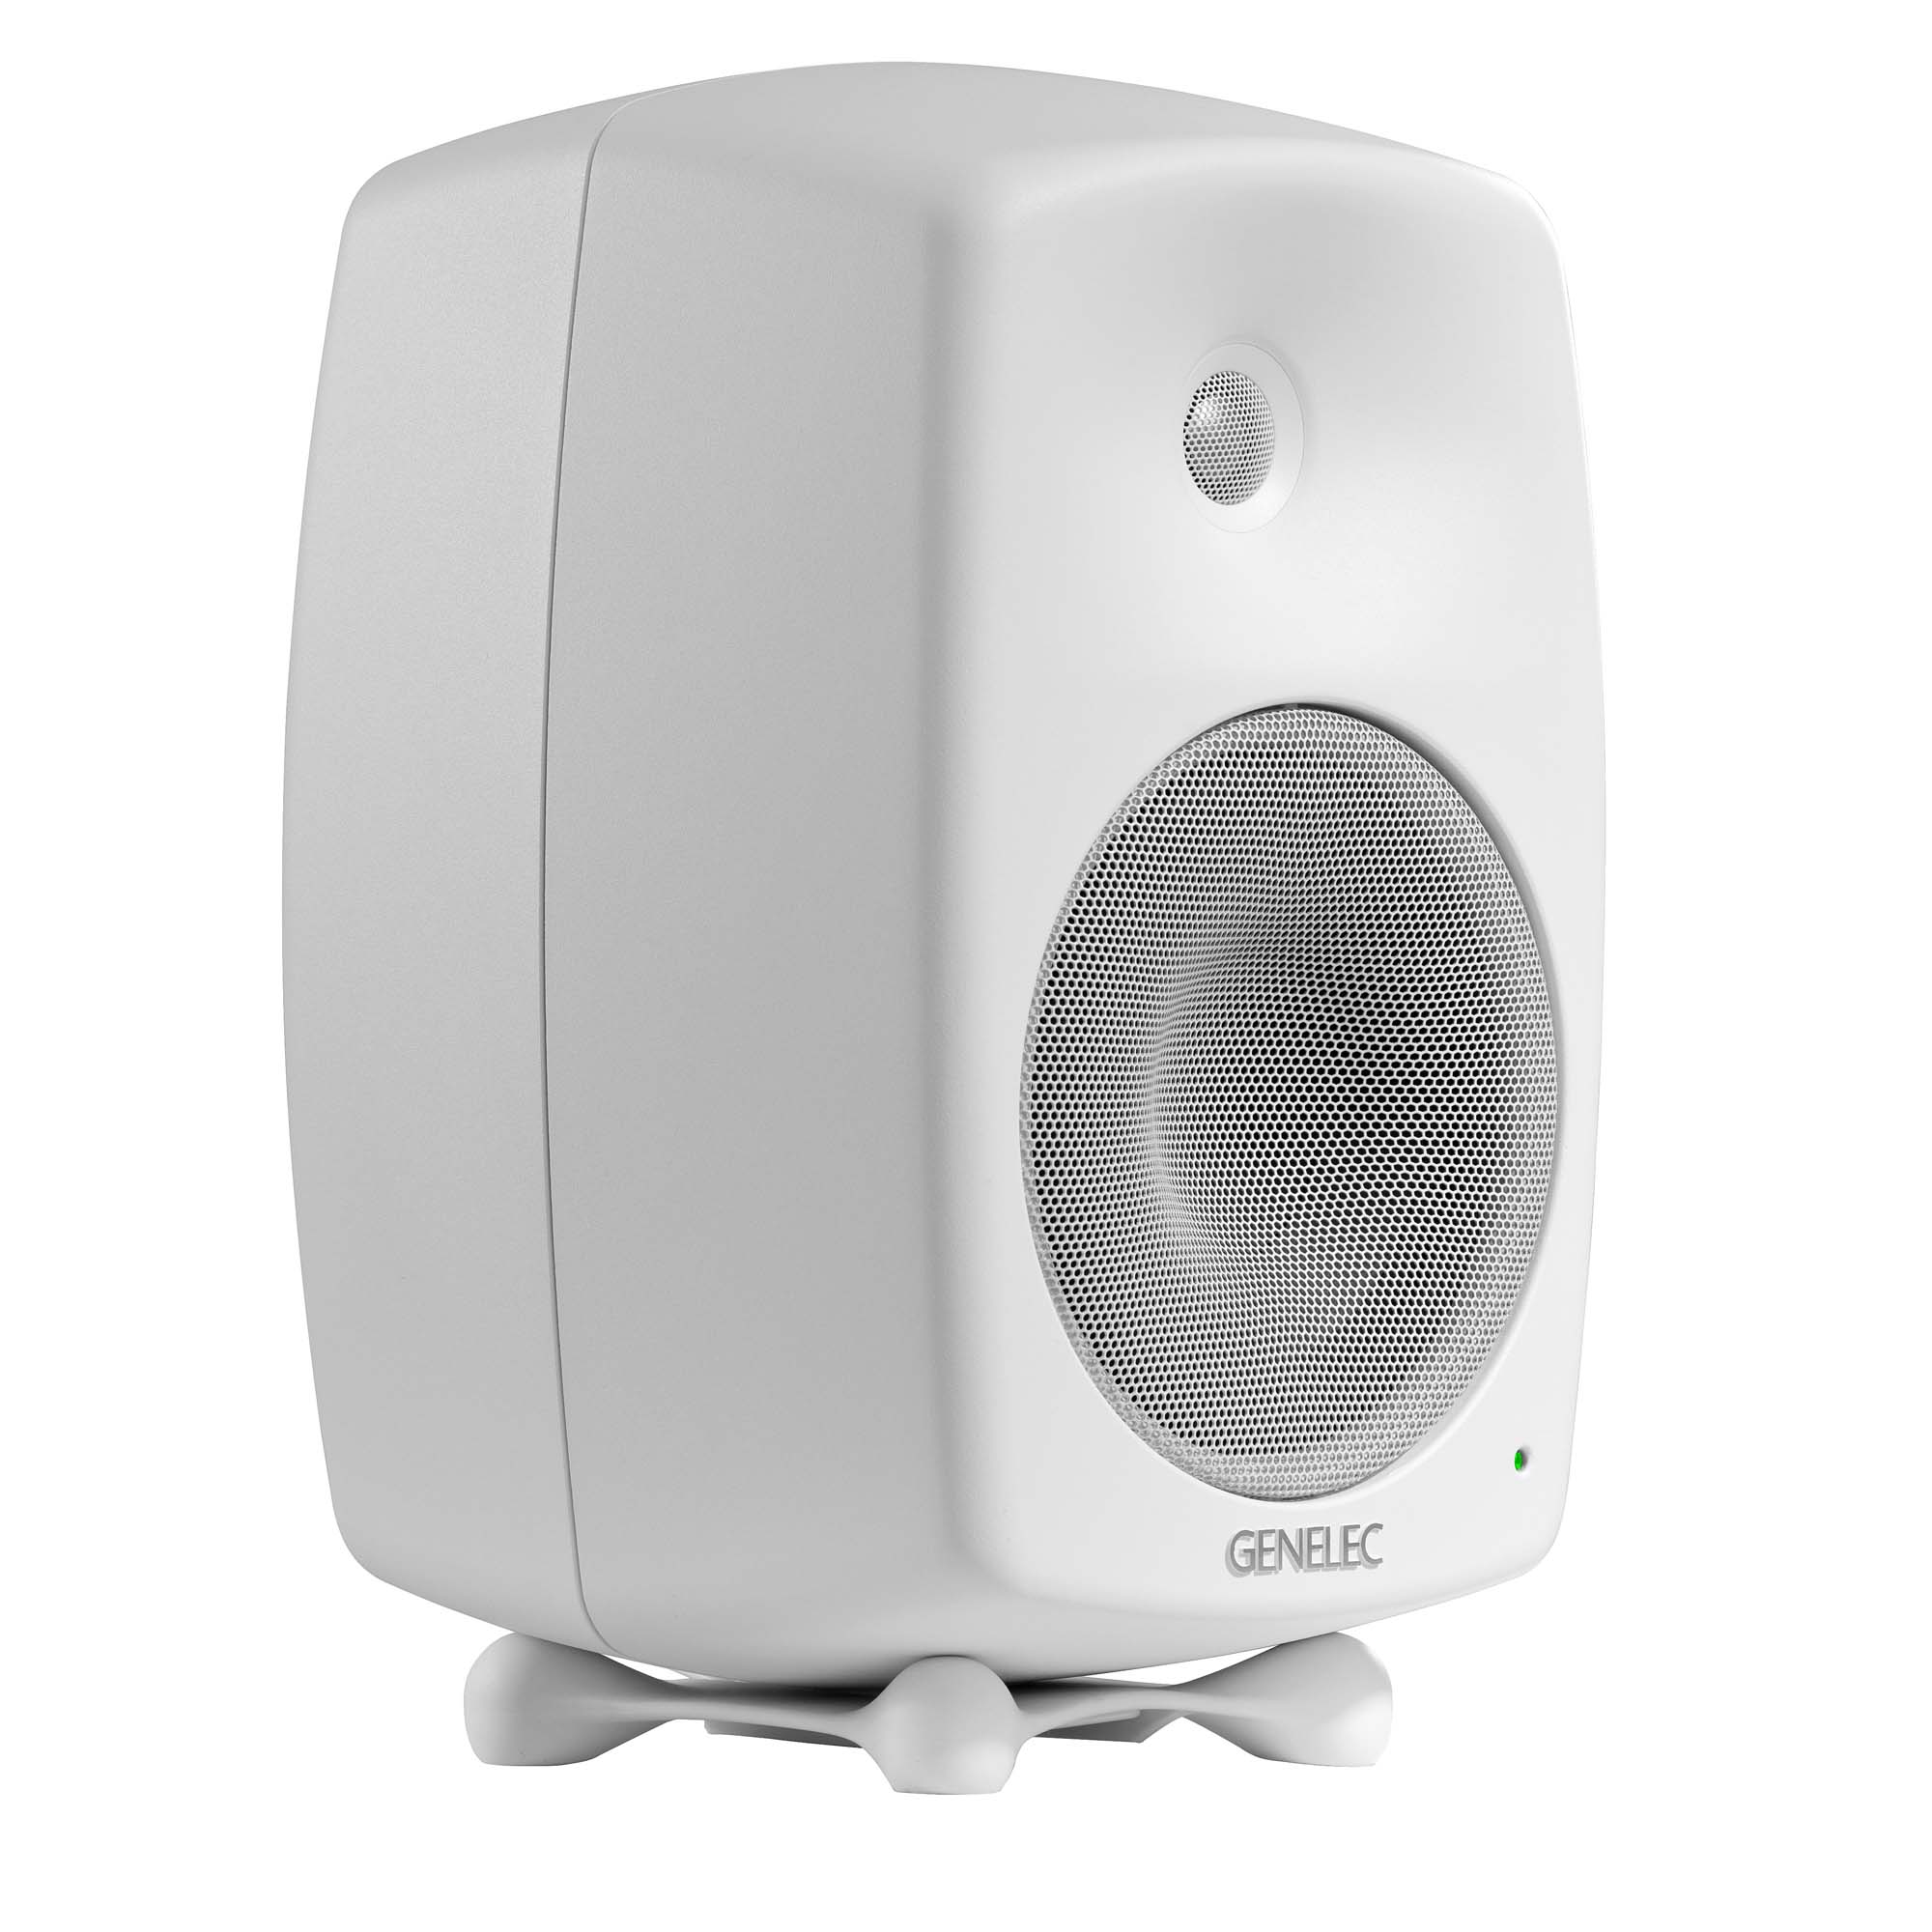
Upplev det sanna ljudet av din mix du erbjuds av den fantastiska prestandan och mångsidigheten som modell 8040B erbjuder.
Den här produkten har utgått.
Upplev det sanna ljudet av din mix du erbjuds av den fantastiska prestandan och mångsidigheten som modell 8040B erbjuder.
Den här produkten har utgått.

Aktiva delningsfilter

Tekniken Directivity Control Waveguide (DCW™)

SPL
105 dB

Frekvensomfång
41 Hz - 25 kHz (-6 dB)

Mått
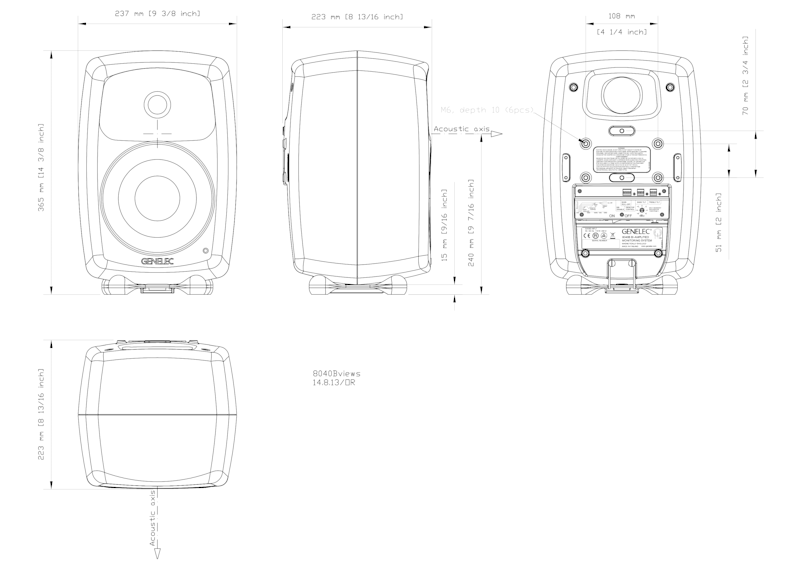
H 365 x W 237 x D 223 mm, med Iso-Pod™ (vy i tum)
Inspelningstekniker världen över väljer 8040B för dess felfria prestanda med en SPL-nivå på 105 dB och lågfrekvens ner till 41 Hz. Det här är en närfältsmonitor som ger både klart ljud och mycket energi.
8040B:s kabinett av återvunnet aluminium kombinerar transparent, ofärgad ljudkvalitet med unik estetik. Du kan jobba snabbt och effektivt och producera mixar som överförs perfekt. När du är klar med din session försätter funktionen Intelligent Signal Sensing (ISS™) automatiskt 8040B i ett strömsparläge som sparar energi.




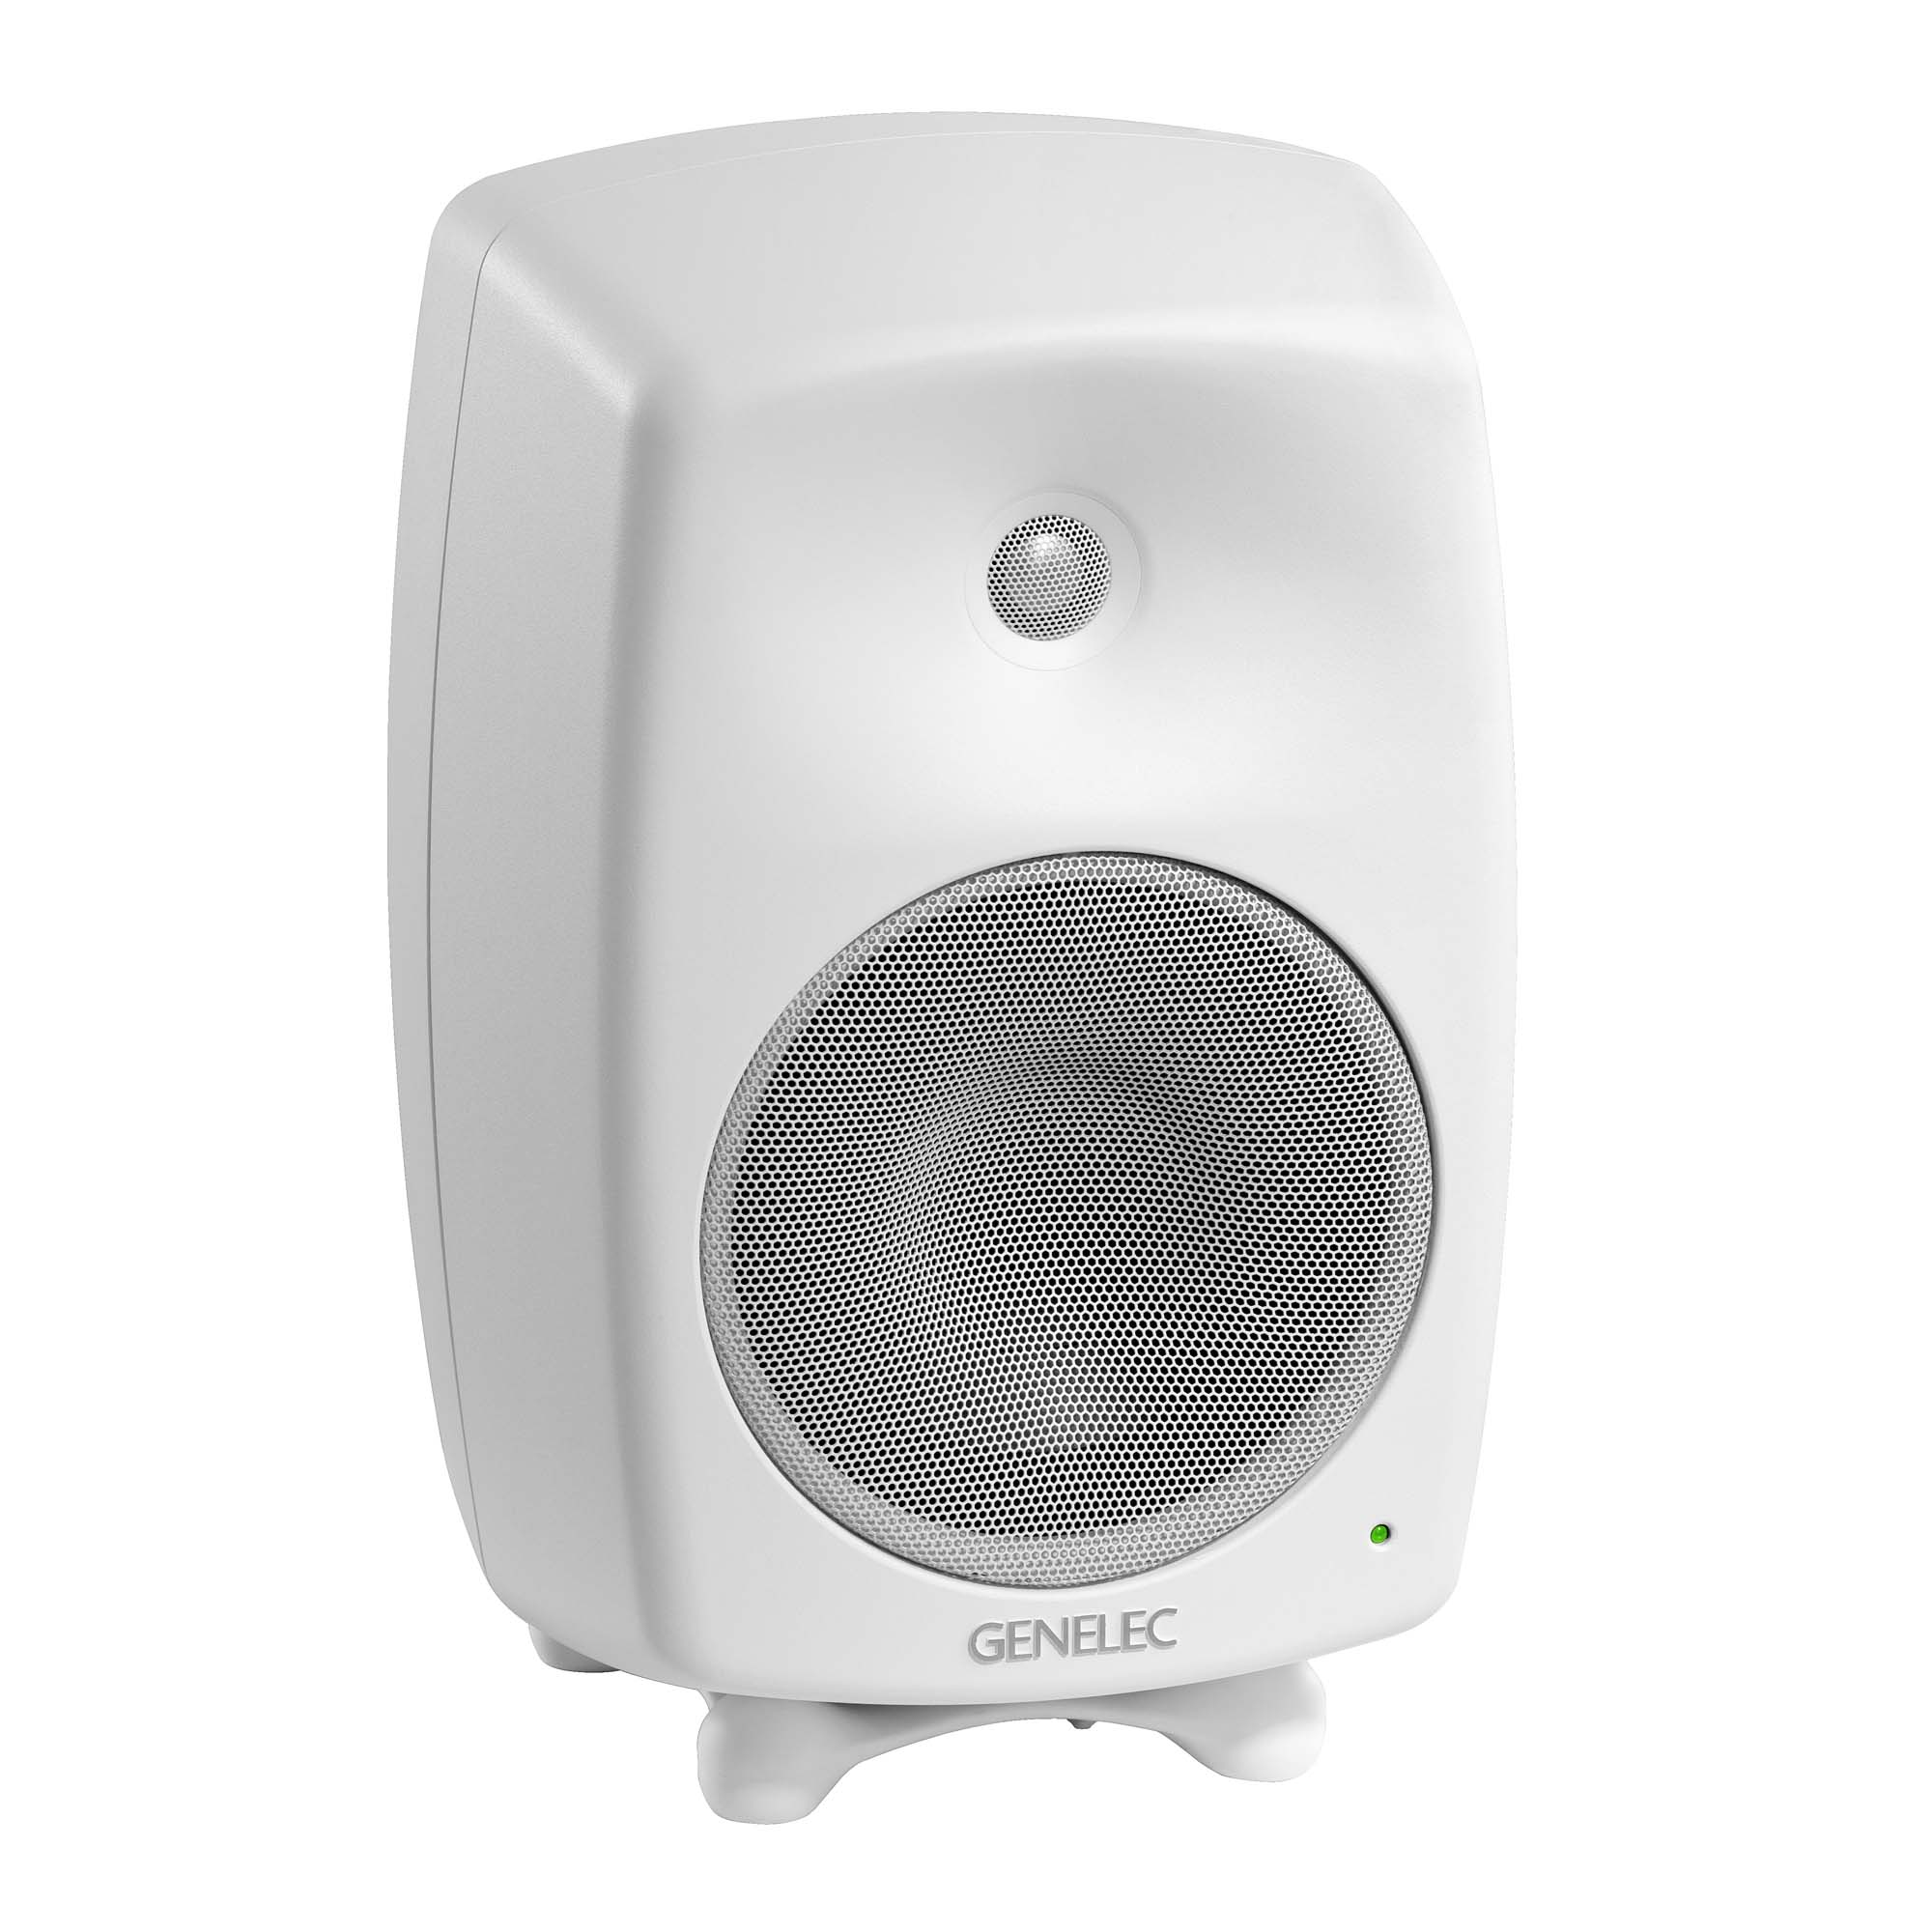
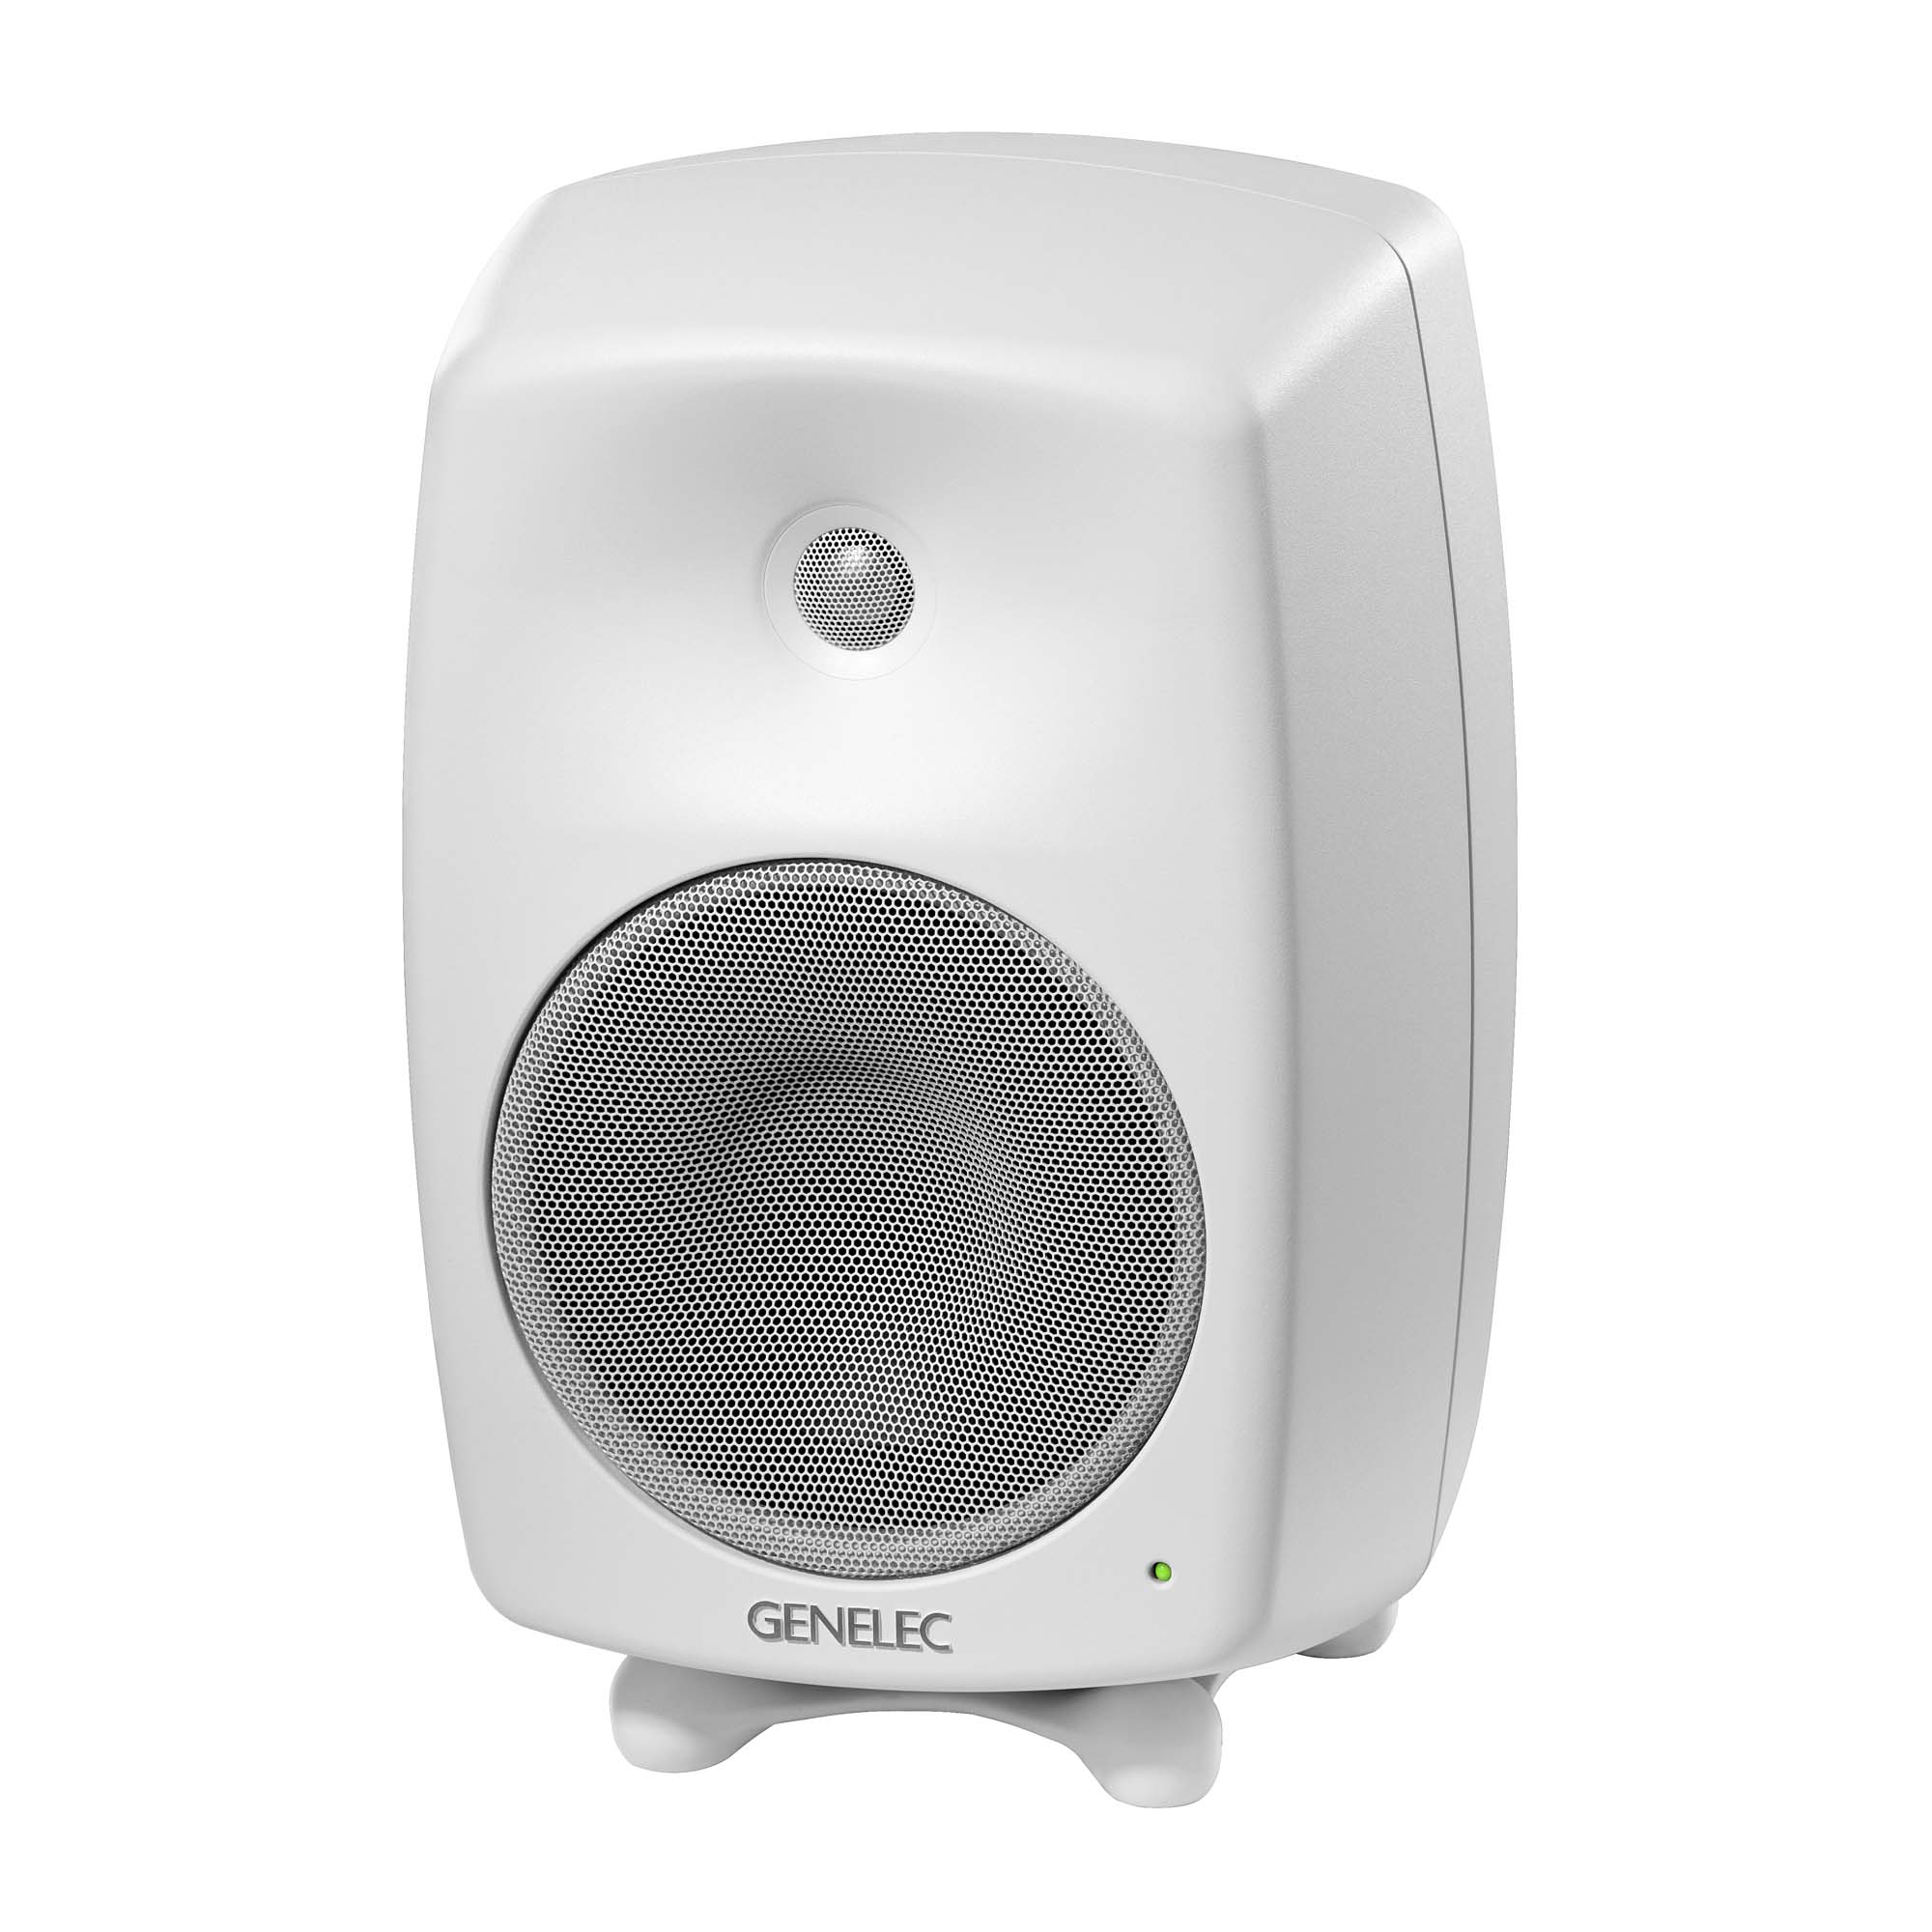


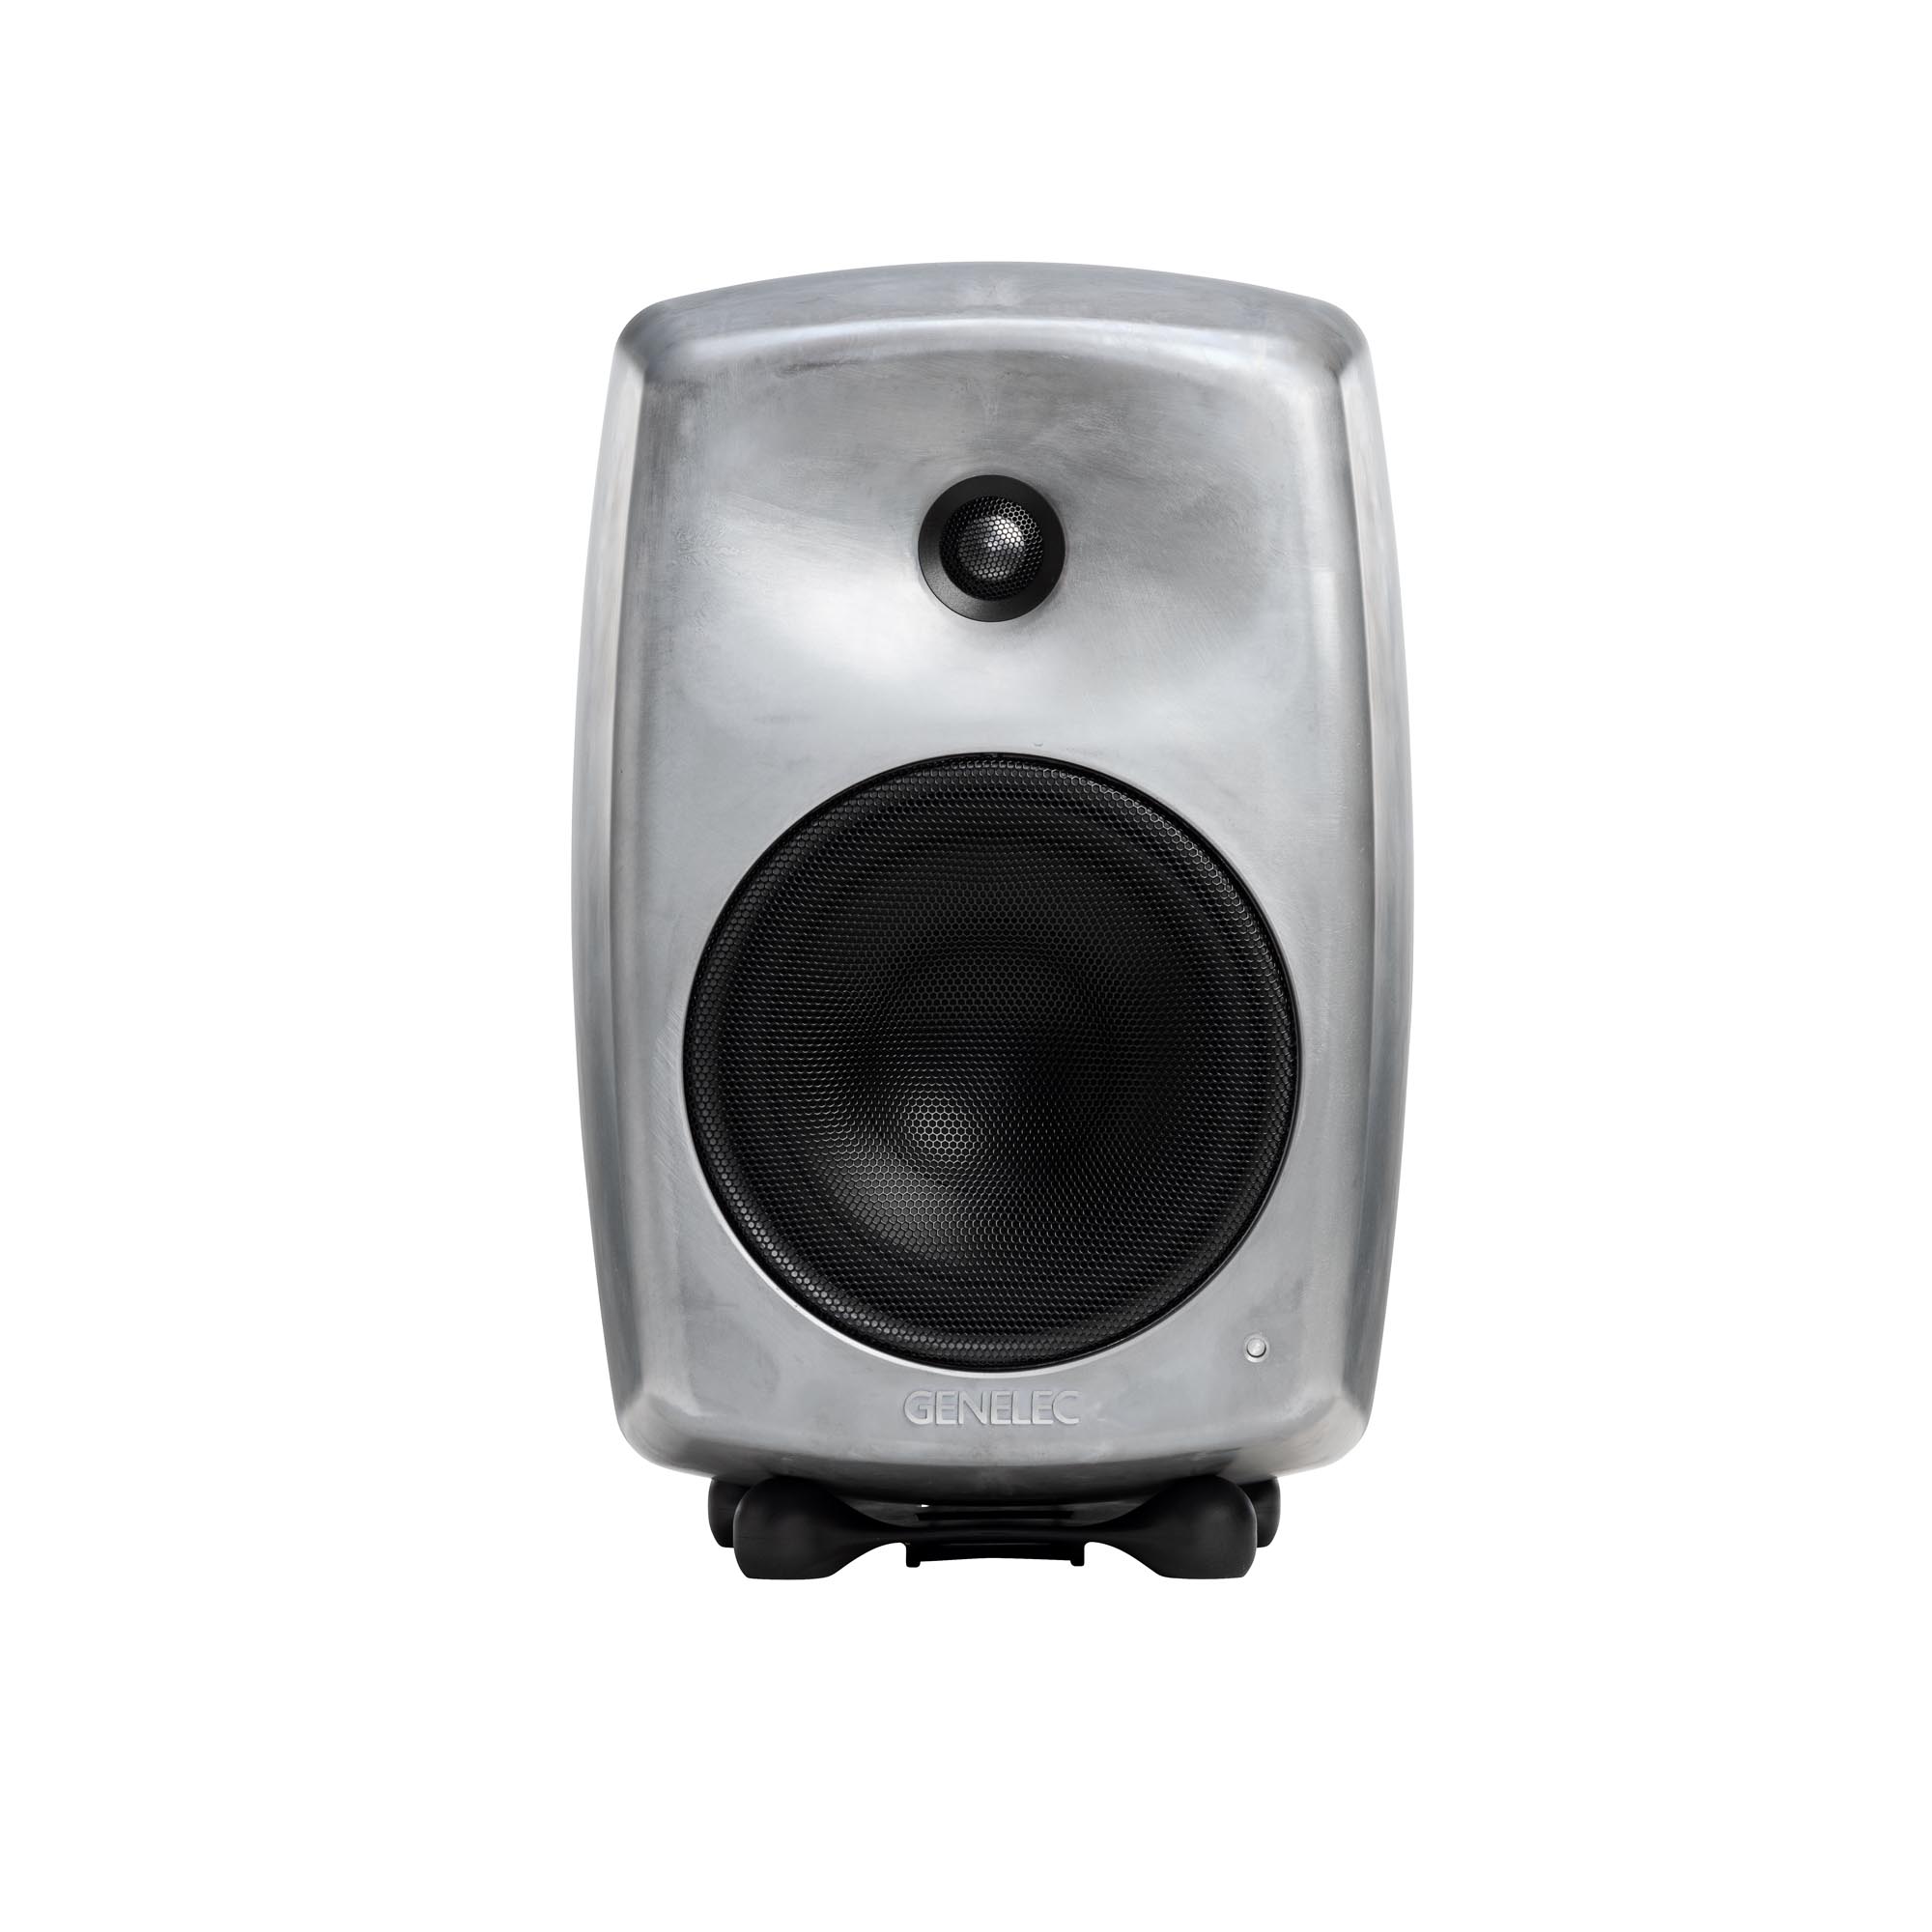
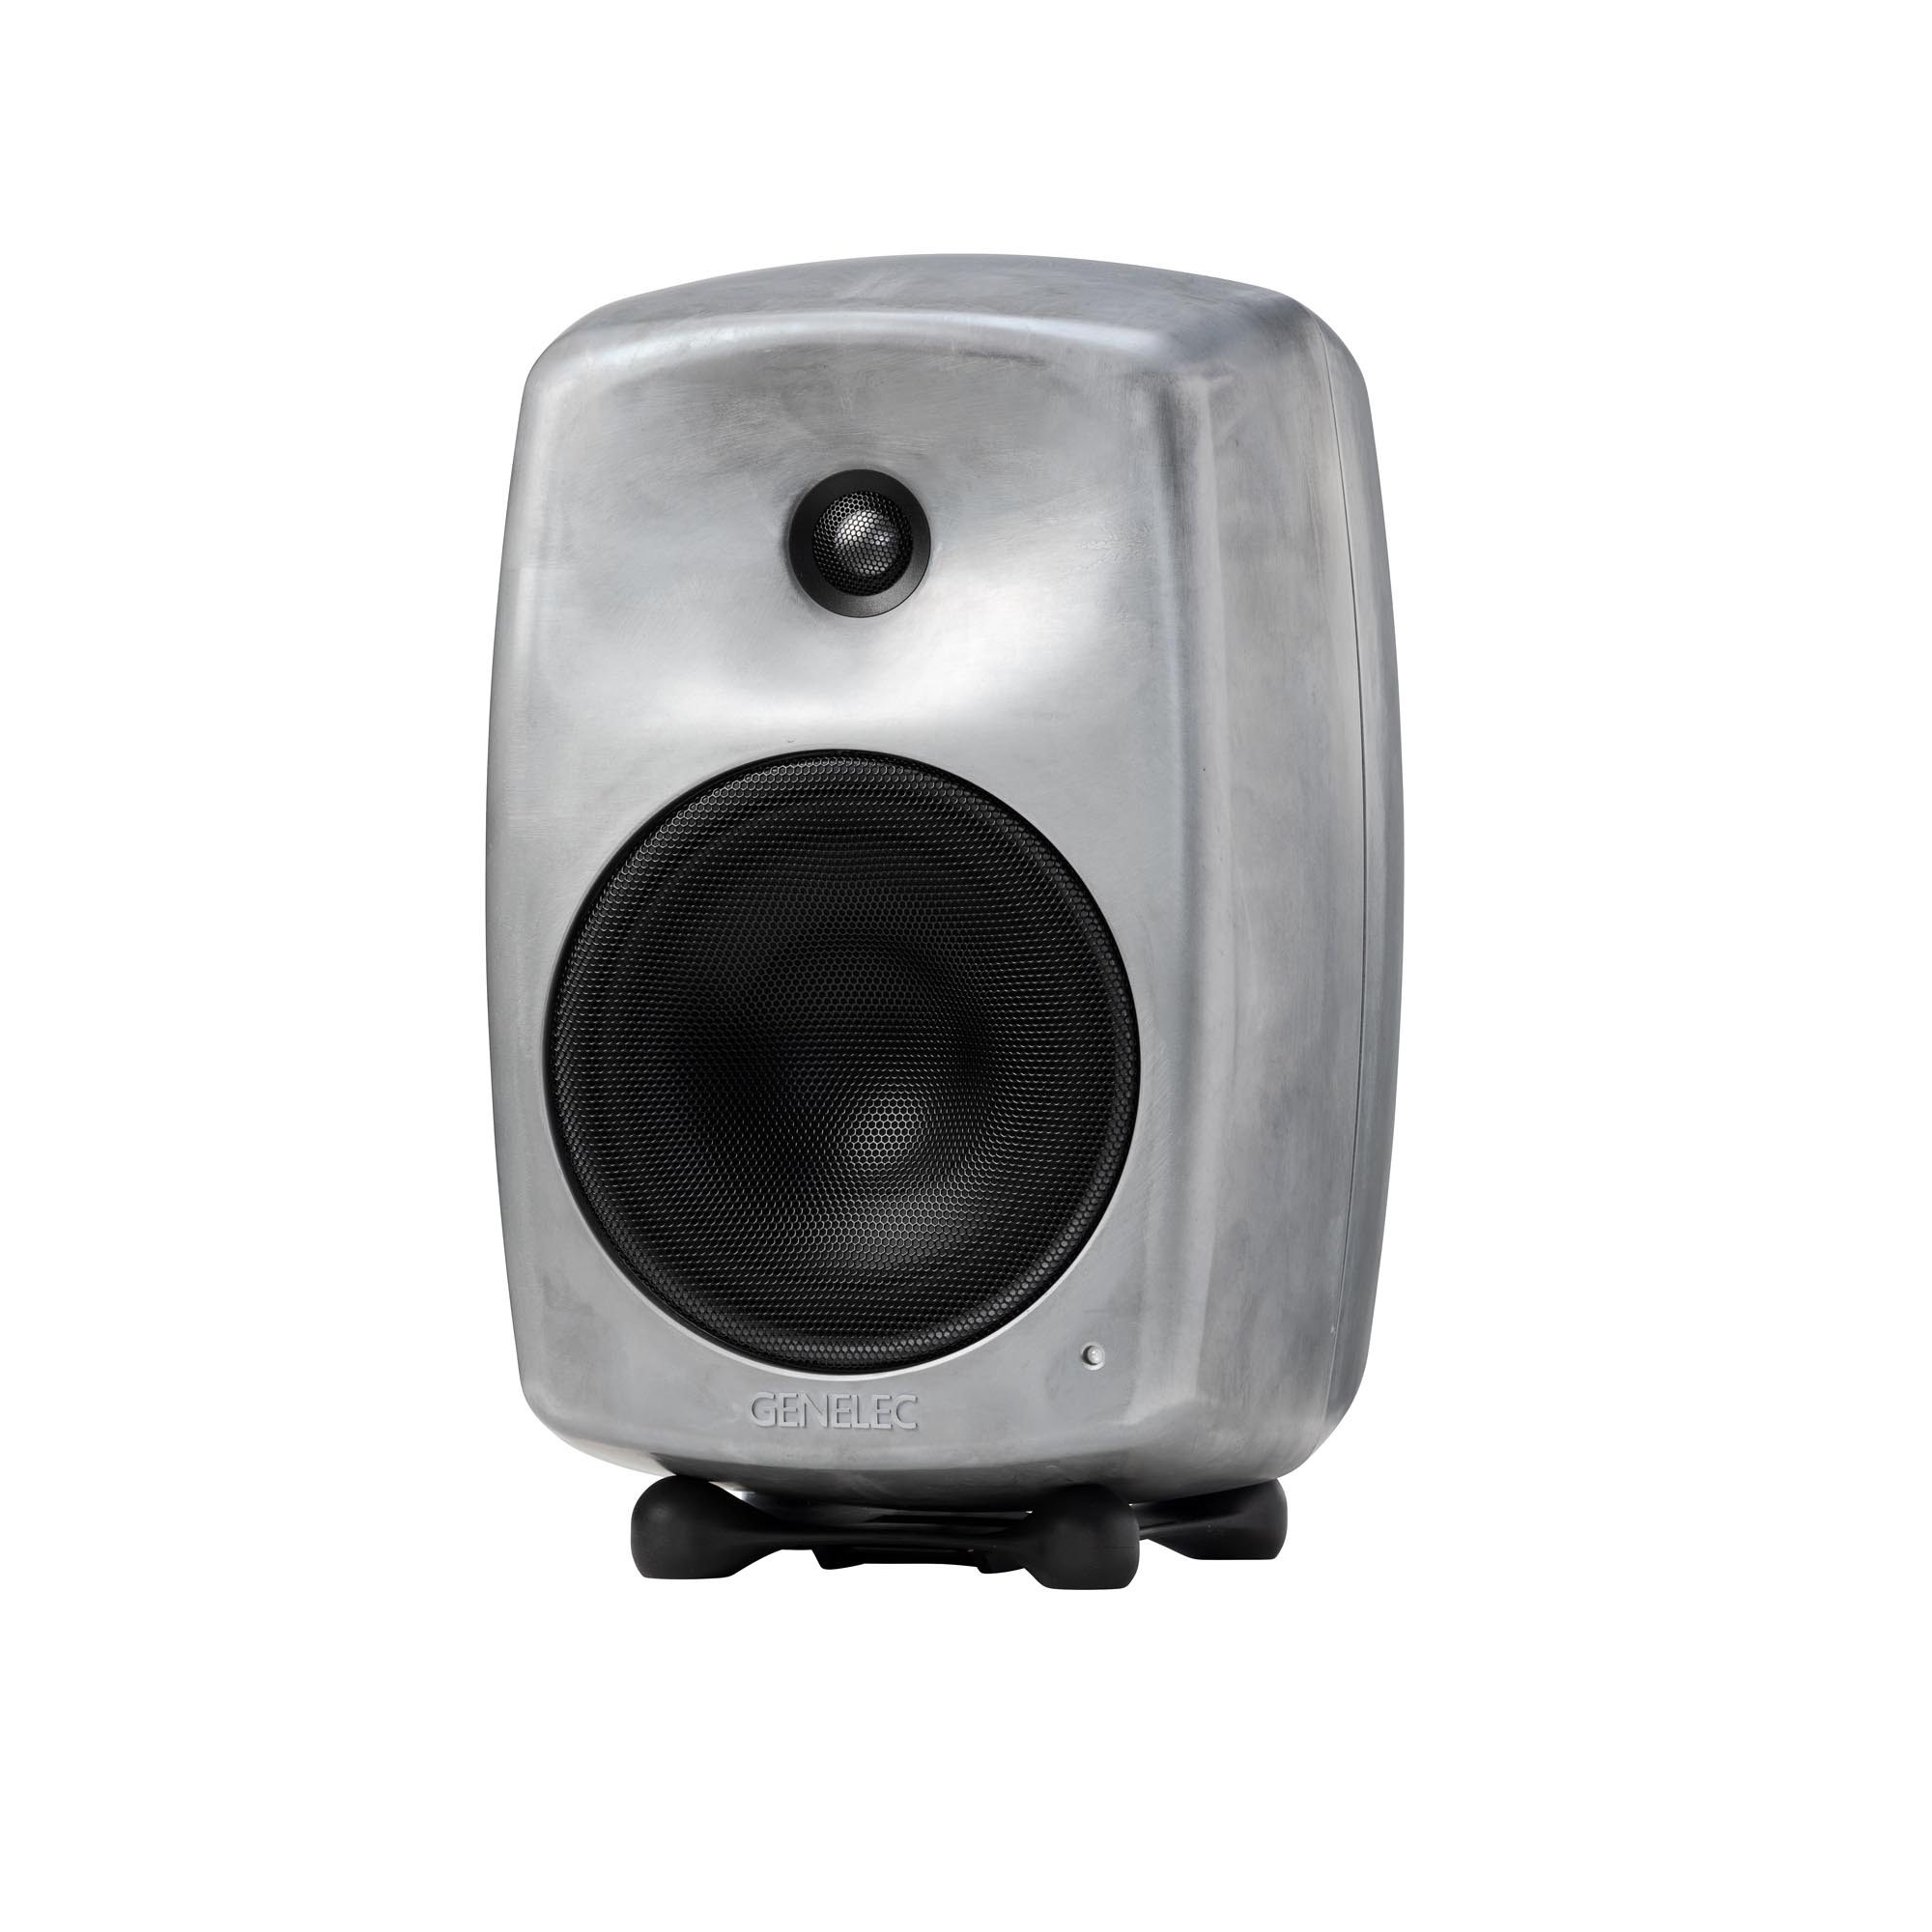

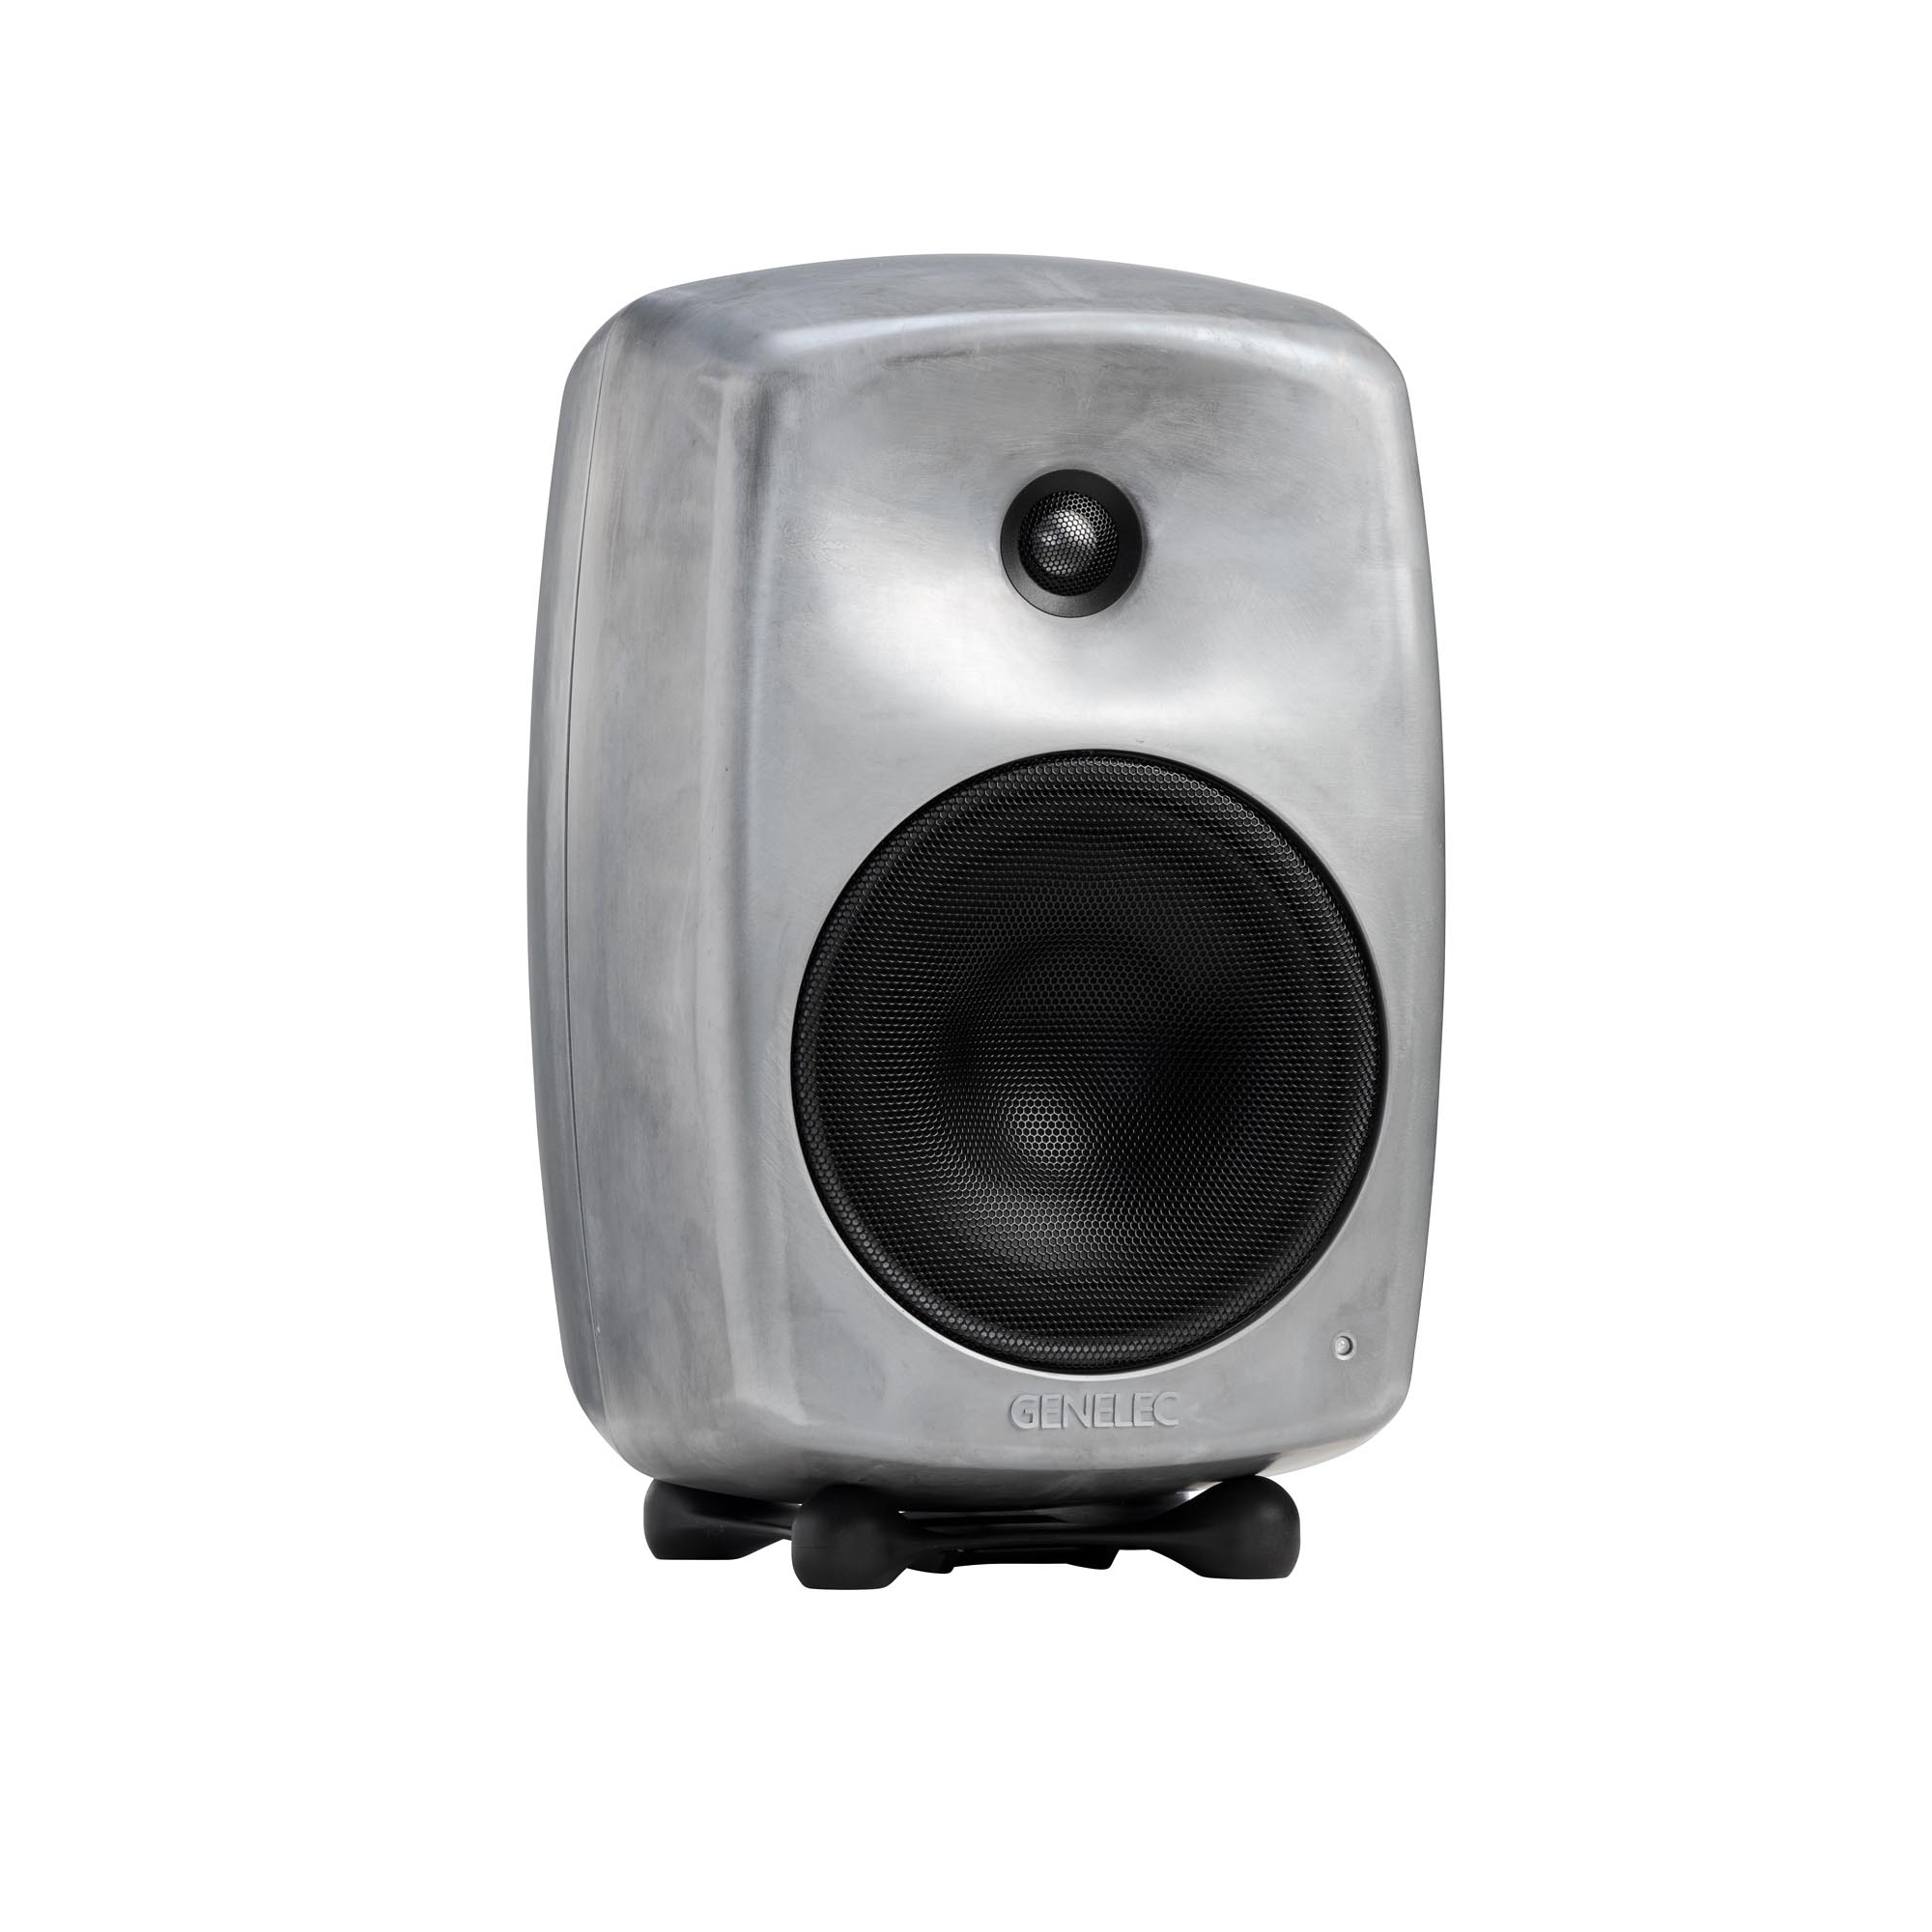

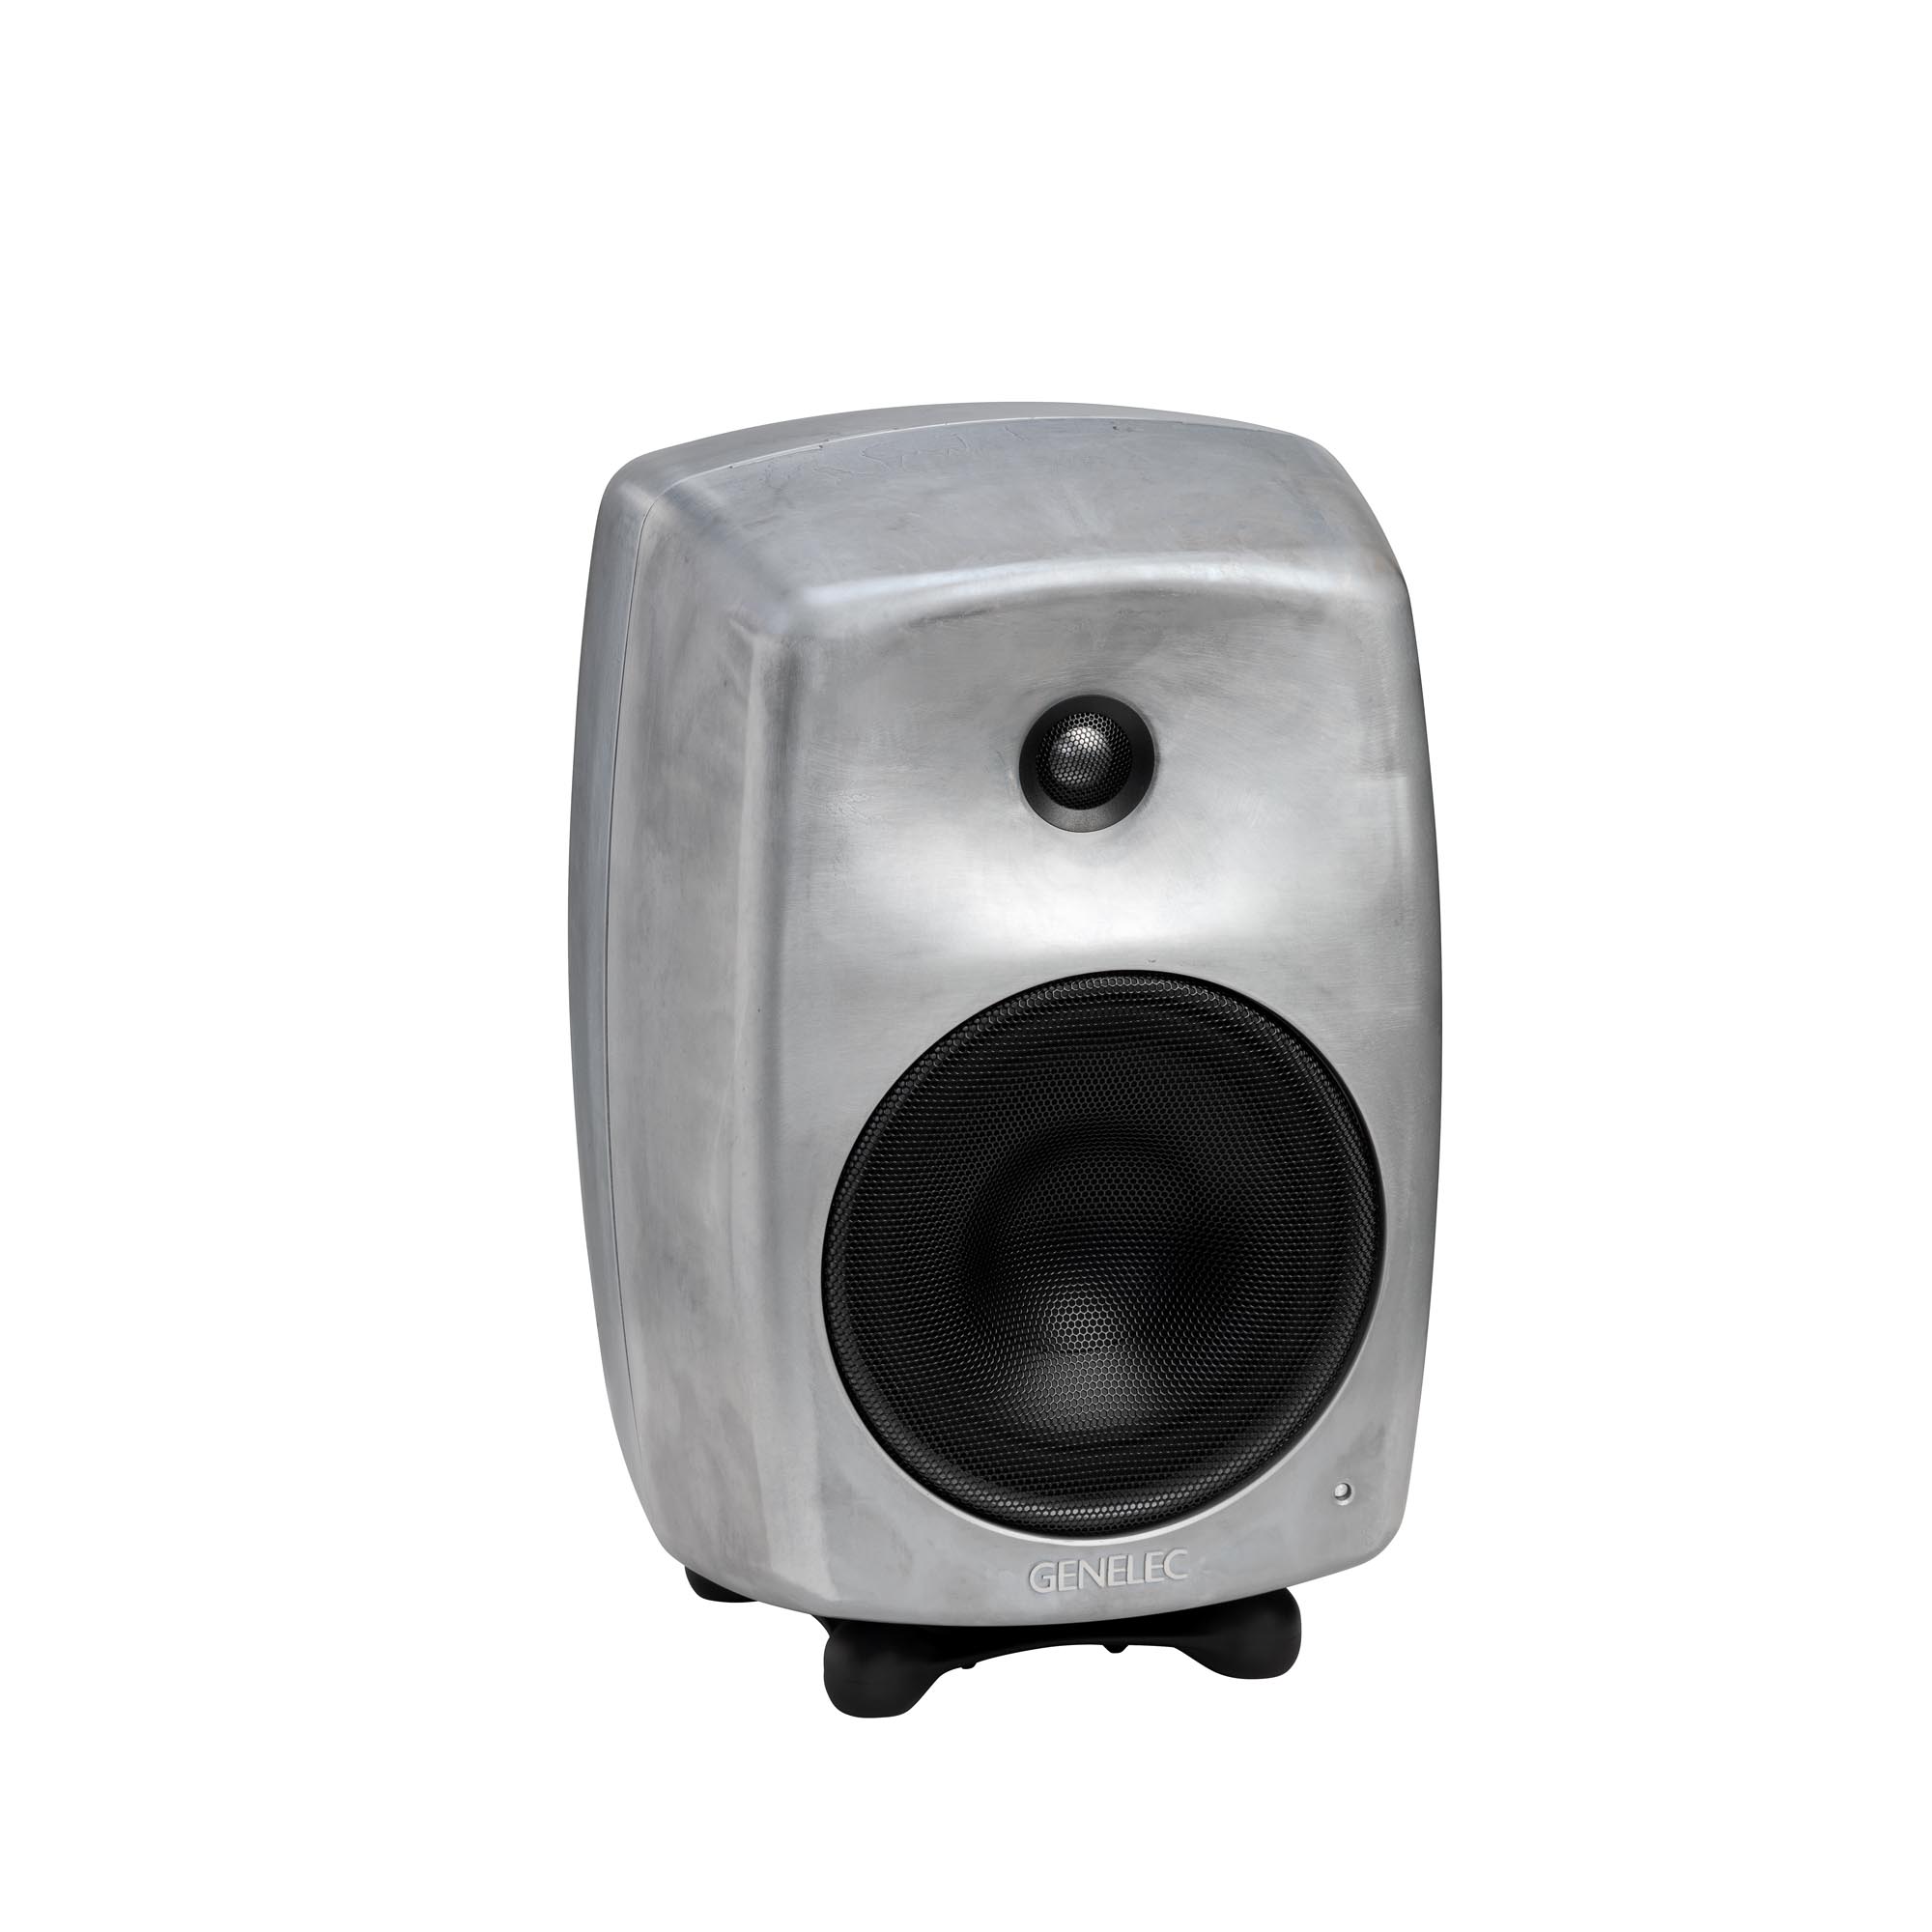
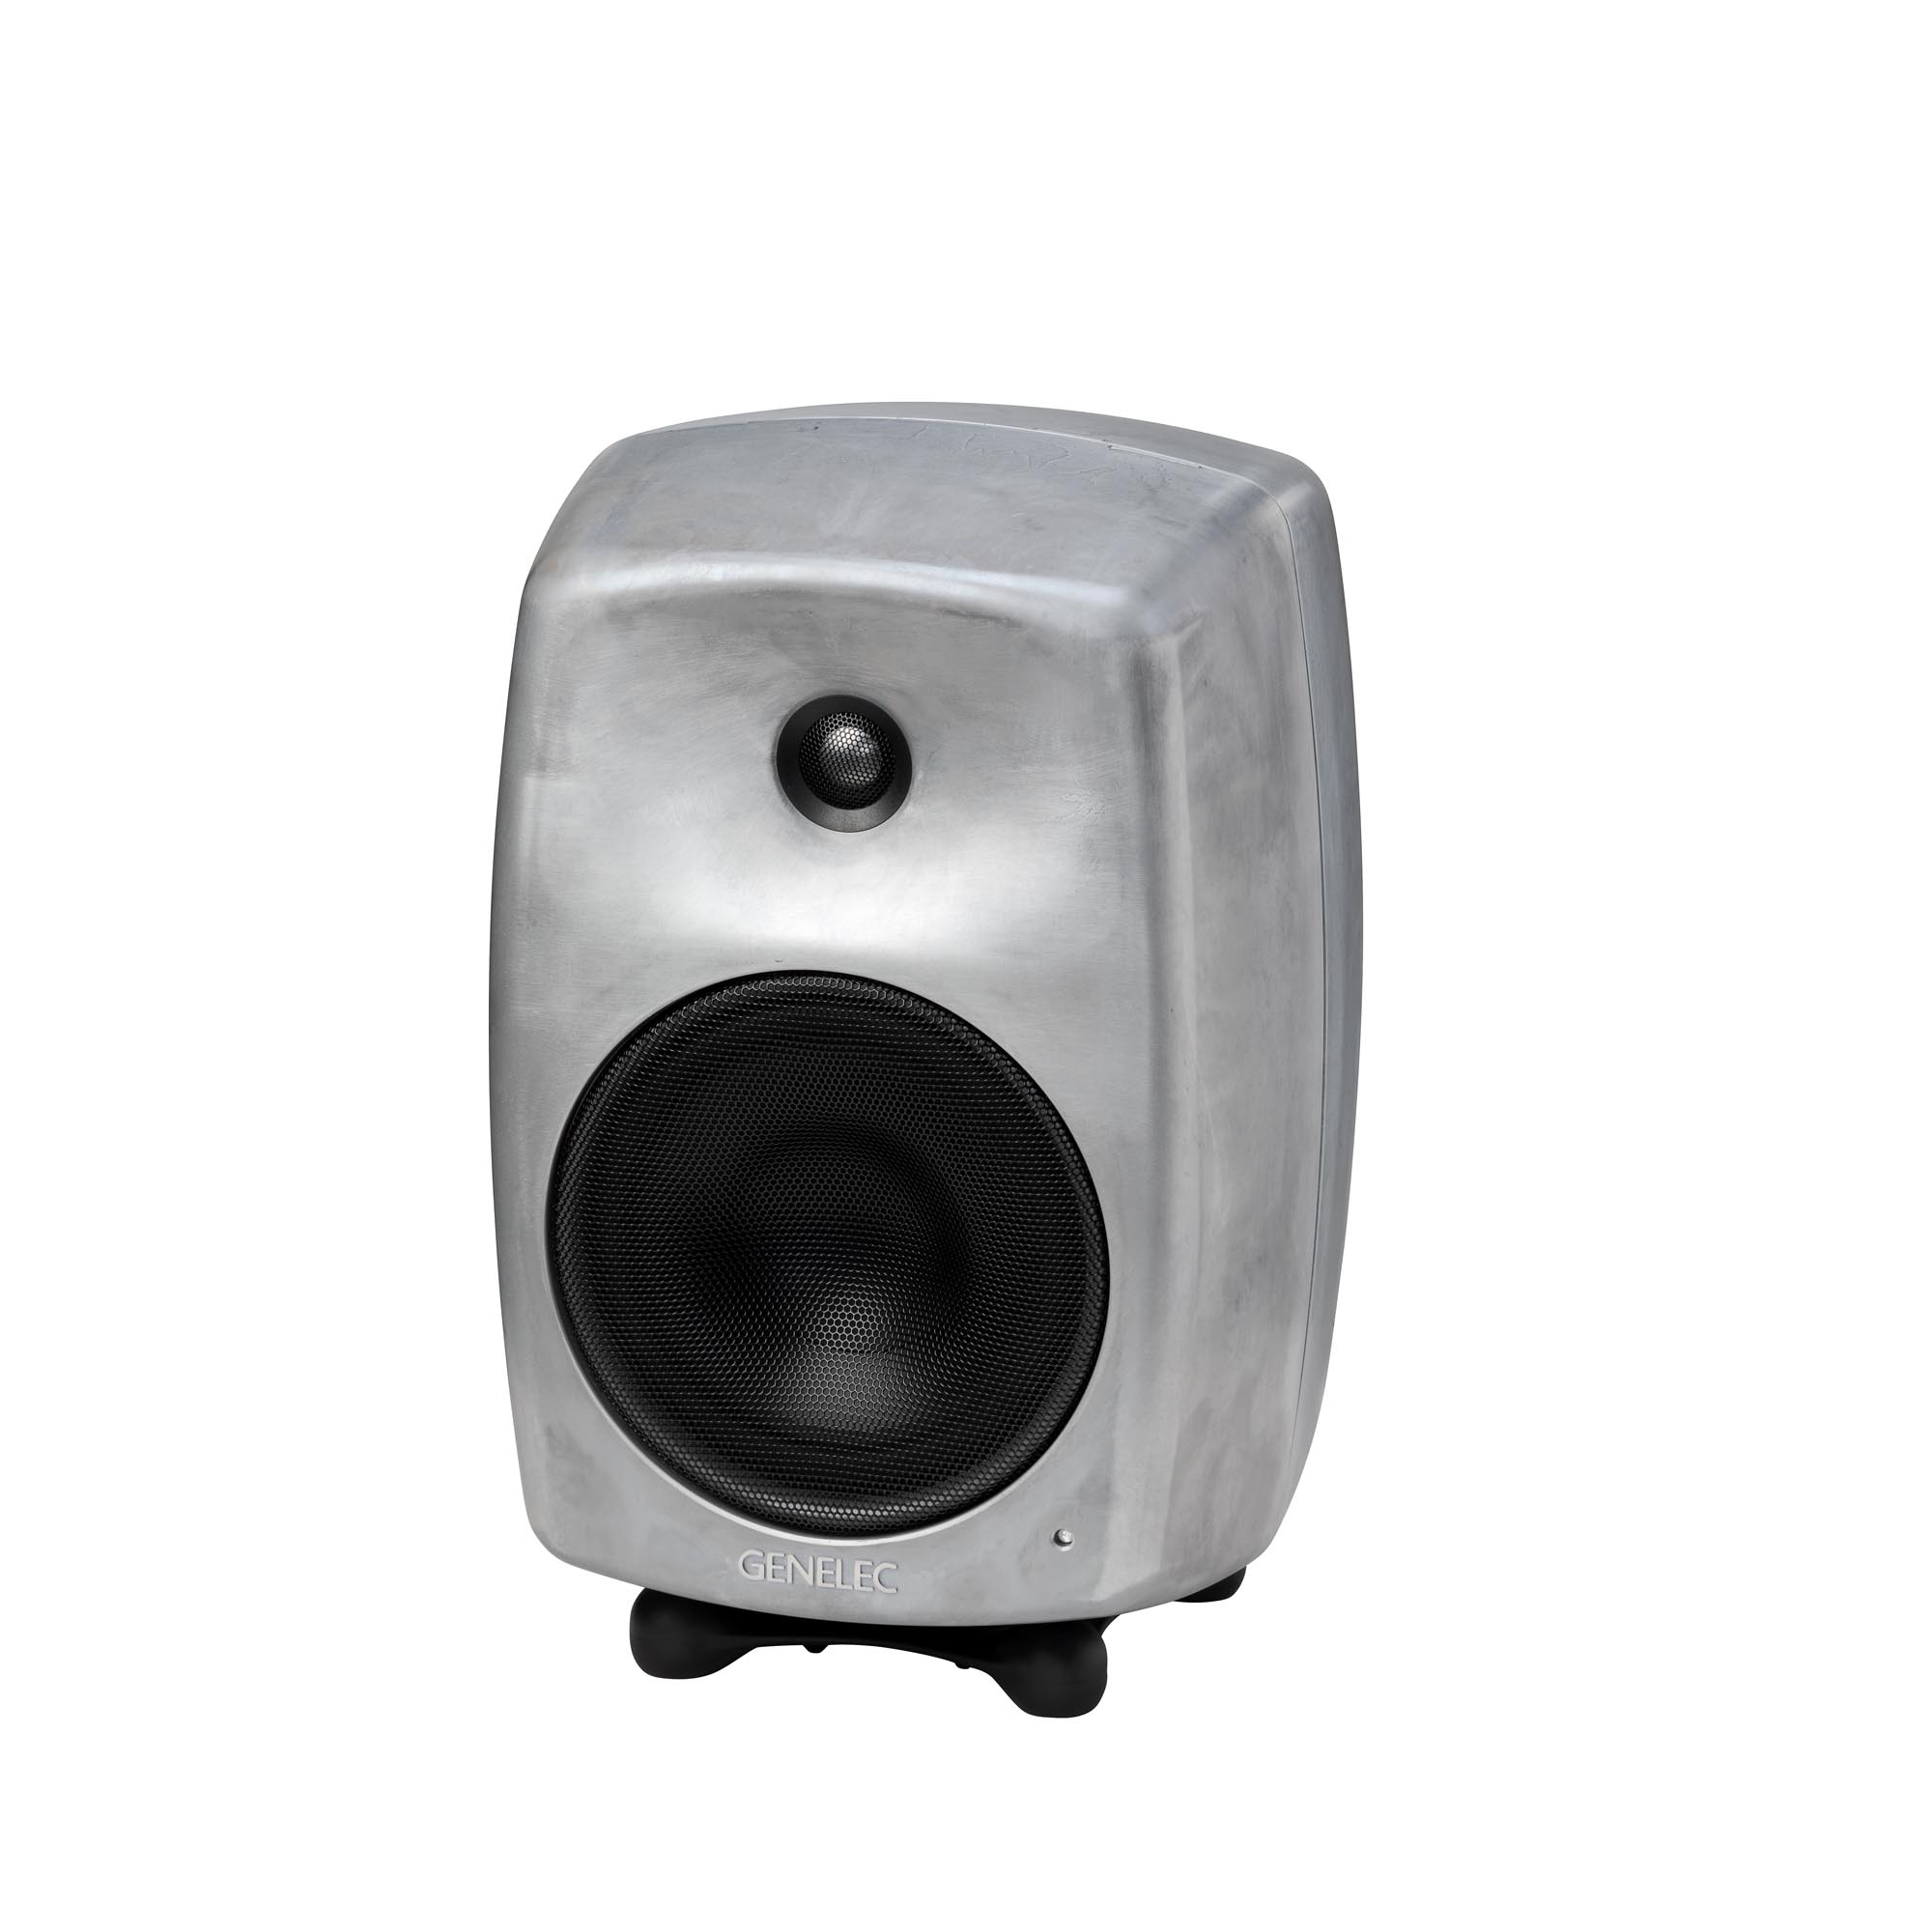
Genelec Oy: the world leader in active studio monitor speakers, was awarded a prestigious MIPA (Music Industry Press Award) for Best Studio Monitor (Nearfield) for its latest 8000 series of monitors at the Musikmesse, last month.
This award has become the 'Grammy' of the Musical Instrument and Pro Audio industries. Fifty-eight music press magazine from all over the globe cast their vote to make Genelec winner of the category.
The 8000 Series of near-field, two-way systems took two years to develop. It features a new approach to enclosure design, driver technology and active electronics to further reduce distortion and provide an outstanding performance.
All three models in the 8000 series feature die-cast aluminium, minimum diffraction enclosures (MDE™) which have large internal volumes, softly curved edges and outstanding strength to help reduce linear and non-linear distortion. They also incorporate Advanced Directivity Controlled Waveguide (DCW™) to provide extremely accurate control of the speaker's directivity.
The 8030A has a 5 inch bass driver and 3/4 inch tweeter. The free field frequency response is 55Hz to 21kHz, Peak SPL per pair is 108dB driven by a pair of 40 watt amplifiers.
The 8040A has a 6 1/2 inch bass driver and 3/4 inch tweeter. The free field frequency response is 45Hz to 21kHz. Peak SPL per pair is 115dB driven by a pair of 90 watt amplifiers.
The largest model the 8050A features an 8 inch bass driver and 1inch tweeter. The free field frequency response is 35Hz to 21 kHz. Peak SPL is 120dB and bass and treble amplification is 150 and 120 watts respectively.
2005
105 dB

90 W Bass (Class AB) + 90 W Treble (Class AB)
41 Hz - 25 kHz ("-6 dB")

± 2 dB (48 Hz - 20 kHz)

⌀ 165 mm Bass + ⌀ 19 mm Treble (vy i tum)
H 365 x W 237 x D 223 mm, med Iso-Pod™ (vy i tum)

9.4 kg / 20.7 lb

1 x XLR Analog Input
Upplev det sanna ljudet av din mix du erbjuds av den fantastiska prestandan och mångsidigheten som modell 8040B erbjuder.
Den här produkten har utgått.


48 Hz - 20 kHz (± 2 dB)
Low cutoff -6 dB
41 Hz
High cutoff -6 dB
25 kHz
Peak SPL Maximum peak acoustic output per pair at 1 m distance with music material.
≥115 dB
Short term max SPL Maximum short term sine wave acoustic output on axis in half space, averaged from 100 Hz to 3 kHz at 1 m.
≥105 dB
Long term max SPL Maximum long term RMS acoustic output in same conditions with IEC weighted noise (limited by driver unit protection circuit) at 1 m.
≥99 dB
Egenljud Self generated noise level in free field at 1m on axis (A-weighted).
≤10 dB SPL
Höjd
350 mm
Höjd med Iso-Pod
365 mm
Bredd
237 mm
Djup
223 mm
Material för kabinett
Die cast aluminium
Typ av kabinett
Reflex port
Typ av element
Cone
Magnetically shielded
Diameter
165 mm
Typ av element
Metal dome
Magnetically shielded
Diameter
19 mm
90 W Class AB
90 W Class AB
100, 120, 220 or 230VAC 50/60Hz according to region
ISS Aktiverat
≤0.5 W
Inaktiv
≤10 W
Full effekt
110 W
Input Analog signal input connector XLR female, balanced 10 kOhm.
Bass/Treble
3000 Hz

Aktiva delningsfilter

Tekniken Directivity Control Waveguide (DCW™)

Intelligent Signal Sensing (ISS™)

Iso-Pod™-stativ

Tekniken Minimum Diffraction Enclosure (MDE™)

Optimerade förstärkare

Skyddskretsar

Reflexportdesign

Rumskorrigering

Mångsidiga monteringsalternativ

Elektroniska delningsfilter gör det möjligt att dela upp ljudsignalen i separata frekvensband som kan dirigeras till enskilda slutsteg, vilka sedan kopplas till specifika givare som är optimerade för ett specifikt frekvensband.
Aktiva delningsfilter finns både i digitala och analoga varianter. Genelecs digitala aktiva delningsfilter har extra funktioner för signalbearbetning, såsom skydd av element, fördröjning och utjämning.
Genelecs analoga aktiva delningsfilter innehåller elektroniska komponenter som används vid låga signalnivåer som är lämpliga för ineffekten till slutstegen. Detta till skillnad från passiva delningsfilter som används vid höga signalnivåer från slutstegets uteffekt, vilket gör att de måste hantera höga strömstyrkor och i vissa fall även hög spänning.
I ett vanligt tvåvägssystem behöver de aktiva delningsfiltren två slutsteg – ett för baselementet och ett för diskantelementet.
– Frekvensgången blir oberoende av eventuella dynamiska förändringar i elementets elektriska egenskaper eller nivå.
– Ökad flexibilitet och precision för att finjustera den utgående frekvensgången för de specifika elementen.
– Varje element har ett eget slutsteg och egen signalbearbetning. Detta isolerar varje element från de signaler som hanteras av övriga element, vilket minskar problemen med intermoduleringsdistorsion och förvrängning.
– Möjlighet att kompensera för känslighetsvariationer mellan elementen.
– Möjlighet att kompensera för avvikelser i frekvens- och fasåtergivning som är kopplade till elementets egenskaper inom det avsedda passbandet.
– Den platta frekvensgång som en högkvalitativ aktiv högtalare ger är resultatet av den kombinerande effekten av delningsfilterresponsen, slutstegsresponsen och elementresponsen i ett högtalarkabinett.
Genom att använda en aktiv teknik kan man justera frekvensgången och optimera hela högtalarsystemet i olika miljöer utan att behöva använda dyra externa equalizers. Slutresultatet är ett enklare, mer tillförlitligt, effektivt, konsekvent och precist aktivt högtalarsystem.

1983 tog Genelec ett revolutionerande steg med utvecklingen av tekniken Directivity Control Waveguide (DCW™), som på den tiden användes i ett äggformat kabinett. Genelecs DCW-teknik har utvecklats och finjusterats i över 30 år och syftet är att förbättra prestandan för direktstrålande flervägsmonitorer betydligt.
DCW-tekniken formar den utgående vågfronten på ett kontrollerat sätt, vilket möjliggör förutsägbar anpassning av ljudets spridningsmönster. Målet är att begränsa spridningsvinkeln så att ströspridning minskas för att göra spridningen jämn och enhetlig. Det leder till en utomordentligt platt frekvensgång och en enhetlig kraftrespons. Den avancerade DCW-tekniken minimerar tidiga reflektioner och ger ett brett och stabilt lyssningsområde med korrekt ljudåtergivning både on-axis och off-axis.
Minimerade tidiga reflektioner och kontrollerad, konstant direktivitet har ytterligare en viktig fördel: frekvensbalansen i rummets efterklangsfält blir mer eller mindre likadan som det direkta ljudfältet från monitorhögtalarna. Detta leder till att monitorsystemets prestanda blir mindre beroende av rummets akustiska egenskaper.
Ljudbildens djup och bredd är viktiga aspekter i alla lyssningsmiljöer, och de är inte bara viktiga on-axis utan även off-axis. Detta hjälper inte bara ljudteknikern som gör jobbet, utan även andra som befinner sig i lyssningsområdet – och det är ofta många inblandade i större kontrollrum.
– Platt återgivning både on-axis och off-axis för ett större funktionellt lyssningsområde
– Ökat förhållande mellan direkt och reflekterat ljud för minskad färgning
– Förbättrad stereo- och ”soundstage”-ljudbild
– Ökad känslighet för drivenheterna på upp till 6 dB
– Ökad högsta ljudtryckskapacitet
– Minskad distorsion för drivenheterna
– Minskade kantdiffraktioner
– Övergripande minskad distorsion

Intelligent Signal Sensing lanserades 2013 och uppfyller både EU:s ErP-direktiv och Genelecs egna hållbarhetsåtaganden.
ISS™-kretsen övervakar högtalarens signalingång och fastställer om den används eller inte. Om ISS-kretsen inte känner av någon ljudsignal under en viss tid försätter den automatiskt högtalaren i strömsparläge så att den drar mindre än 0,5 W. När en ingångssignal upptäcks aktiveras högtalaren direkt. Högtalaren kommer att börja spara ström direkt när arbetet pausas.
En ”ISS Disable”-brytare finns på baksidan av alla högtalare, bredvid rumskorrigeringsreglagen. När högtalarens huvudströmbrytare står på ”ON” aktiveras ISS™-funktionen (strömsparläge) automatiskt.
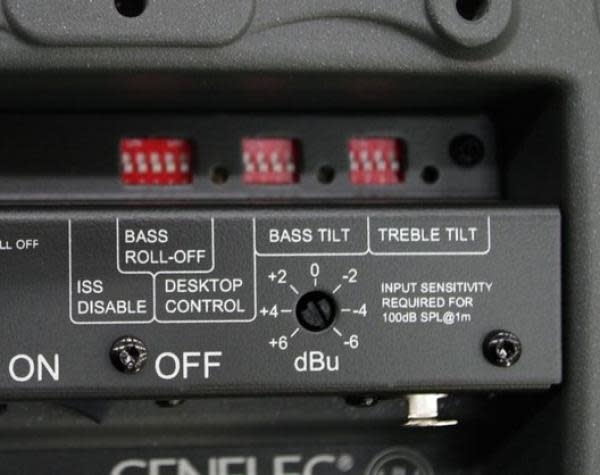
Om du inte vill använda ISS™-funktionen kan du stänga av den genom att sätta ”ISS Disable”-brytaren på den bakre panelen på ”ON”. I det här läget stängs högtalaren av och slås på endast med hjälp av huvudströmbrytaren.
Observera att man alltid kan stänga av högtalaren helt med huvudströmbrytaren.

Även om det rekommenderas att använda stabila och robusta golvstativ till fristående högtalare är det vanligt att man placerar dem direkt på ett bord eller på mixerbordet.
Detta leder till flera ofördelaktiga effekter. Man glömmer ofta att rikta högtalaren mot lyssnaren, dessutom sprider sig oönskade mekaniska vibrationer från högtalaren till ytan och första ordningens reflektioner från ytan leder till kamfiltrering och därmed ojämnheter i frekvensgången.
För att lösa dessa vanliga problem har Genelec utvecklat en effektiv och praktisk lösning. Vi har designat högtalarstativet Iso-Pod™ – Isolation Positioner/Decoupler – som fästs på aluminiumkabinettet. Iso-Pod är gjort av ett särskilt flexibelt, gummiliknande material. Kabinettet står stabilt på stativet och kan flyttas längs den böjda ytan eller sidan för att luta högtalaren ±15°.
Högtalarens akustiska axel kan därmed riktas precist mot lyssnaren genom att man justerar kabinettets lutning med Iso-Pod-stativet. Isoleringen av vibrationer och de dämpande egenskaperna minskar mellanregisterfärgning orsakad av oönskade vibrationer som överförs till bärande ytor.
Den innovativa lösningen är en väsentlig del av Genelecs högtalardesign och ger massor av fördelar när det kommer till både användning av högtalaren och ljudkvaliteten.

Ett vanligt problem med vanliga fristående högtalare är att ojämnheter i den främre baffeln leder till diffraktioner och att högtalarens skarpa kanter agerar som en sekundär källa för reflektionerna.
I syfte att förbättra frekvensgångens platthet och kraftresponsen från fristående högtalarsystem har Genelec designat innovativa kabinett med rundade kanter och lätt svängda linjer som är optimerade för att matcha högtalarelementens egenskaper. Förutom att leverera en utomordentligt platt frekvensgång ger dessa kabinett med minimal diffraktion en otroligt högpresterande ljudbild.
I syfte att få en elegant, välvd yta på kabinettet och för att minska dess yttermått, samtidigt som den interna volymen maximeras för bättre lågfrekvenseffekt, har vi designat ett kabinett av formgjutet aluminium. Aluminium är ett lättviktigt och stabilt material som är lätt att dämpa för att på så sätt få en mer resonansdöd konstruktion. Kabinettets väggar kan göras förhållandevis tunna, samtidigt som materialet ger bra EMC-skärmning och utgör ett utomordentligt kylelement för slutstegen. Formgjutningen görs i två delar, en främre och en bakre, för enkel separering vid eventuell service och reparation.
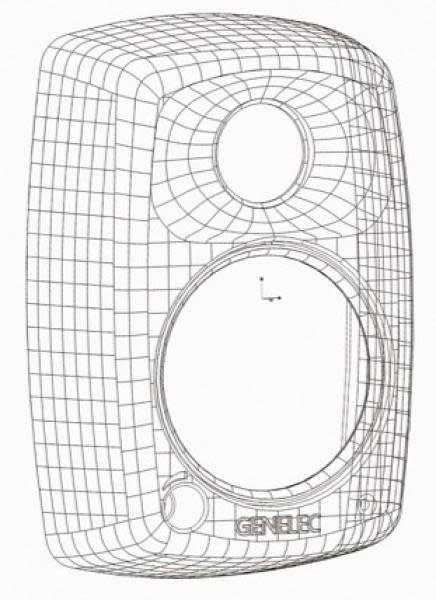
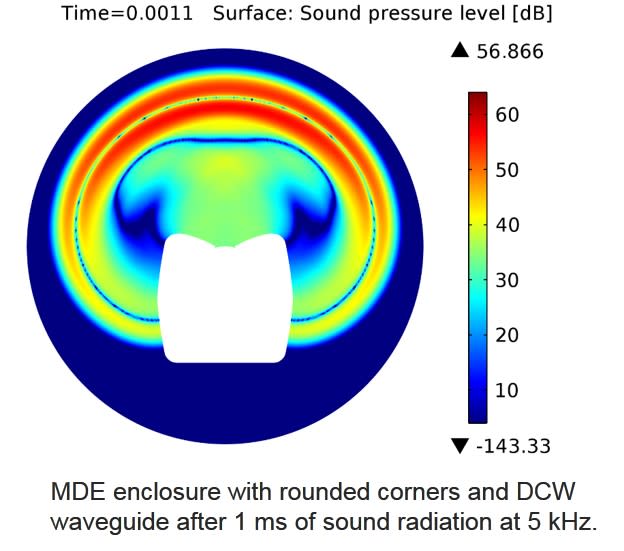
DCW-vågledaren är integrerad i MDE-kabinettet av aluminium för att ge bättre kontroll av högtalarens ljudspridning. Lågfrekvensgränsen för konstant direktivitet är beroende av vågledarens storlek, så ju större den är desto bättre kontroll ger den. Med en kontrollerad ljudspridning off-axis får man ett konsekvent lyssningsfönster, vilket är otroligt viktigt vid multikanallyssning. Kontrollerad ljudspridning minskar även första ordningens reflektioner från ytor i närheten av högtalaren, vilket bidrar till att ge konsekvent ljudåtergivning i varierande akustiska miljöer. Hela främre baffeln är lätt böjd och de akustiskt transparenta gallren är en del av det yttre kabinettets estetik, vilket gör att de smälter in väl med andra svängda ytor.


Elektroniska delningsfilter gör det möjligt att dela upp ljudsignalen i separata frekvensband som kan dirigeras till enskilda slutsteg, vilka sedan kopplas till specifika givare som är optimerade för ett specifikt frekvensband.
I ett vanligt tvåvägssystem behöver det aktiva delningsfiltret två slutsteg – ett för baselementet och ett för diskantelementet. Slutstegen är direkt kopplade till den aktiva högtalarens element, vilket gör att slutstegens belastning blir mycket enklare och välkänd. Varje elementspecifikt slutsteg har endast en begränsad frekvens att förstärka (slutsteget är placerat efter det aktiva delningsfiltret), vilket bidrar till att göra designen enkel.
– Slutstegen är direkt kopplade till högtalarens element, vilket maximerar kontrollen som utövas av slutstegens dämpning på elementets talspole. Detta reducerar i sin tur följderna av dynamiska förändringar i elementets elektriska egenskaper. Detta kan förbättra systemets transienta svar.
– Minskning av den uteffekt som krävs från slutsteget. Tack vare att ingen energi går förlorad i komponenterna till det passiva delningsfiltret minskas den uteffekt som krävs från slutsteget betydligt (med upp till 50 % i vissa fall), utan någon minskning av den akustiska uteffekten i högtalarsystemet. Detta kan bidra till att sänka kostnader och öka både ljudkvaliteten och systemets tillförlitlighet.
– Ingen förlust mellan förstärkaren och elementenheterna, vilket leder till maximal akustisk effektivitet.
– Den aktiva tekniken kan uppnå överlägsen ljudprestanda vs. storlek vs. lägre frekvensgräns.
– Alla högtalare levereras som ett fabrikskonfigurerat system (förstärkare, delningsfilterkomponenter, kabinett och elementsystem).

När du arbetar med avancerad ljudproduktion är det otroligt viktigt att dina monitorsystem alltid är tillförlitliga och fungerar som de ska. Det främsta skälet till Genelecs framgångar inom sändningstillämpningar är våra produkters tillförlitlighet, och en viktig faktor bakom detta är de interna skyddskretsarna som finns i alla våra produkter – ända sedan 1978.
Skyddskretsarna förebygger fel på elementet genom att analysera signalnivåerna. Vid plötsliga toppar eller för höga nivåer under en längre tid minskas signalnivån automatiskt. Den här funktionen påverkar givetvis inte ljudkvaliteten på något sätt när högtalaren används inom ramen för dess specifikationer. Den hindrar endast avvikande ingångssignaler från att orsaka skada på högtalaren.
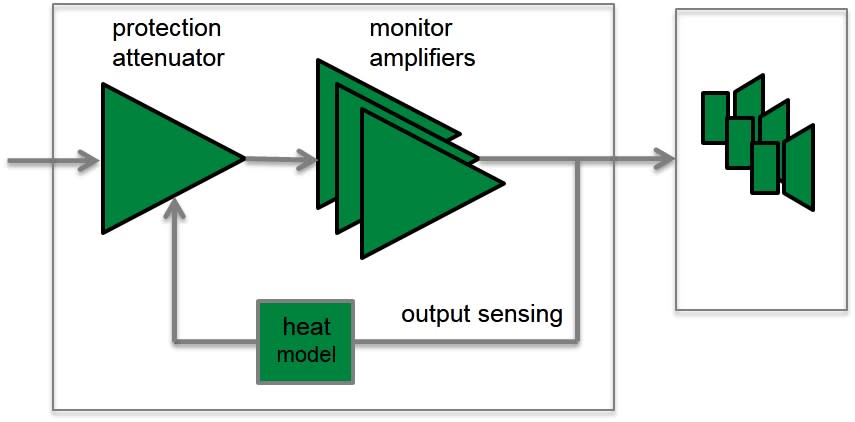
– Minskar uteffektnivån vid behov (t.ex. när temperaturen vid elementets talspole uppnår ett gränsvärde), vilket förbättrar systemets tillförlitlighet betydligt
– Lämpliga skyddskretsar i alla högtalare och subwoofers gör det möjligt att maximera systemets utgående ljudnivå.

Genelecs design med ventilerade kabinett (reflexkabinett) går tillbaka till modellen S30, vår första produkt från 1978. Reflexportarnas prestanda har förbättrats och finjusterats genom åren med syftet att öka baselementets lågfrekvensdjup och ljudtryckskapacitet för att kunna ge en utomordentligt tydlig basåtergivning.
Både elementet och ventileringen bidrar till reflexkabinettets totala ljudspridning. Det mesta av ljudspridningen kommer från högtalarelementet, men vid reflexportens resonansfrekvens är elementets förflyttning så liten att det mesta av ljudspridningen kommer ut genom reflexporten.
För att minimera luftens hastighet genom röret bör tvärsnittsarean vara stor. Detta innebär att röret måste vara långt, vilket är en utmaning när det kommer till utformningen.
Det långa, böjda röret maximerar luftflödet så att en djup basgång kan återges utan kompression. Reflexröret slutar i en bred konisk öppning på baksidan av kabinettet, vilket minimerar missljud och ger en utomordentlig basåtergivning.
Rörets böjning har även utformats noggrant för att minimera missljud, kompression och distorsion. Den inre änden av röret har en korrekt resistiv avslutning som vidare minimerar det hörbara blåsljudet och luftturbulensen.
Korrekt utformade reflexportar gör det möjligt att minska baselementets förskjutning betydligt, vilket förbättrar den linjära lågfrekvenskapaciteten.

Interaktionen mellan rummets akustik och högtalarens ljudspridning är komplex. Alla rum påverkar monitorhögtalarens återgivning på något sätt, till exempel reflekterande rum jämfört med ljudisolerade rum och placering av högtalarutrustning vid väggen eller på avstånd från väggen.
Alla högtalare från Genelec har rumskorrigeringsalternativ som kan användas för att kompensera för rummets påverkan på akustiken och uppnå en platt frekvensgång vid lyssningspositionen.
Genelecs analoga högtalare har mångsidiga rumskorrigeringsalternativ. Här ingår (beroende på modell):
– Lågfrekvensfilter och -lutning
– Diskantfilter och -lutning
– Basnivå
– Mellanregisternivå
– Diskantnivå
– Desktop Control

För lågfrekvenser finns två huvudsakliga styrningsalternativ. Baslutningskontrollen fungerar som ett shelving-filter tillsammans med lågfrekvensfiltret som gör det möjligt för dig att optimera systemets låga och riktigt låga frekvensgång i olika installationer. Styrningsalternativ för bas, mellanregister och diskant finns för de större systemen. Dessa styrningsalternativ gör det möjligt att optimera den relativa balansen mellan de olika passbanden.
Användarmanualen och databladet för varje högtalare innehåller en lista över de rekommenderade rumskorrigeringsinställningarna för olika installationer. De har tagits fram utifrån lång praktisk erfarenhet och mätningar av olika typer av vanliga akustiska miljöer.
Genelecs SAM-system erbjuder ett omfattande och lösningsinriktat produktsortiment med smarta anslutningsmöjligheter där alla produkter har programvaran Genelec Loudspeaker Manager (GLM™) och dess system för automatisk kalibrering, AutoCal™.
AutoCal från Genelec ger dig möjlighet att för första gången genomföra en integrerad process för fullständigt automatiserad mätning, analys och justering av alla monitorhögtalare i GLM-nätverket. Systemet mäter återgivningen i lyssningsområdet och tillämpar lämplig kompensering för lågfrekvenserna och låg- till mellanfrekvenserna för att minimera negativ akustisk påverkan från rummet samt skillnaderna mellan olika lyssningspositioner. AutoCal justerar även relativa nivåer, löptid och korrekt delningsfas (AutoPhase) för alla subwoofers i systemet.

Programmet Acoustic Response Editor visar den uppmätta återgivningen, filterkompenseringen och den resulterande systemåtergivningen för varje monitorhögtalare i diagram med full manuell kontroll över de akustiska inställningarna.

Förutom utomordentlig akustisk design och avancerade alternativ för optimering av högtalarens prestanda utifrån rummet erbjuder vi många olika monteringsalternativ för enkel installation för olika användningsområden.
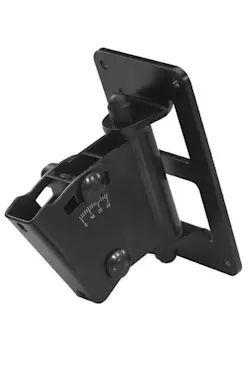
Vårt stora utbud av tillbehör och de fasta monteringspunkterna på baksidan av våra produkter med aluminiumkabinett erbjuder lösningar för alla vanliga installationer. M6-fästpunkter för vägg- och takfästen är integrerade i de formgjutna kabinetten.
Vissa modeller har även en 3/8"-gänga på undersidan av kabinettet för montering på ett robust mikrofonstativ. Andra större och tyngre modeller har M10-fästpunkter. Vi har även designat särskilda golvstativplattor som är kompatibla med Iso-Pod-stativet som är en del av vår produktdesign.
Tack vare dessa alternativ och möjligheter används våra högtalare på många olika platser utöver professionella inspelningsstudior, exempelvis i kommersiella projekt och AV-installationer såväl som i hem över hela världen.
"Ask the experts with Alex Theakston: Monitoring sound in the studio" is an article about the 8000 range studio monitors. It was published in the TV-Bay Magazine in November 2012.
{"fi-FI":""Ask the experts with Alex Theakston: Monitoring sound in the studio" is an article about the 8000 range studio monitors. It is written by Alex Theakston, and it was published in the TV-Bay Magazine in November 2012.","ru-RU":""Ask the experts with Alex Theakston: Monitoring sound in the studio" is an article about the 8000 range studio monitors. It is written by Alex Theakston, and it was published in the TV-Bay Magazine in November 2012.","de-DE":""Ask the experts with Alex Theakston: Monitoring sound in the studio" is an article about the 8000 range studio monitors. It is written by Alex Theakston, and it was published in the TV-Bay Magazine in November 2012.","en-US":""Ask the experts with Alex Theakston: Monitoring sound in the studio" is an article about the 8000 range studio monitors. It is written by Alex Theakston, and it was published in the TV-Bay Magazine in November 2012.","sv-SE":""Ask the experts with Alex Theakston: Monitoring sound in the studio" is an article about the 8000 range studio monitors. It is written by Alex Theakston, and it was published in the TV-Bay Magazine in November 2012.","pt-BR":""Ask the experts with Alex Theakston: Monitoring sound in the studio" is an article about the 8000 range studio monitors. It is written by Alex Theakston, and it was published in the TV-Bay Magazine in November 2012.","es-ES":""Ask the experts with Alex Theakston: Monitoring sound in the studio" is an article about the 8000 range studio monitors. It is written by Alex Theakston, and it was published in the TV-Bay Magazine in November 2012.","fr-FR":""Ask the experts with Alex Theakston: Monitoring sound in the studio" is an article about the 8000 range studio monitors. It is written by Alex Theakston, and it was published in the TV-Bay Magazine in November 2012.","ja-JP":""Ask the experts with Alex Theakston: Monitoring sound in the studio" is an article about the 8000 range studio monitors. It is written by Alex Theakston, and it was published in the TV-Bay Magazine in November 2012."}

Genelec products use various damping materials such as glass fiber wool, linen fiber wool, and polyester fiber based material (PES). The tables presented below provide a detailed listing of our monitor models and the type of damping material used in each model.
During operation, the air moving in and out of the monitor loudspeaker or subwoofer bass reflex openings does not emit significant amounts of fiber particle dust. The PES wool as material does not emit dust. The linen wool, and glass fiber wool can emit minimum amounts of dust during very high sound level operation. This fiber dust is not hazardous to health.
| SAM™ Studio Monitors | Damping material type |
|---|---|
| 1032C | PES |
| 8320A | PES |
| 8330A | PES |
| 8340A | PES |
| 8350A | PES |
| 8130A | PES |
| 8240A | PES |
| 8250A | PES |
| 8331A | PES |
| 8341A | PES |
| 8351A | PES |
| 8351B | PES |
| 8361A | PES |
| S360 | PES |
| 8260A | Linen wool |
| 1238CF | Linen wool |
| 1238DF | Linen wool |
| 1237A | Linen wool |
| 1238A | Glass wool |
| 1238AC | Glass wool |
| 1234A | Glass wool |
| 1234AC | Glass wool |
| 1236A | Glass wool |
| SAM™ Studio Subwoofers | Damping material type |
|---|---|
| 7260A | Linen wool |
| SE7261A | Linen wool |
| 7270A | Linen wool |
| 7271A | Linen wool |
| 7350A | Linen wool |
| 7360A | Linen wool |
| 7370A | Linen wool |
| 7380A | Linen wool |
| 7382A | Linen wool |
| 8000 Series Studio Monitors | Damping material type |
|---|---|
| 8010A | PES |
| 8020D | PES |
| 8030B | PES |
| 8030C | PES |
| 8040B | PES |
| 8050B | PES |
| 1000 Series Studio Monitors | Damping material type |
|---|---|
| 1032B | Linen wool |
| 1037C | Linen wool |
| 1038CF | Glass wool |
| 1038B | Glass wool |
| 1038BC | Glass wool |
| 1034B | Glass wool |
| 1034BC | Glass wool |
| 1039A | Glass wool |
| 1035B | Glass wool |
| 1036A | Glass wool |
| M Series Studio Monitors | Damping material type |
|---|---|
| M030 | PES |
| M040 | PES |
| 7000 Series Studio Subwoofers | Damping material type |
|---|---|
| 7040A | Linen wool |
| 7050B | None |
| 7050C | Linen wool |
| 7060B | Linen wool |
| 7070A | Linen wool |
| 7071A | Linen wool |
| 7073A | Glass wool |
| G Series Active Speakers | Damping material type |
|---|---|
| G One | PES |
| G Two | PES |
| G Three | PES |
| G Four | PES |
| G Five | PES |
| F Series Active Subwoofers | Damping material type |
|---|---|
| F One | None |
| F Two | PES |
| Home Theater Speaker Series | Damping material type |
|---|---|
| HT210B | Linen wool |
| HT312B | Glass wool |
| HT315B | Glass wool |
| HT320BC | Glass wool |
| HT324A | Glass wool |
| HT324AC | Glass wool |
| HT330A | Glass wool |
| Home Theater Subwoofer Series | Damping material type |
|---|---|
| HTS3B | None |
| HTS4B | None |
| HTS6 | Glass wool |
| 4000 Series Installation Speakers | Damping material type |
|---|---|
| 4010A | PES |
| 4020B | PES |
| 4020C | PES |
| 4030B | PES |
| 4030C | PES |
| 4040A | PES |
| Architectural Speaker Series | Damping material type |
|---|---|
| AIC25 | PES |
| AIW25 | PES |
| AIW26 | Linen Wool |
| AIW26B | Linen Wool |
| AOW312 | Glass wool |
| 5041A | Linen Wool |
Input sensitivity can be controlled with a combination of a rotary controller and level range switches on the products. The sensitivity on SAM™ (Smart Active Monitoring) products can be set more precisely using the GLM (Genelec Loudspeaker Manager) software and a computer.
The nominal analogue input sensitivity in Genelec studio monitors is -6 dBu which produces 100 dB SPL audio output at 1 meter in an anechoic room.
The nominal digital input sensitivity is set so that a 0 dB FS digital input produces a theoretical 130 dB SPL sound level at 1 meter in an anechoic room.
The actual maximum SPL depends on the product capabilities and may be lower than 130 dB SPL.
This is a very broad subject area covering room geometry, reverberation time, sound reflection and refraction, material properties, etc. However, we built a brief checklist to cover the most important features that a listening room should have. Once the room has been acoustically treated the studio monitors can be installed.
"Ask the experts with Alex Theakston: Monitoring sound in the studio" is an article about the 8000 range studio monitors. It was published in the TV-Bay Magazine in November 2012.
"Ask the experts with Alex Theakston: Monitoring sound in the studio" is an article about the 8000 range studio monitors. It is written by Alex Theakston, and it was published in the TV-Bay Magazine in November 2012.
Genelec products use various damping materials such as glass fiber wool, linen fiber wool, and polyester fiber based material (PES). The tables presented below provide a detailed listing of our monitor models and the type of damping material used in each model.
During operation, the air moving in and out of the monitor loudspeaker or subwoofer bass reflex openings does not emit significant amounts of fiber particle dust. The PES wool as material does not emit dust. The linen wool, and glass fiber wool can emit minimum amounts of dust during very high sound level operation. This fiber dust is not hazardous to health.
| SAM™ Studio Monitors | Damping material type |
|---|---|
| 1032C | PES |
| 8320A | PES |
| 8330A | PES |
| 8340A | PES |
| 8350A | PES |
| 8130A | PES |
| 8240A | PES |
| 8250A | PES |
| 8331A | PES |
| 8341A | PES |
| 8351A | PES |
| 8351B | PES |
| 8361A | PES |
| S360 | PES |
| 8260A | Linen wool |
| 1238CF | Linen wool |
| 1238DF | Linen wool |
| 1237A | Linen wool |
| 1238A | Glass wool |
| 1238AC | Glass wool |
| 1234A | Glass wool |
| 1234AC | Glass wool |
| 1236A | Glass wool |
| SAM™ Studio Subwoofers | Damping material type |
|---|---|
| 7260A | Linen wool |
| SE7261A | Linen wool |
| 7270A | Linen wool |
| 7271A | Linen wool |
| 7350A | Linen wool |
| 7360A | Linen wool |
| 7370A | Linen wool |
| 7380A | Linen wool |
| 7382A | Linen wool |
| 8000 Series Studio Monitors | Damping material type |
|---|---|
| 8010A | PES |
| 8020D | PES |
| 8030B | PES |
| 8030C | PES |
| 8040B | PES |
| 8050B | PES |
| 1000 Series Studio Monitors | Damping material type |
|---|---|
| 1032B | Linen wool |
| 1037C | Linen wool |
| 1038CF | Glass wool |
| 1038B | Glass wool |
| 1038BC | Glass wool |
| 1034B | Glass wool |
| 1034BC | Glass wool |
| 1039A | Glass wool |
| 1035B | Glass wool |
| 1036A | Glass wool |
| M Series Studio Monitors | Damping material type |
|---|---|
| M030 | PES |
| M040 | PES |
| 7000 Series Studio Subwoofers | Damping material type |
|---|---|
| 7040A | Linen wool |
| 7050B | None |
| 7050C | Linen wool |
| 7060B | Linen wool |
| 7070A | Linen wool |
| 7071A | Linen wool |
| 7073A | Glass wool |
| G Series Active Speakers | Damping material type |
|---|---|
| G One | PES |
| G Two | PES |
| G Three | PES |
| G Four | PES |
| G Five | PES |
| F Series Active Subwoofers | Damping material type |
|---|---|
| F One | None |
| F Two | PES |
| Home Theater Speaker Series | Damping material type |
|---|---|
| HT210B | Linen wool |
| HT312B | Glass wool |
| HT315B | Glass wool |
| HT320BC | Glass wool |
| HT324A | Glass wool |
| HT324AC | Glass wool |
| HT330A | Glass wool |
| Home Theater Subwoofer Series | Damping material type |
|---|---|
| HTS3B | None |
| HTS4B | None |
| HTS6 | Glass wool |
| 4000 Series Installation Speakers | Damping material type |
|---|---|
| 4010A | PES |
| 4020B | PES |
| 4020C | PES |
| 4030B | PES |
| 4030C | PES |
| 4040A | PES |
| Architectural Speaker Series | Damping material type |
|---|---|
| AIC25 | PES |
| AIW25 | PES |
| AIW26 | Linen Wool |
| AIW26B | Linen Wool |
| AOW312 | Glass wool |
| 5041A | Linen Wool |
Input sensitivity can be controlled with a combination of a rotary controller and level range switches on the products. The sensitivity on SAM™ (Smart Active Monitoring) products can be set more precisely using the GLM (Genelec Loudspeaker Manager) software and a computer.
The nominal analogue input sensitivity in Genelec studio monitors is -6 dBu which produces 100 dB SPL audio output at 1 meter in an anechoic room.
The nominal digital input sensitivity is set so that a 0 dB FS digital input produces a theoretical 130 dB SPL sound level at 1 meter in an anechoic room.
The actual maximum SPL depends on the product capabilities and may be lower than 130 dB SPL.
This is a very broad subject area covering room geometry, reverberation time, sound reflection and refraction, material properties, etc. However, we built a brief checklist to cover the most important features that a listening room should have. Once the room has been acoustically treated the studio monitors can be installed.
Placing monitors on the meter bridge can cause the mixing desk to vibrate. This can affect the sound quality. To reduce mechanical coupling to the mixing desk, several Genelec monitors are equipped with a Genelec Iso-Pod™ rubber foot. However, a better mounting method is to place the monitors on stands behind the mixing desk sufficiently high, so that the bass driver is not obscured. Mounting monitors vertically increases the distance and angle of the off-axis reflection from the console surface. This reduces sound coloration caused by the desk reflection, usually between 1–2 kHz.
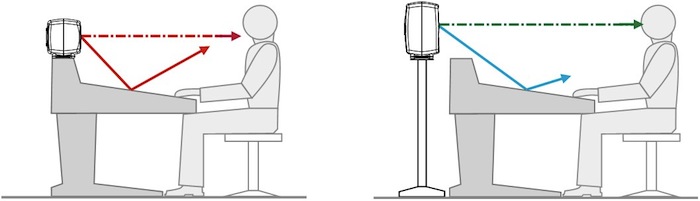
Mounting monitors vertically increases the distance and angle of the off-axis reflection from the console surface
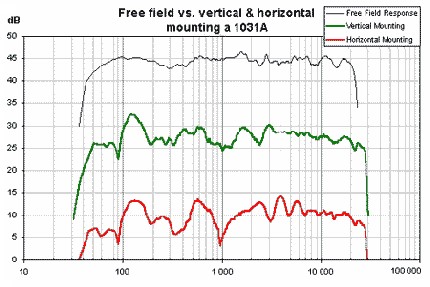
Monitor positioned horizontally on the meter bridge of a large mixing desk (red line) shows comb filtering at 1 kHz and extends up to 7 kHz. The monitor was re-measured in vertical orientation (green line). The frequency response is flatter.
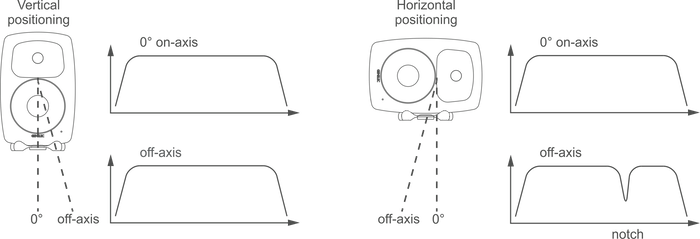
Positioning monitors horizontally causes a notch at the crossover when moving to the side. Positioning the monitor vertically removes this problem.
We do not recommend mixing Classic 8000 Series monitors with SAM™ Monitors.
If the analogue input sensitivity of 8000 Series and SAM™ Series monitors are the same, Genelec SAM™ Monitors exhibit a slightly larger latency (< 5 ms) than 8000 Series monitors. Therefore Classic 8000 Series and SAM™ Series monitors should not be mixed in a stereo pair or multichannel setup.
However, it is okay to mix the Classic 8000 Series monitors with SAM™ Subwoofers. Any Classic 8000 Series monitors can be used with SAM™ Subwoofers, in any stereo or multichannel setup.









 Filters